Riding at night
If you are reading this article, there’s a good chance you have signed up to the Yorkshire True Grit ‘Dark Skies’. You might conceivably be wondering what on earth were you thinking. Alternatively, your ride buddies might have been raving about how great it is to ride at night. Maybe you’re just sick of the turbo and want to escape the cabin fever. Whatever the reason, we’re here to help!
Riding at night can be a great way to extend your cycling through winter for as long as the weather allows. Coming from a mountain bike background, we’ve been hitting the trails in complete darkness for many years. Some of us have done 24 hour events and one of us even remembers a time before LED lights were invented! (Make that before Vistalite Halogens were even a thing! Ed)
Expand your rides
Whereas our nocturnal mountain bike sessions were more or less limited to hooning round the local woods, our horizons have expanded now we are riding gravel bikes. By putting together elements of off-road trail, arrow straight fireroads and quiet country lanes, 30 and 40 mile loops are pretty run of the mill for a mid-winter night ride.
Telescope Vision
Riding at night radically alters your perspective. While in the daytime you can admire the scenery, riding in the dark narrows your focus to just what is in the halo of your lights. It becomes just you and the path – very Zen! Obstacles look different, the smells are more obvious, and occasionally the night looks back at you…
A completely different experience, you ought to give it a go, even if you have to borrow lights to do it.
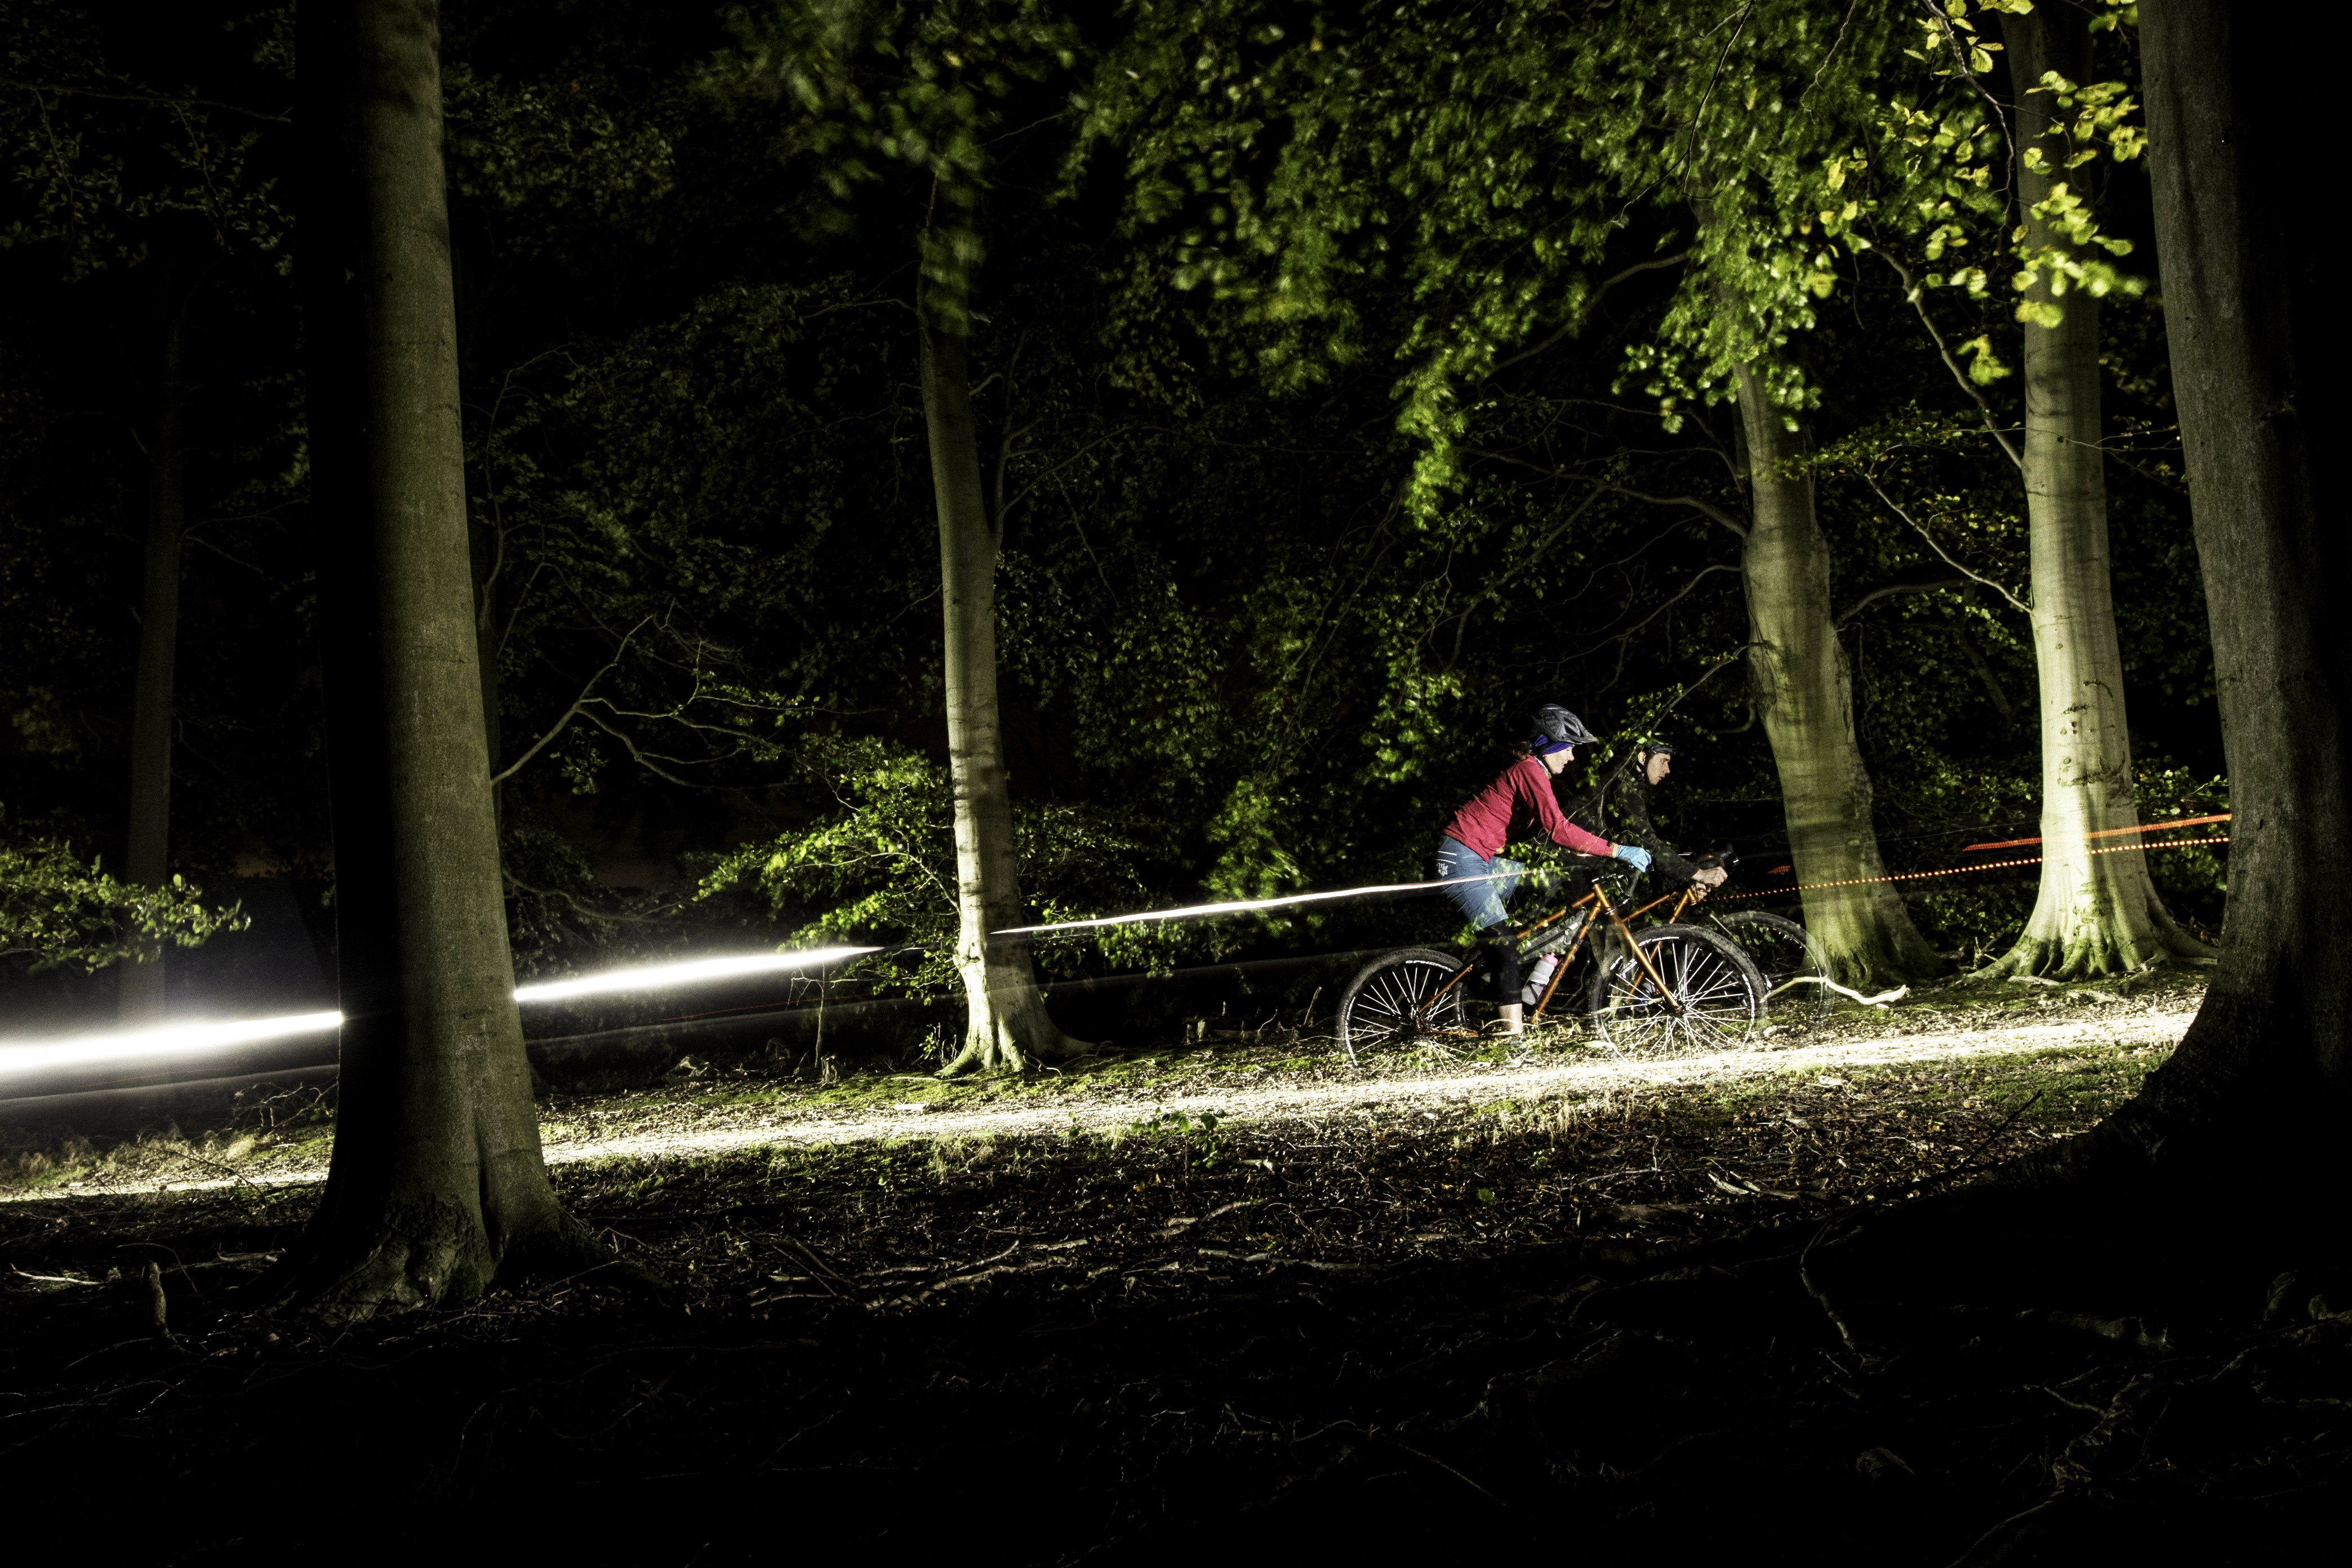
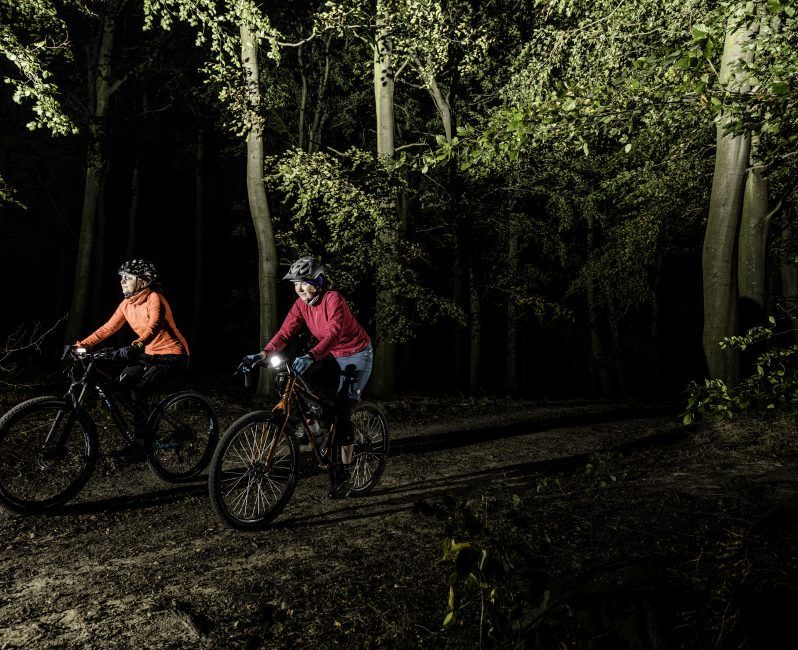
Hitting familiar trails at night gives them a whole new perspective. Photo credit: Mick Kirkman
Gearing up
Clothing
Once the sun drops, even if the forecast predicts a mild night, it will feel colder. The cold is most noticeable in your extremities. If you have warmer gloves and a pair of overshoes, you’ll want them. As the evening progresses, so the cold will become more intense. We all have our ways of dealing with this. Personally, I dress for the latter half of the ride. Often overheating in the early stages, I know I will be warm when my energy starts to flag and the cold is biting hardest. If you have room in your pockets, take an extra layer or a gilet. Especially useful if you have to stop for a puncture repair.
Eye protection is a good idea as your front wheel can flick up a lot of gravel once you get off the beaten track. Taking a direct hit from a pebble to your eye is not something you want to experience. Some riders hate wearing glasses at night. Lenses can steam up and reflections can be distracting. But with a pair of clear bins starting from as little as £6.50 (Bolle SILPSI safety glasses), it’s worth trying them to see how you get on.
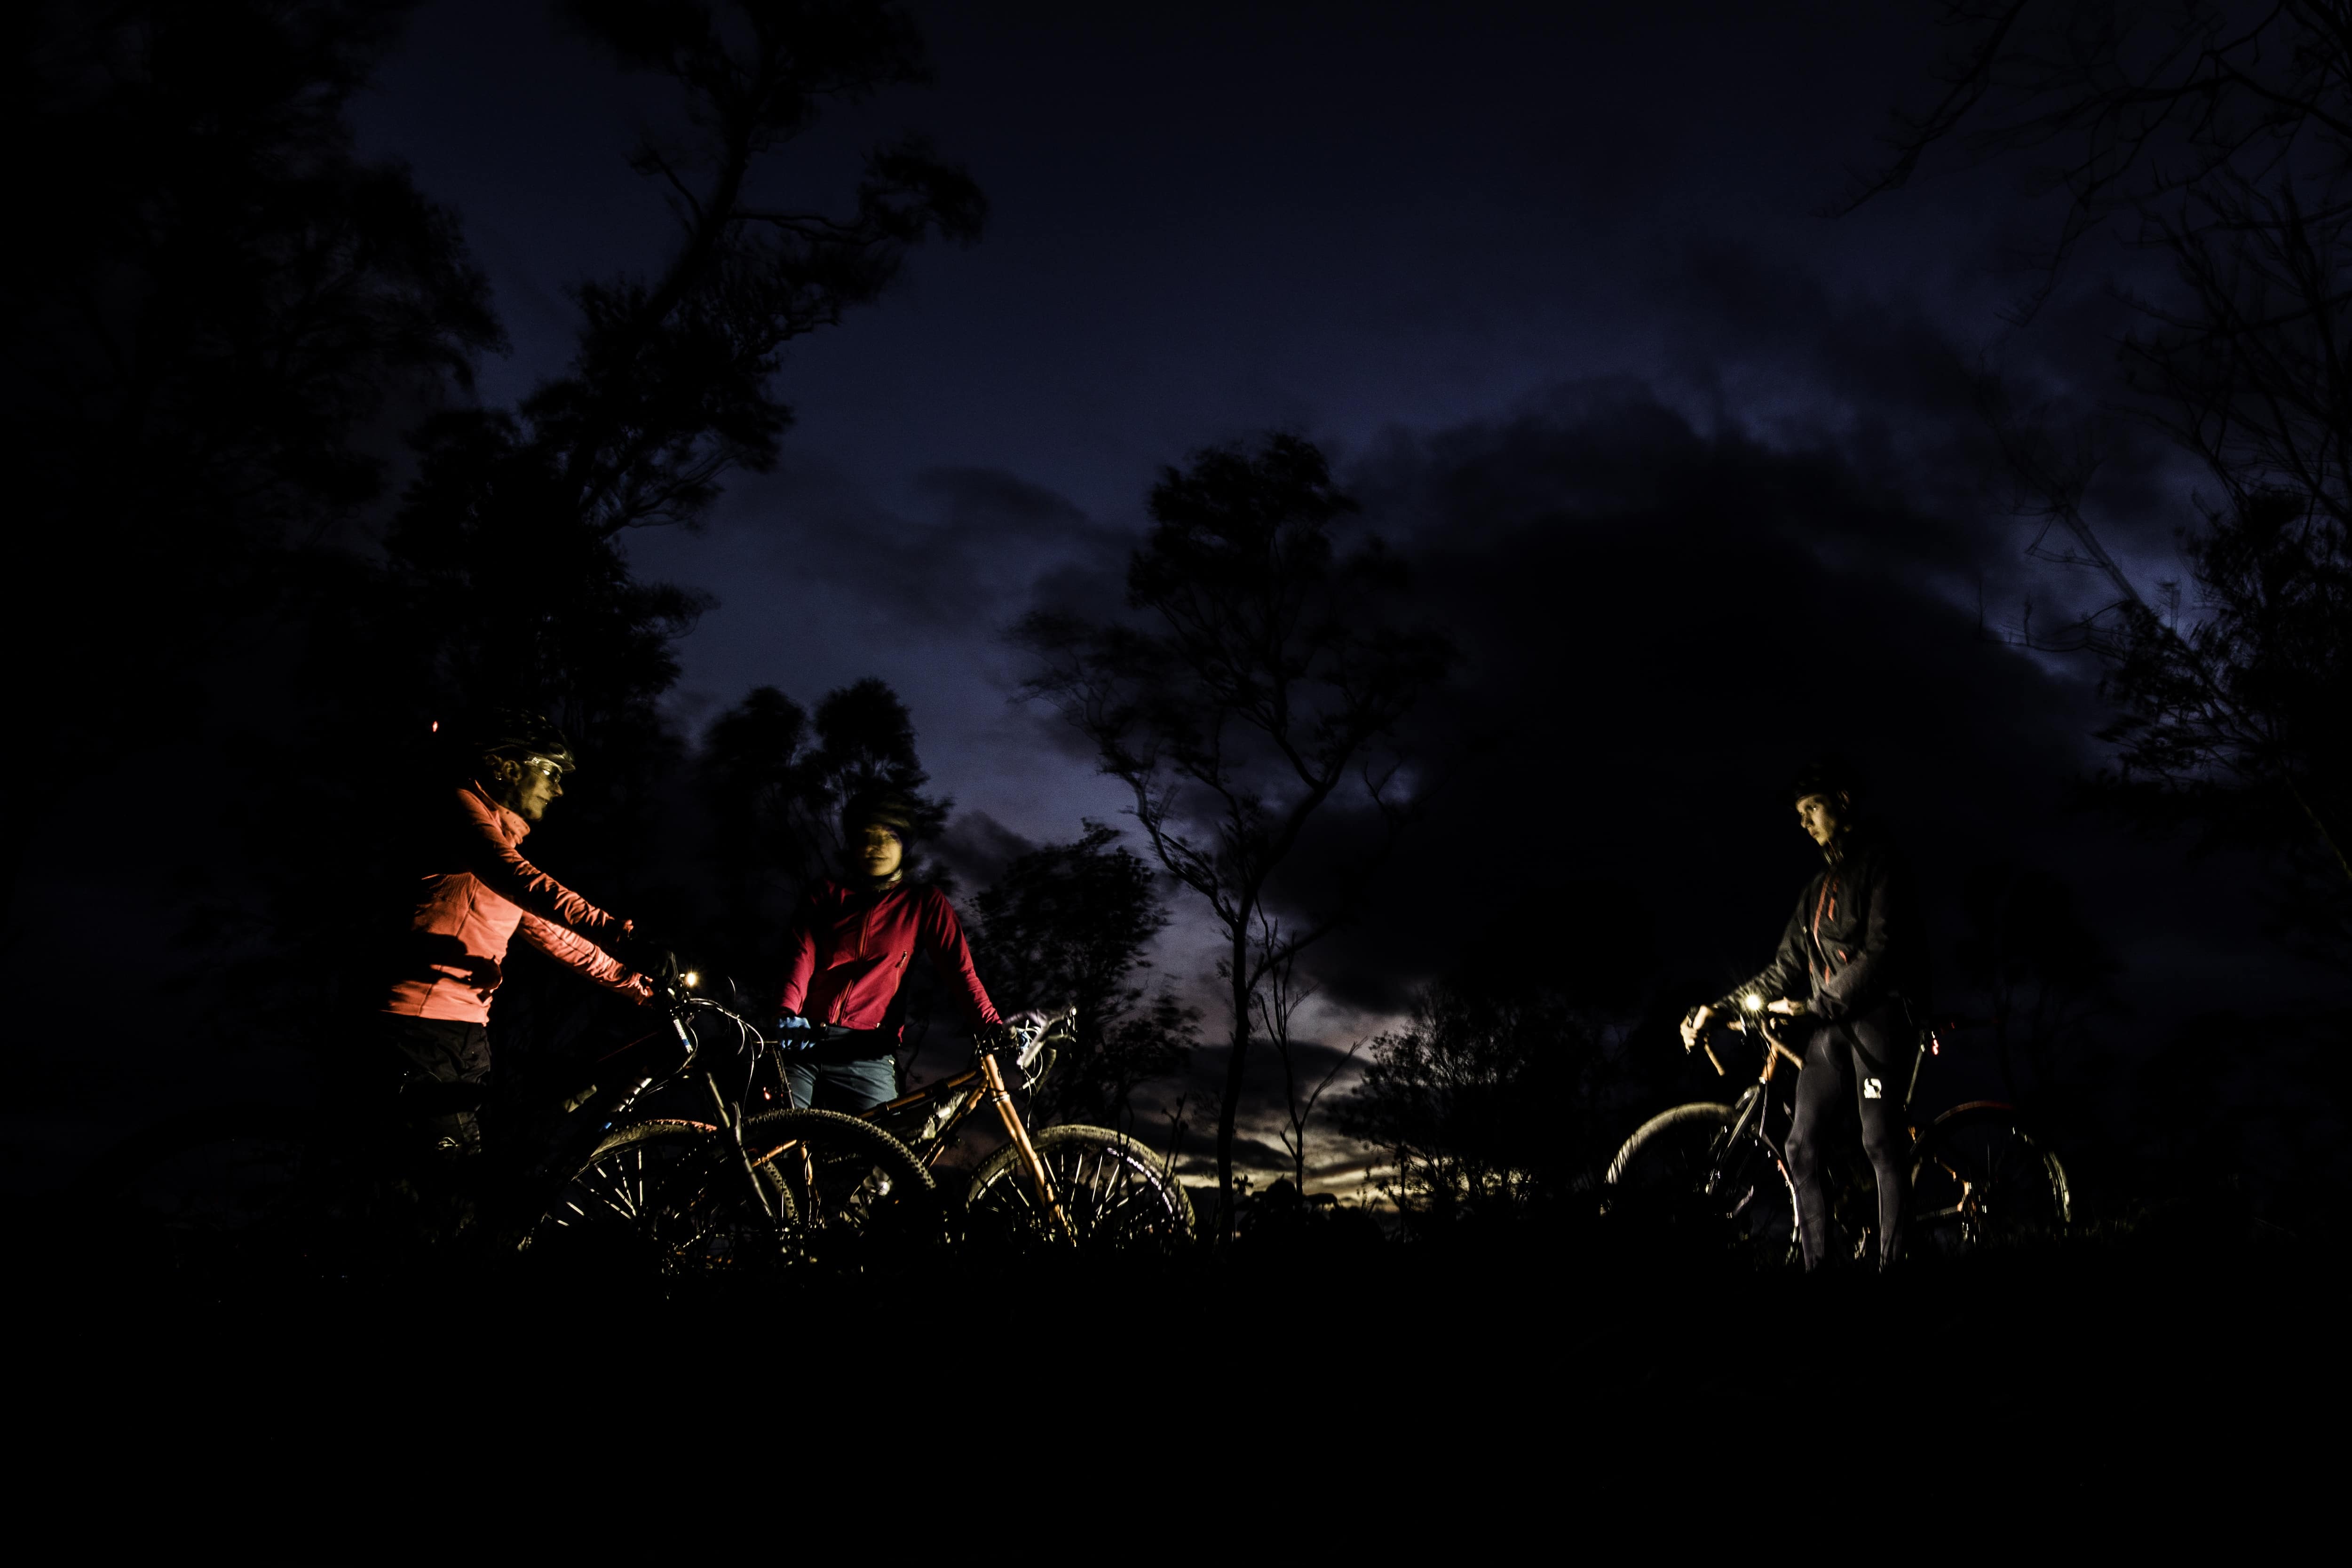
Be prepared for prolonged stops in the cold. For mechanical faffage or simply just banter. Photo credit: Mick Kirkman
Lights
A good quality light is critical. Yes, there are bargain lights aplenty on eBay, complete with incredible sounding light output. The promise often falls well short of reality once you are out on the trails though.You will read a lot about beam patterns. You won’t notice it if you have a set of well sorted lights but if the lense configuration is wrong, you’ll know all about it.
Furthermore the reliability of some of these lights can be sketchy. I have had to escort someone back to their car after their eBay Special suddenly died during a night ride. Had he been riding alone, the poor guy would have been wandering around in the dark for hours!. Stories of chargers catching fire during charge cycles and burning down the owners house are not uncommon on the internet.
After years of night riding and endurance racing, the whole ADVNTR Team have settled on Exposure Lights for our nighttime operations. The build quality is great, the mounting systems simple, bright as you like and with excellent run-times you can’t ask for more. In the unlikely chance that something should go wrong, they also offer fantastic support.
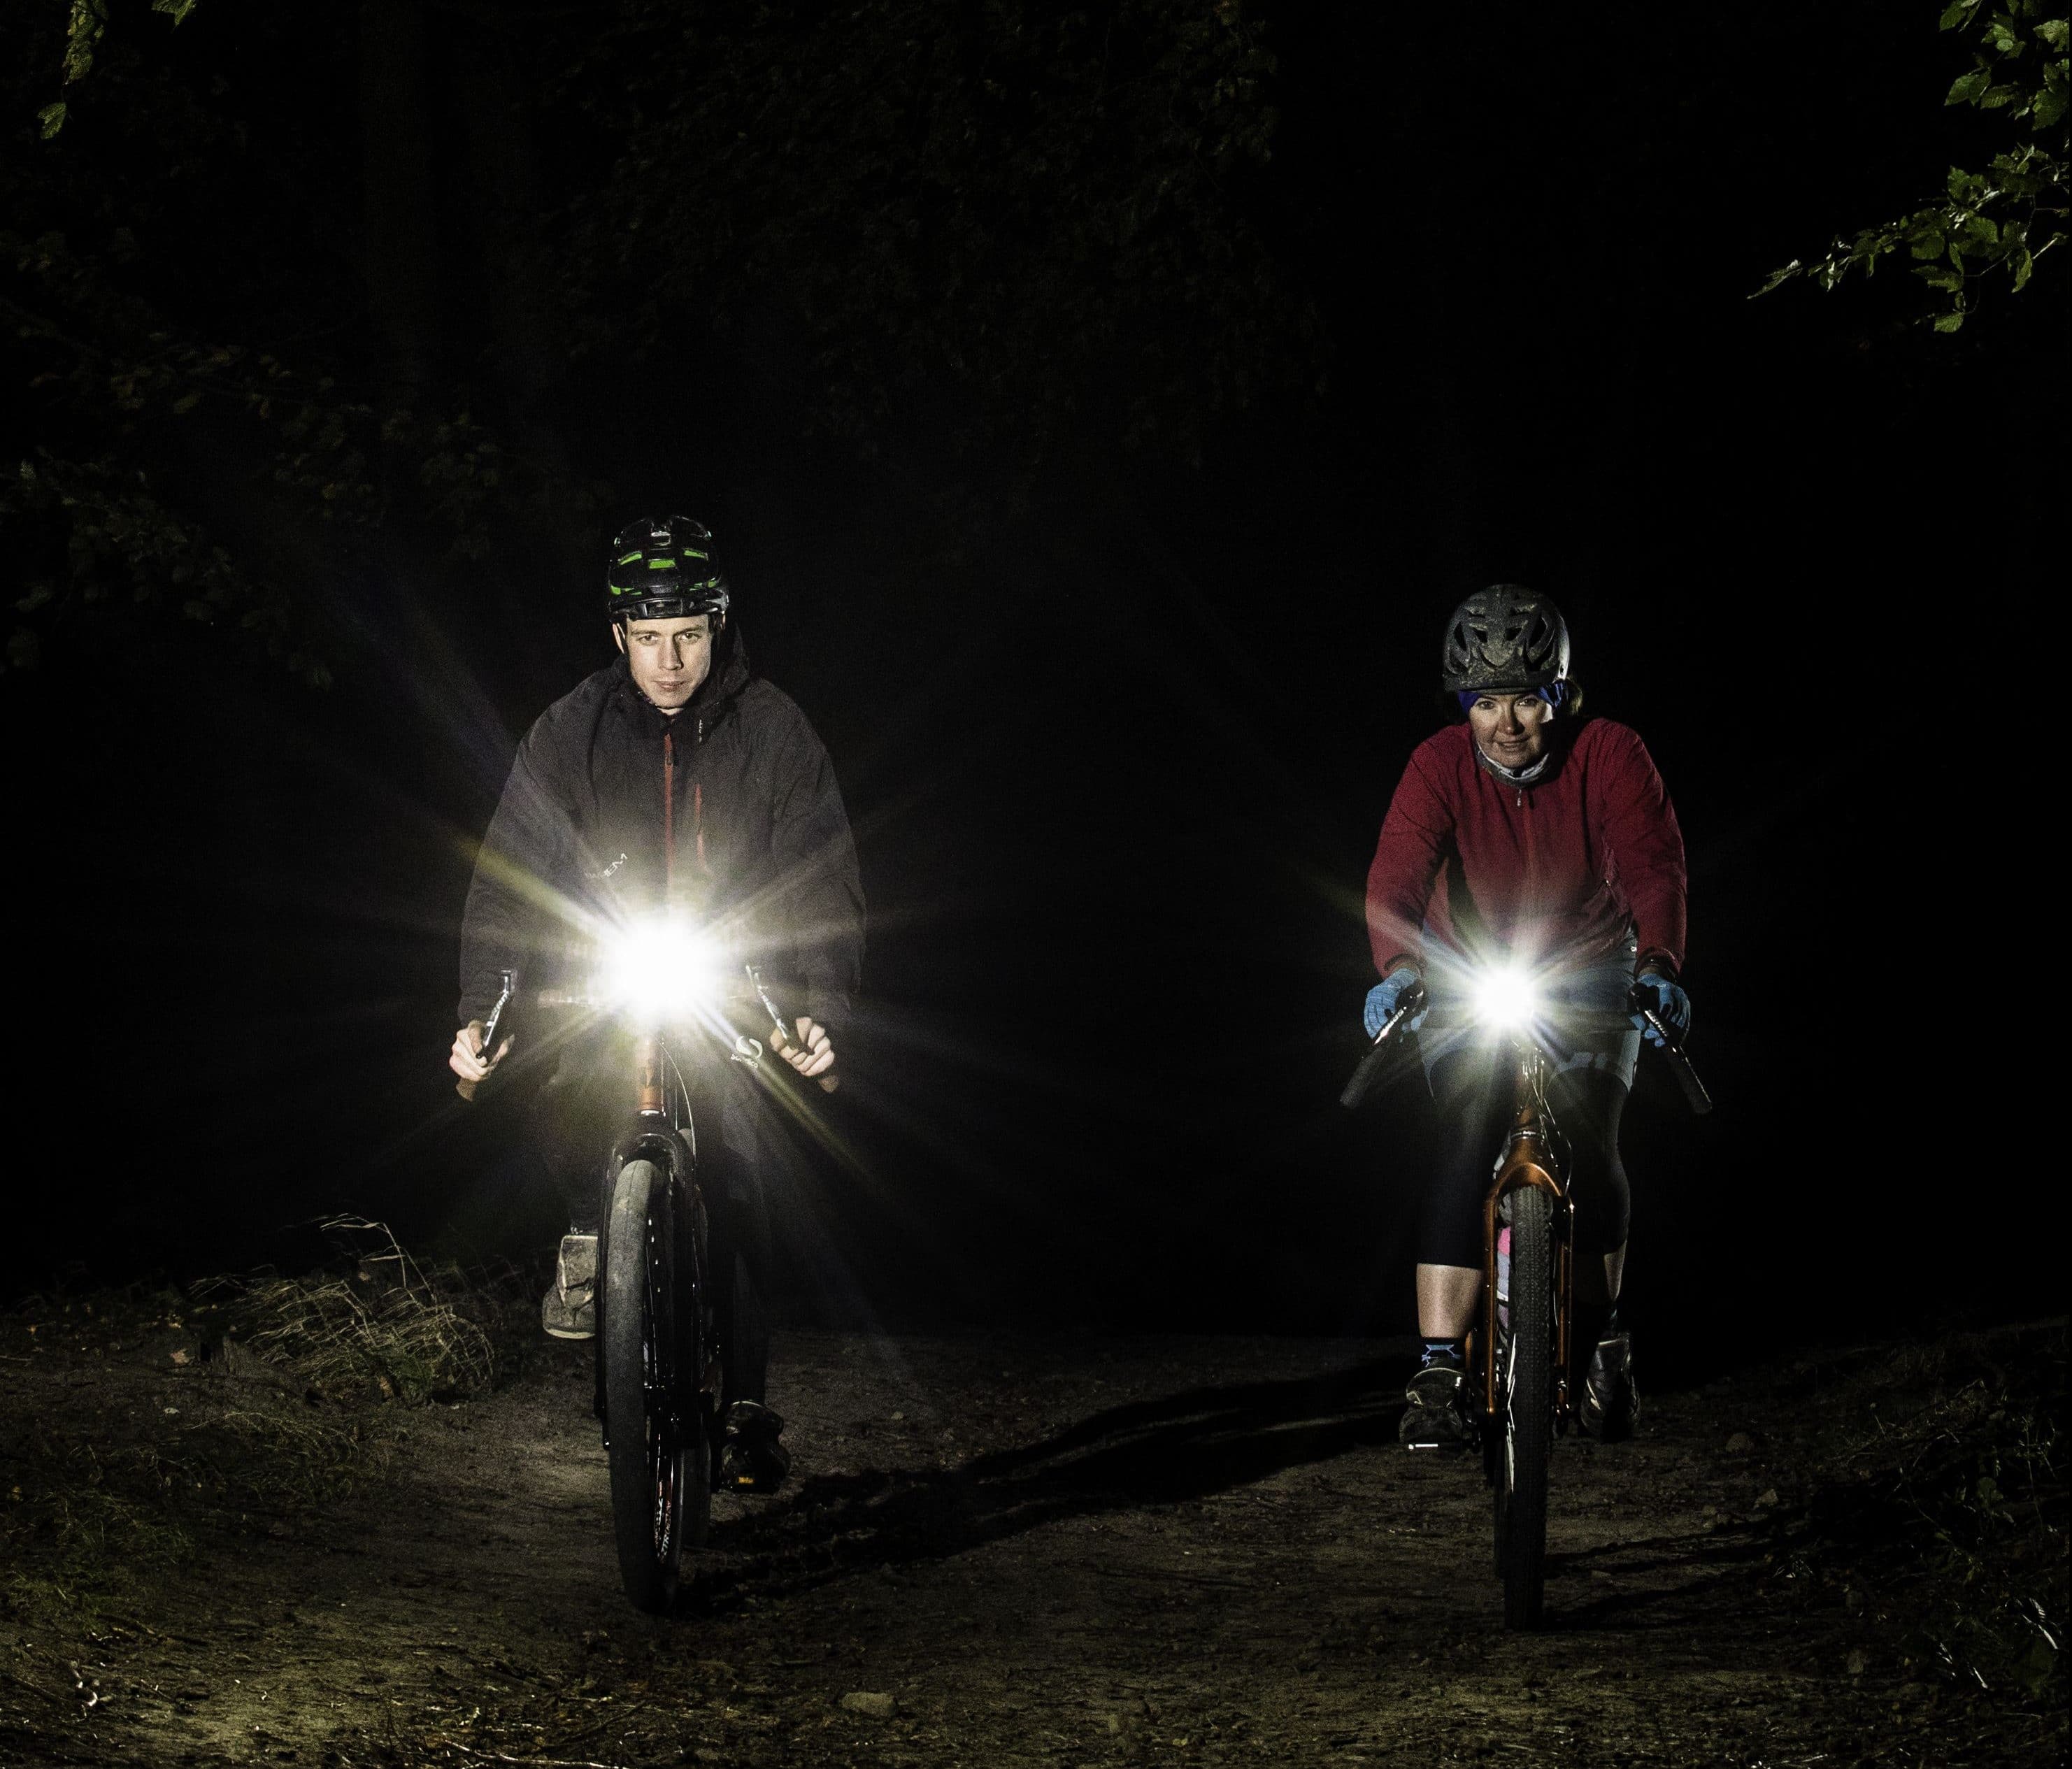
Lights Alive. The Yorkshire True Grit Dark Skies promises to be a totally unique experience. Photo credit: Mick Kirkman
Hope Technology and Four4th Lights are also highly rated and provide excellent customer assistance, should you want to look at alternative brands.
Whichever model you choose, if you get just one light, you’ll want it mounted on your helmet, so that it points where you’re looking. The optimum setup is two lights, one on the bars and one on the helmet. You’ll find that although a single helmet light is more than adequate on its own, as soon as you join up with a few other riders who are using dual setups, you’ll be quickly cast into the shadows.
I’ve got the Power!
The lighting arms race is still going strong over in the world of mountain biking. At last check, a 4,500 lumen handlebar light in the form of the Exposure Six Pack was the most powerful unit available. You’d be quite happy with half that power on your bars and around 800 lumens on your helmet.
Exposure produce the (road oriented) Strada which produces a 1200 lumen flat, road specific beam pattern that is perfectly suited for rural roads. It also projects a small degree of sidelight to make a little more visible to other road users approaching you from junctions, side roads etc. The light is very versatile and would be perfect if you are riding through the dark on an audax. However, the beam pattern isn’t as suited to off-road riding, although still adequate for the occasional fireroad excursion, you’ll lose any depth of field perception on singletrack.
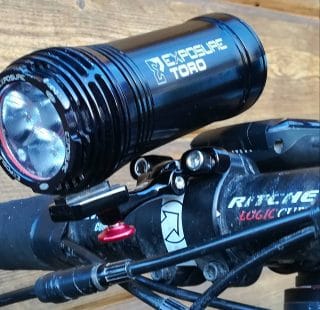
A sensible setup would be the 1,000 lumen Exposure Joystick for your helmet and the Exposure Toro for the bars which has a max output of 2650 lumens. The more MTB biased and more powerful Exposure MAXX-D is probably overkill unless you really want to own the night.
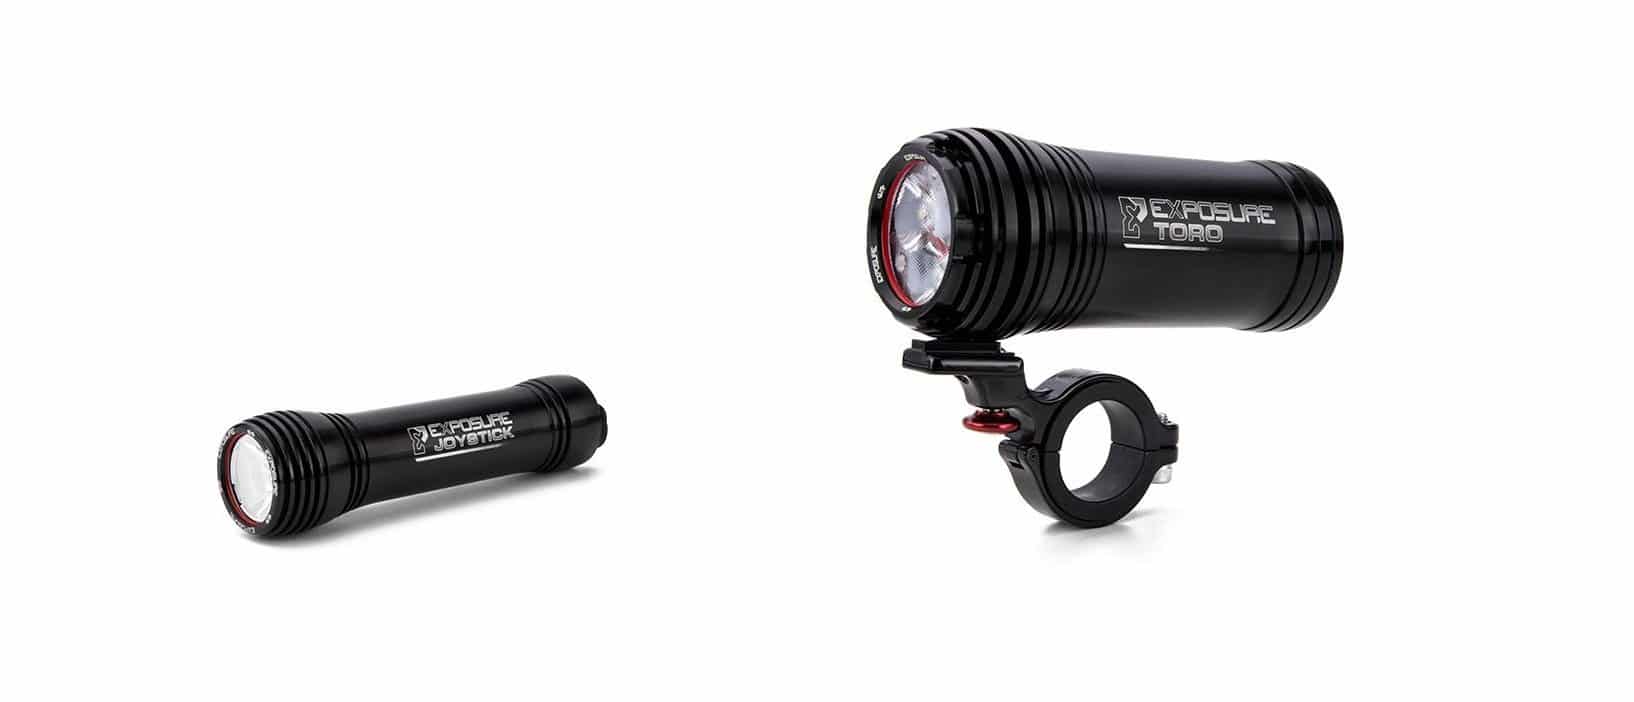
The happy couple: Exposure Joystick to sit on your hat and Exposure Toro on your bars.
Rear lights
Don’t scrimp on these. They’re your life saver when on the road and may be the only thing between you and a lorry on a dark road. Cheap blinky LED rear lights are not going to be noticed by even the most alert driver out on a country lane. We’ve had great experience with the budget Moon lights, but again for peace of mind, we’ve stuck religiously to Exposure. The Flare offers 40 lumens and is great self contained unit with easy charging function.
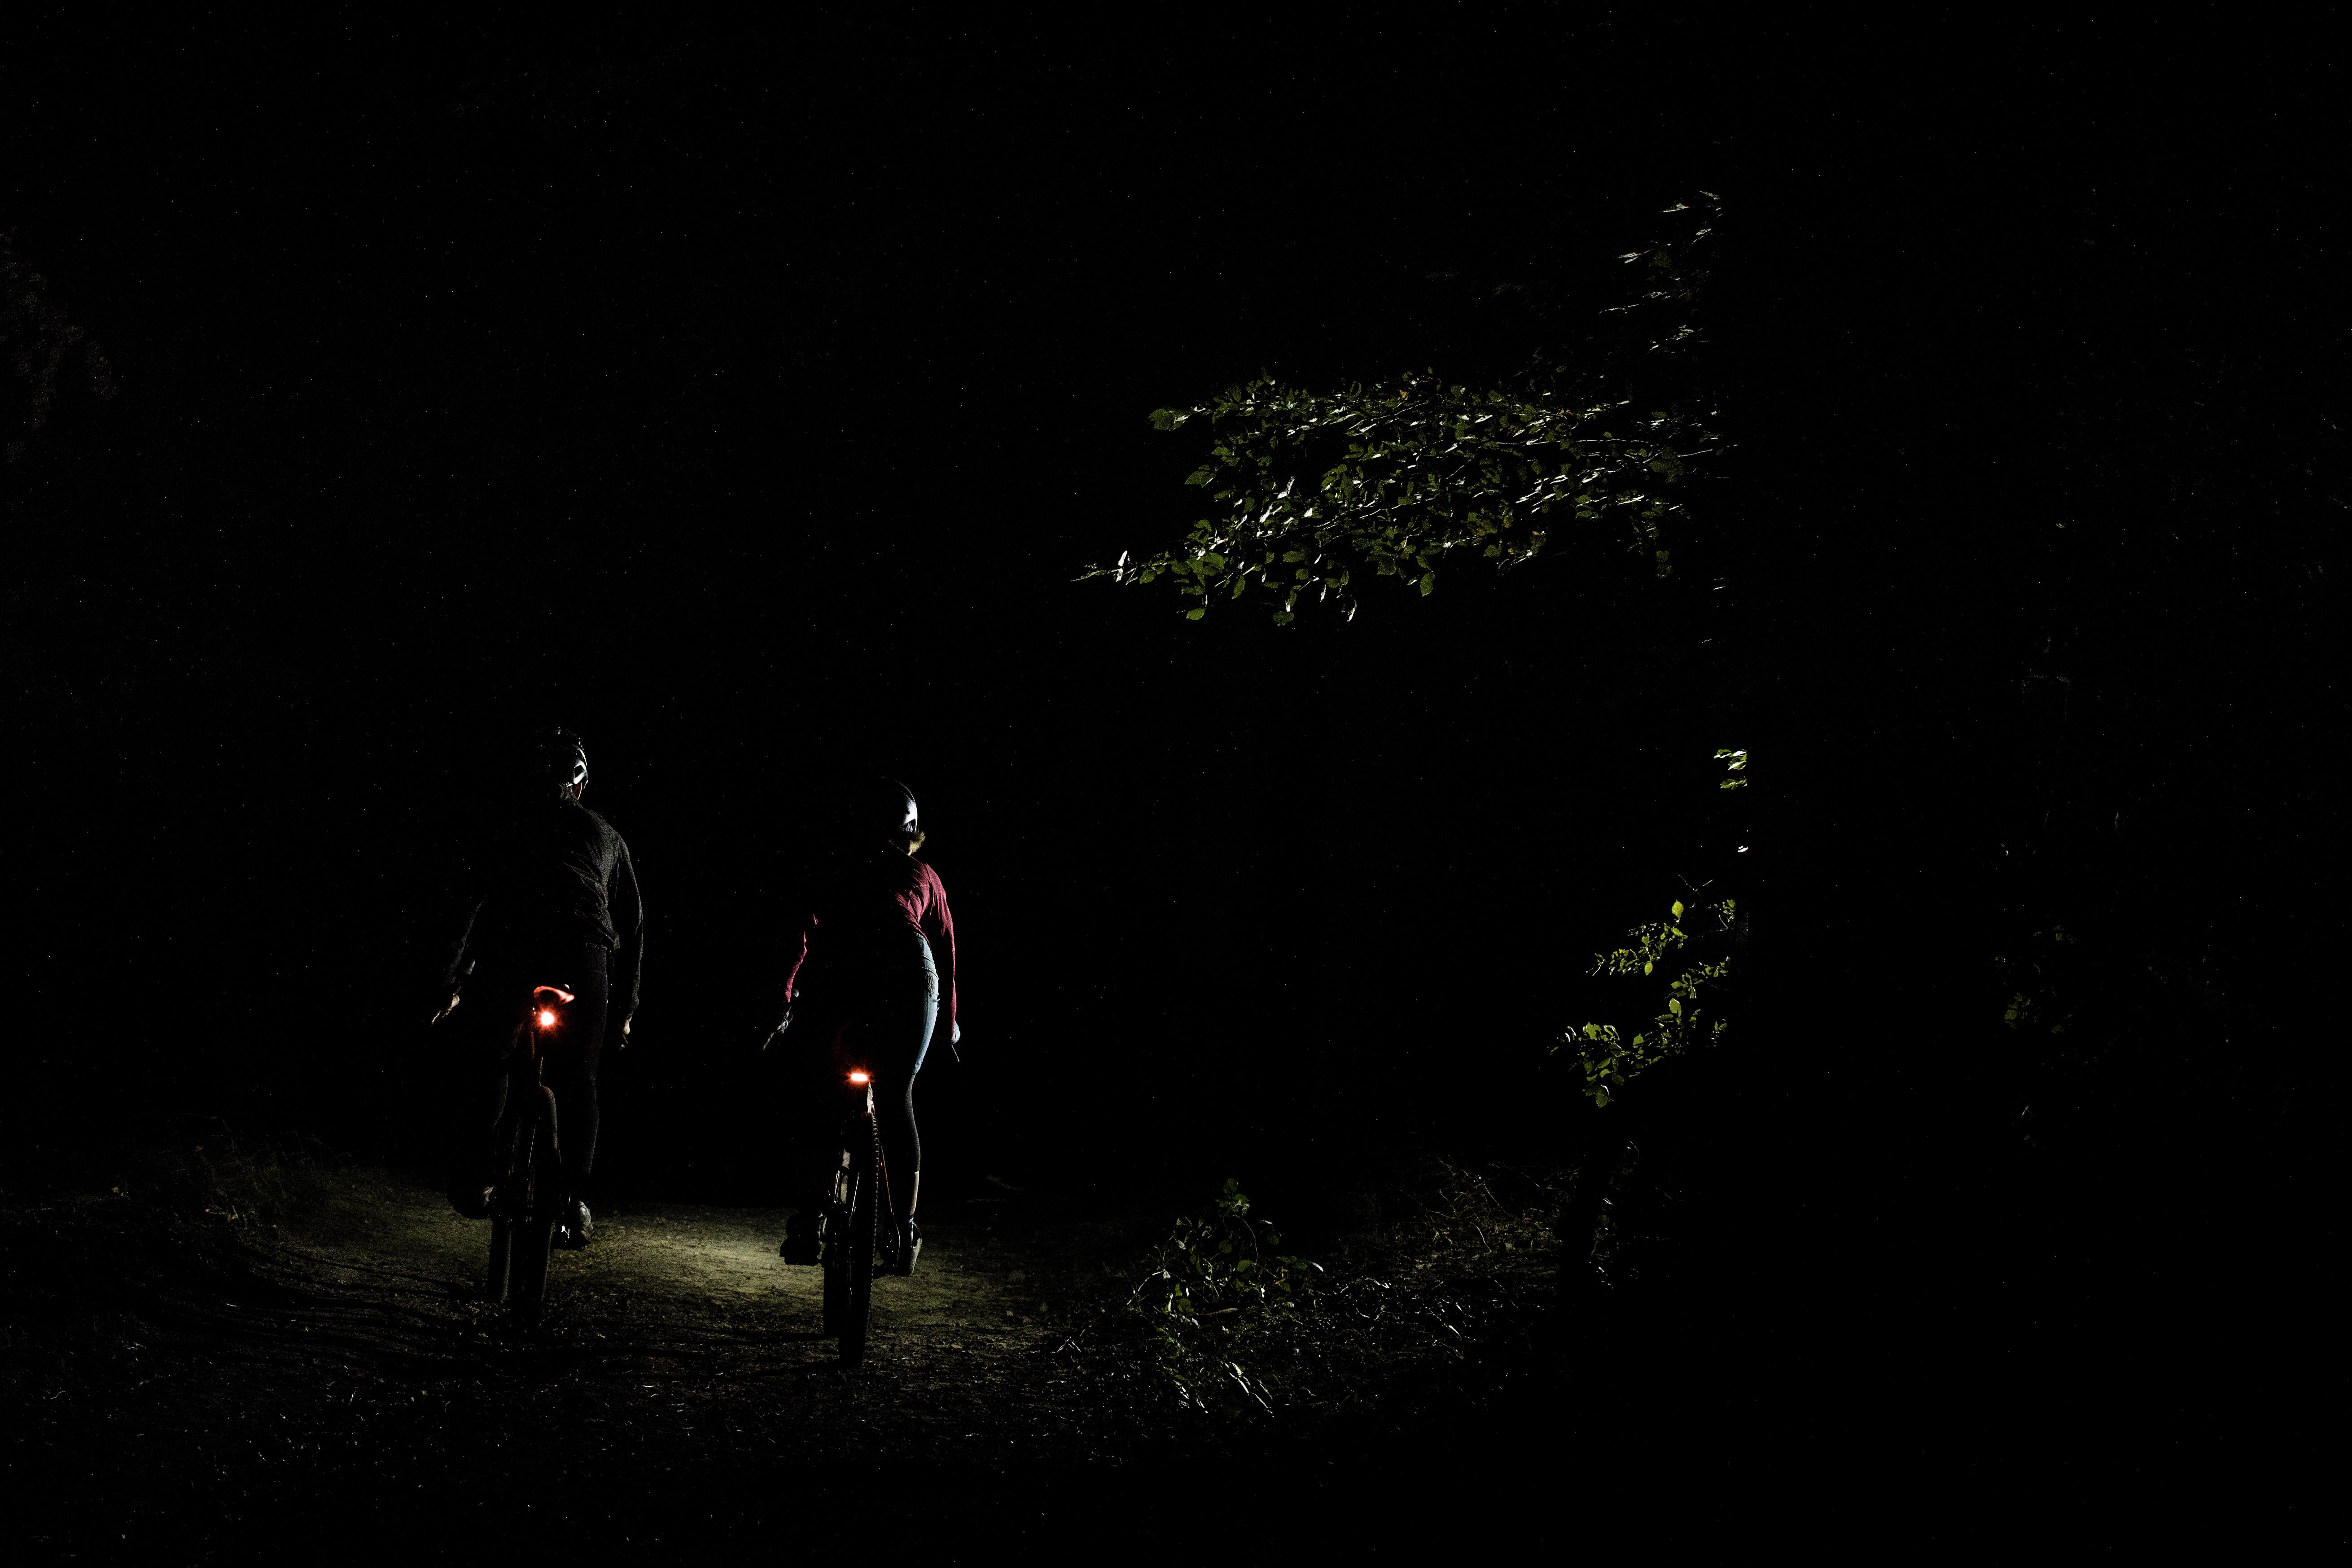
Tail lights are important for those excursions on public roads. Photo credit: Mick Kirkman
One thing to remember with rear lights if you are riding off-road in a group, they tend to drive people nuts! If you are riding in a line along singletrack and the guy in-front has his 80 lumen tail light flashing away in your face, you’ll soon realise why most MTB night race organisers have banned rear lights entirely! Once off the roads and onto trails, switch it off.
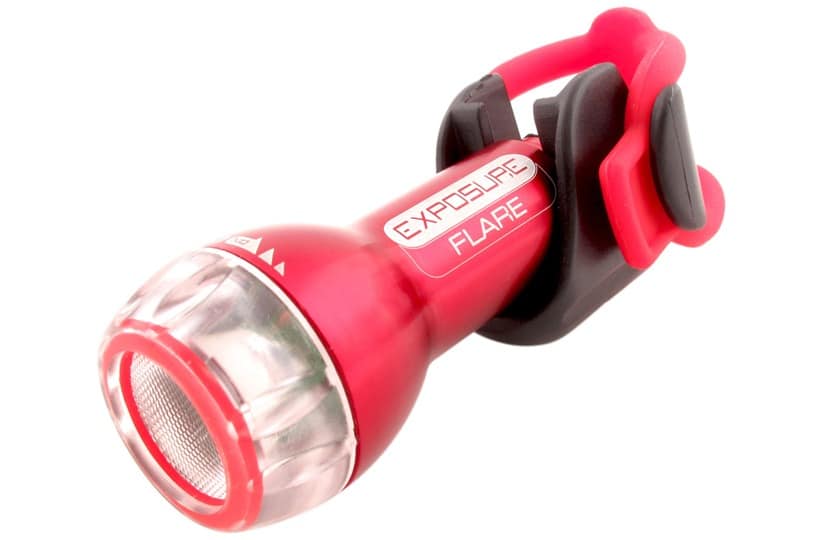
The Exposure Flare is pretty much all you could ask for in a rear light.
Hitting the trail
For your first ever night ride, you may not want to go on that red route that you can race around during the day. You might get a kick out of worrying the local MTB crew on your gravel bike, but lights tend to flatten trail obstacles, making it hard to judge the height of drops and the size of rocks. Assume that every obstacle is bigger than it looks and practice riding by ‘feel’ until your eyes and brain adjust to the way things look under the lights. Starting out on an easier trail that you are already familiar with, is good way to start. Once you get more practice, head back to the technical stuff and go nuts.
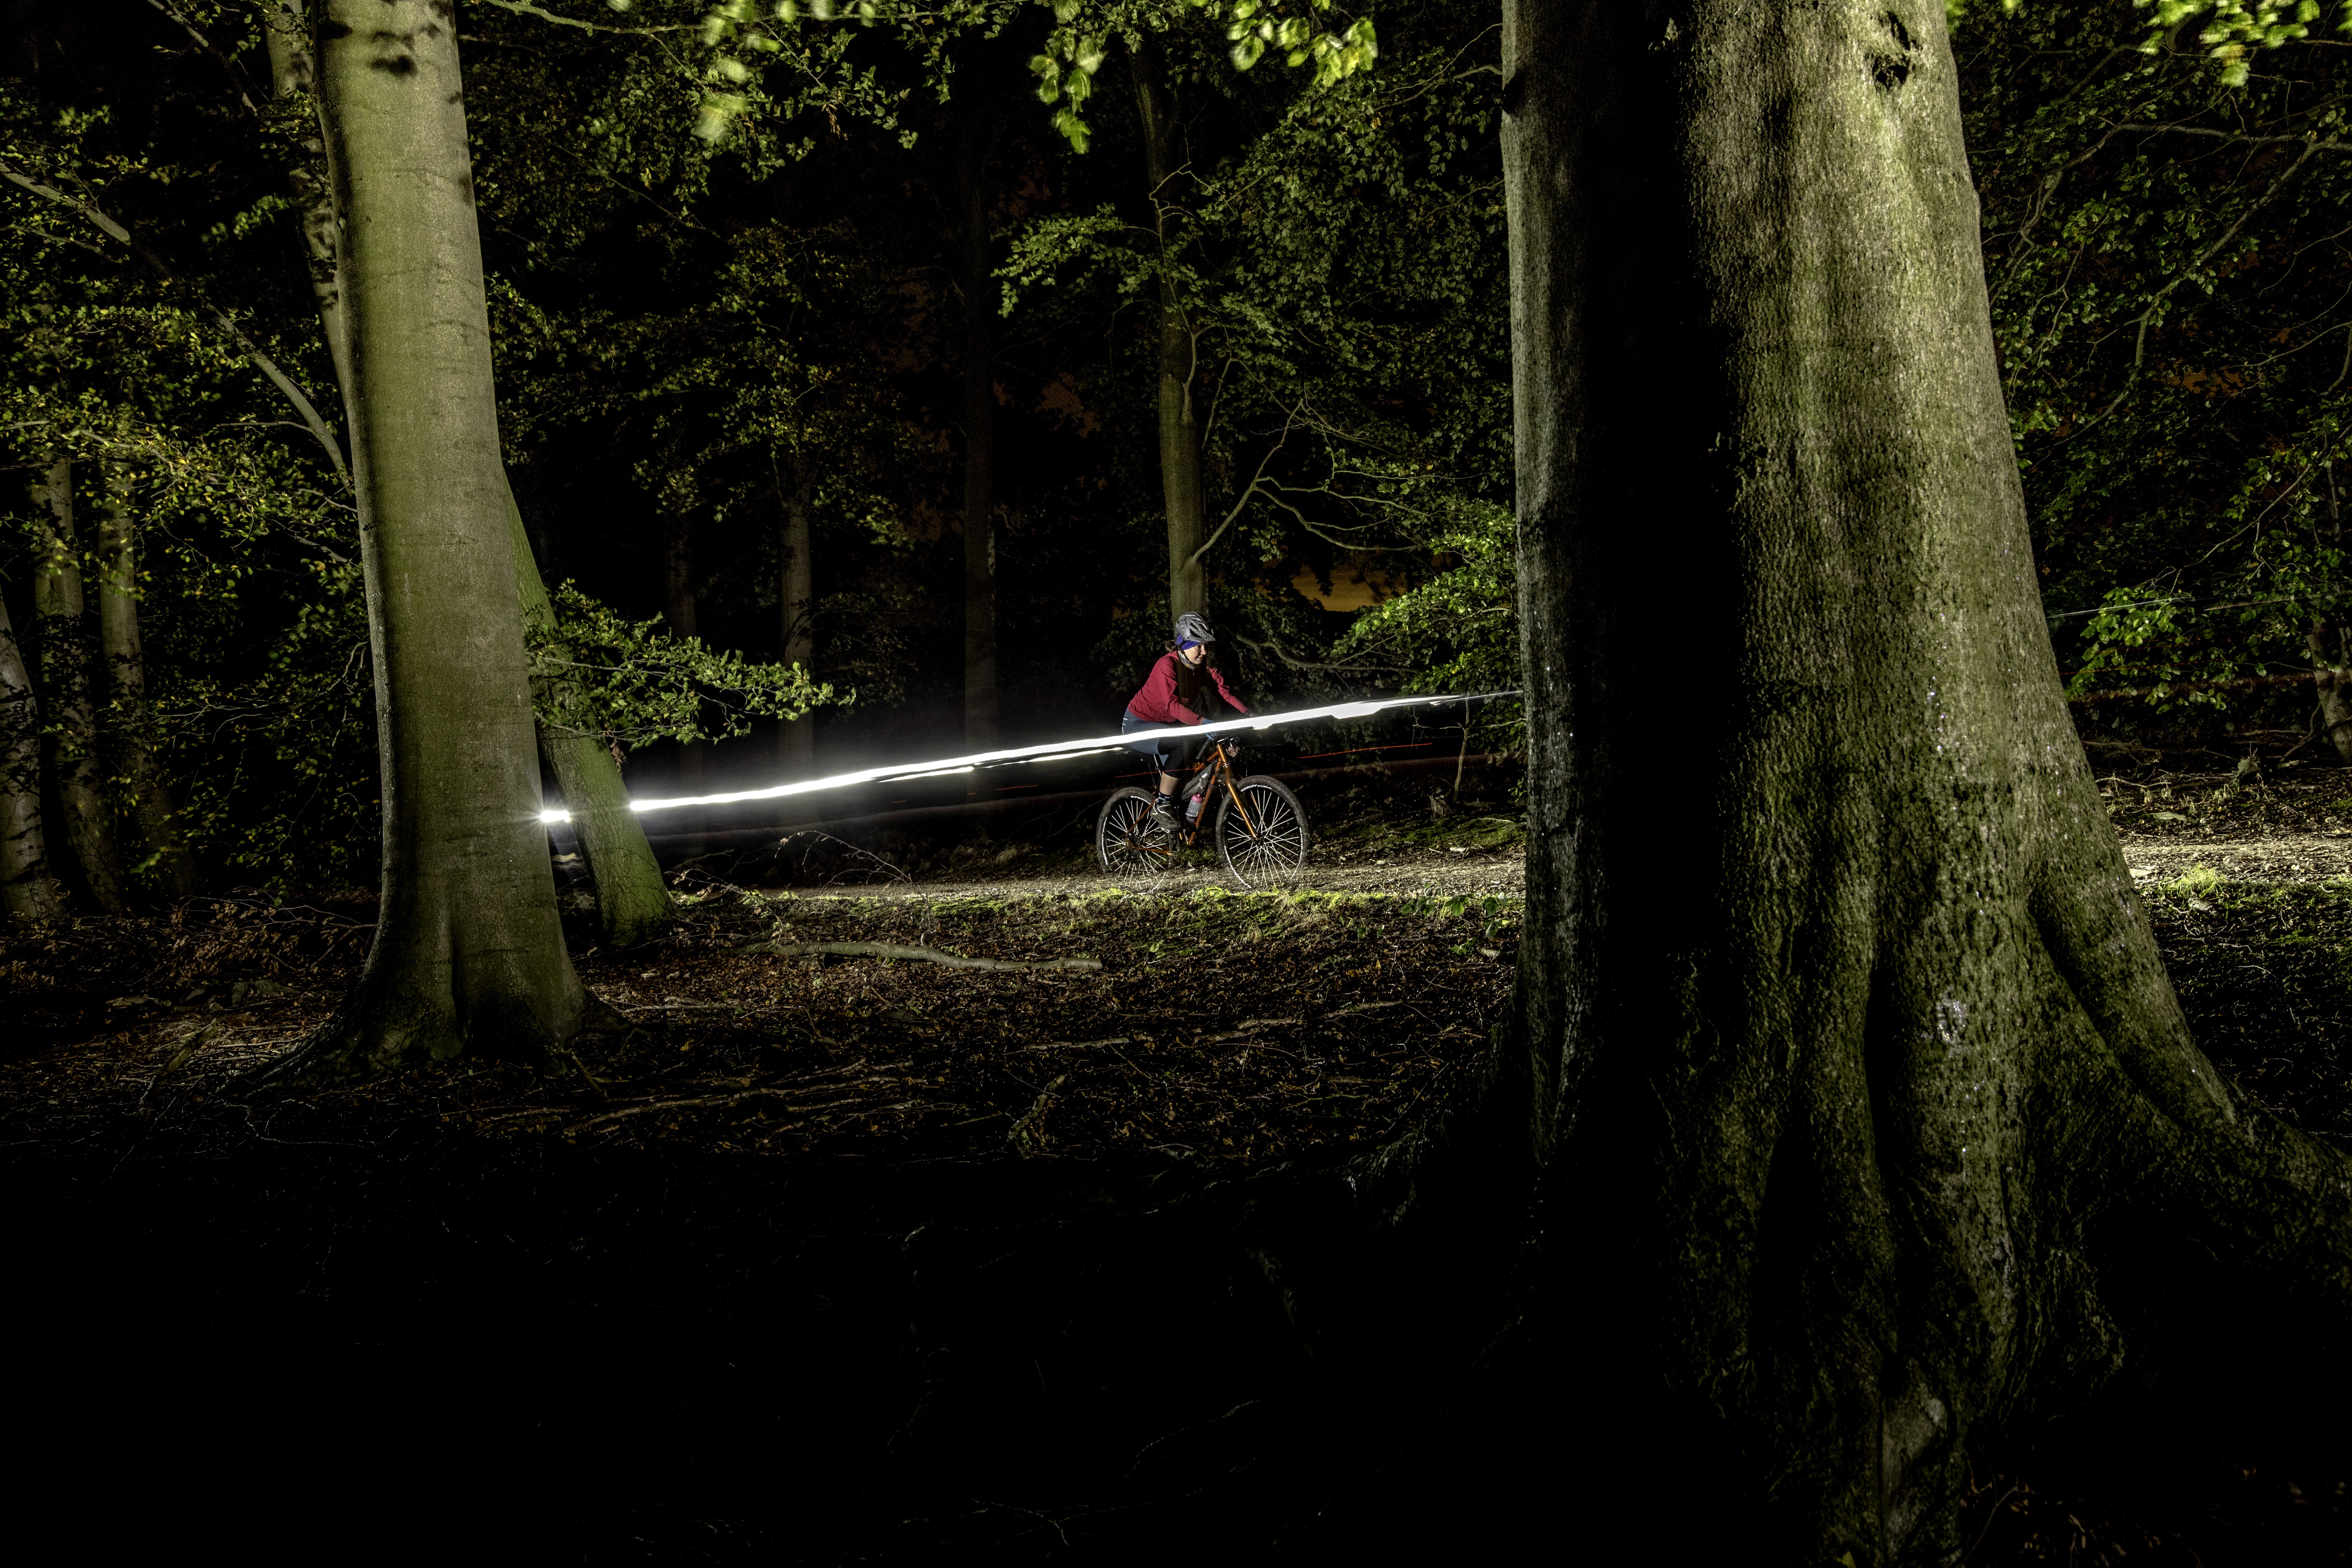
Get out and Gravel! Photo credit: Mick Kirkman
If your ride is going to take you out onto public roads, remember to switch on your rear light and turn down the power of your front lights – Be courteous to other road users and try not to burn out their retinas! Ultimately, roads just exist to get you off-road, so don’t waste too much time on them!
That’s pretty much all there is to it! Put on some warm clothes, get some good lights, practice on some tame trails, and soon you’ll be a seasoned night rider. You might even find yourself preferring it over daytime riding!
Our thanks to Yorkshire True Grit and Mick Kirkman for helping with this article and supplying the awesome photos.
Last modified: 16th February 2018
