
Or: Superficial Deposits and Where to Find Them
More fashionable than a little black dress and Burberry trench coat, gravel has become the surface to be seen riding on this season, but what is it? To be honest most of the time it isn’t actually gravel, at least not in its entirety.
In my capacity as a professional gravel geologist (no, really) I thought I should clear up some of the misconceptions and put together the following info pack. Pedants of the world gather round for my guide to gravel, sand, mud and all the gooey bits in-between, as well as a few hints on tyre choices, wonderfully illustrated by my good friend Polly Gregson (@polly_gregson).
Clay
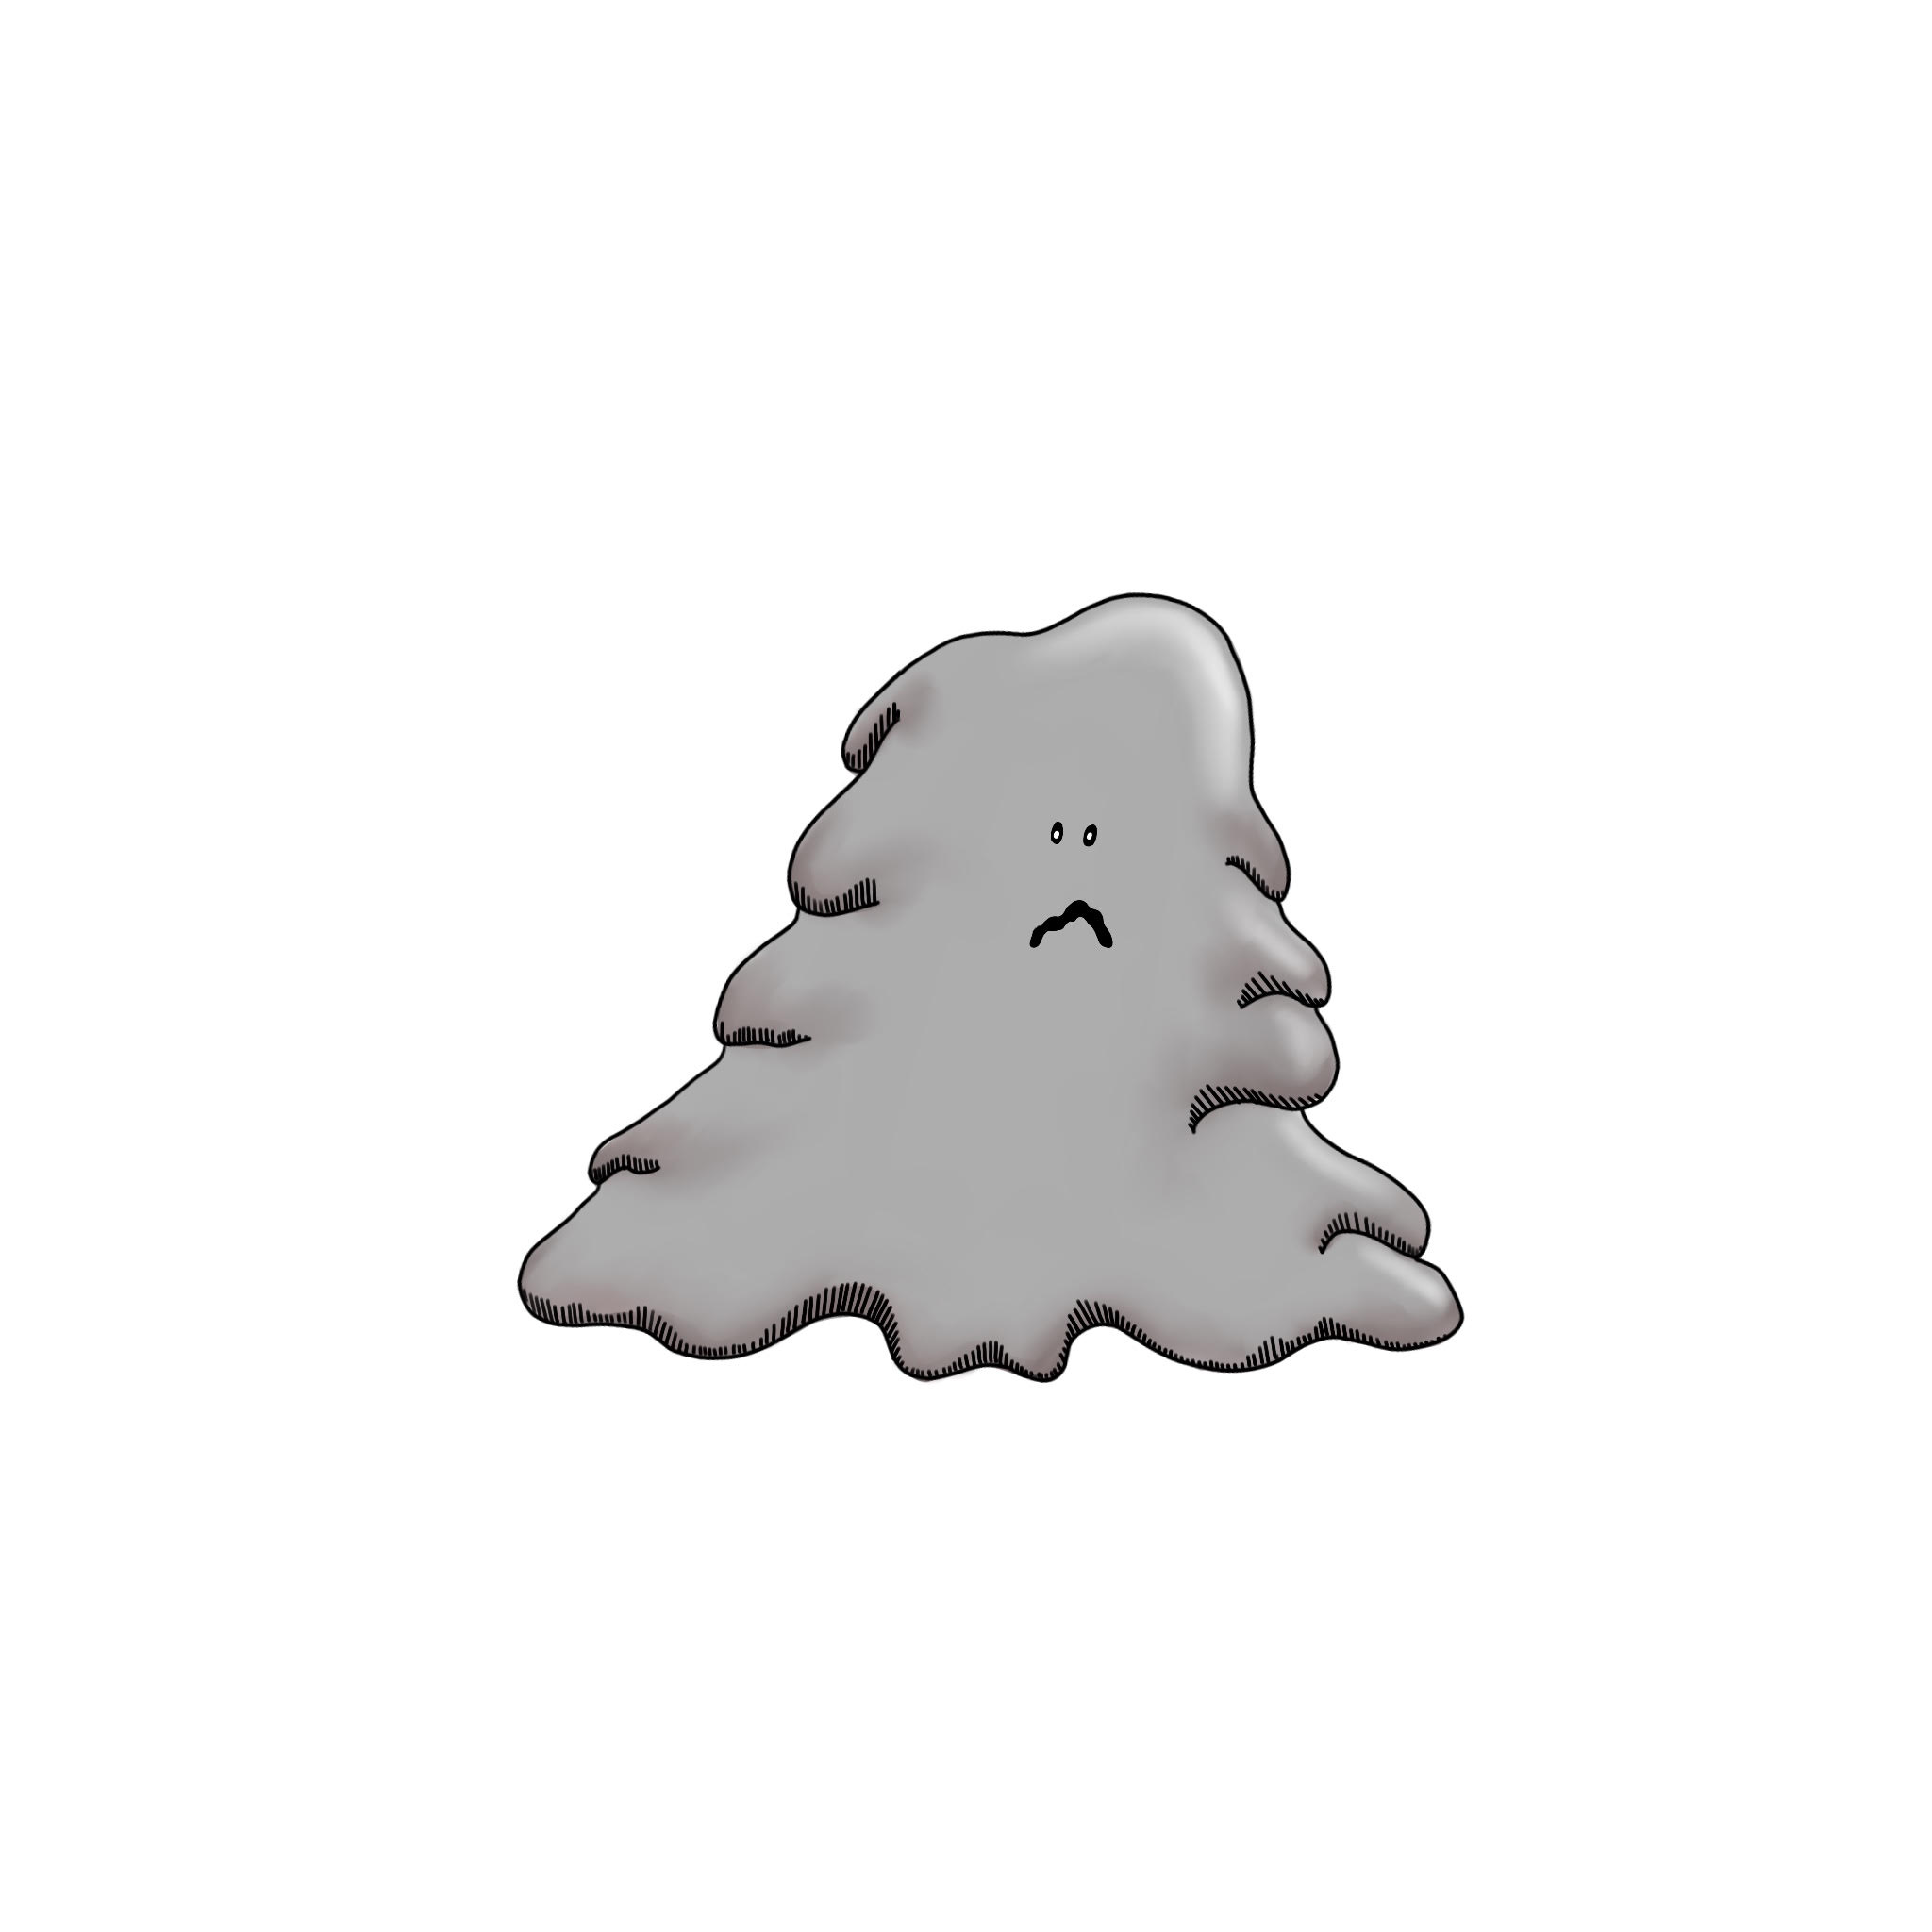
(<0.002mm or 1 E. coli bacterium)
Like powdered sugar in consistency, clay will choke your lungs and eyes if it’s dry and clog everything in sight when it gets wet. Along with silt and decaying matter this is one of the primary constituents of what people think of as ‘mud’
Clays are made of tiny plate-like minerals with hard to pronounce names like kaolinite and montmorillonite. While they may gunk up your brake bridge and tyre tread like nothing else, the right clays can be baked to produce expensive ceramic bearings, which can later be reunited with their forebears in a beautiful act of self-sabotage.
Mud tyres with widely spaced knobs are best, but even these will gum up. As will your shoes when you have to push. Challenge Limus for those on skinnier rubber, or Maxxis Swamp Thing if larger as a starter for ten.
Silt

(0.002-0.06mm or 1 E. coli Bacterium – 3/5 thickness of paper)
Silt is just wannabe clay. It’ll still clog your bike up, but maybe a fraction less. Unlike clay it is round, and the product of physical weathering. To tell silt from clay you need to rub it between your teeth. If it feels gritty, it’s silt. If it’s smooth, it’s clay. If it tastes like poop you’ve exhibited a catastrophic error of trailside judgement.
In the real world silt rarely forms deposits on its own, and is usually a minor constituent. It’s a social beast, readily transported about the place by wind, water, waves or ice.
Sand
Fine
(0.06 – 0.2mm or 3/5 thickness of paper – 1/10 spaghetti thickness)
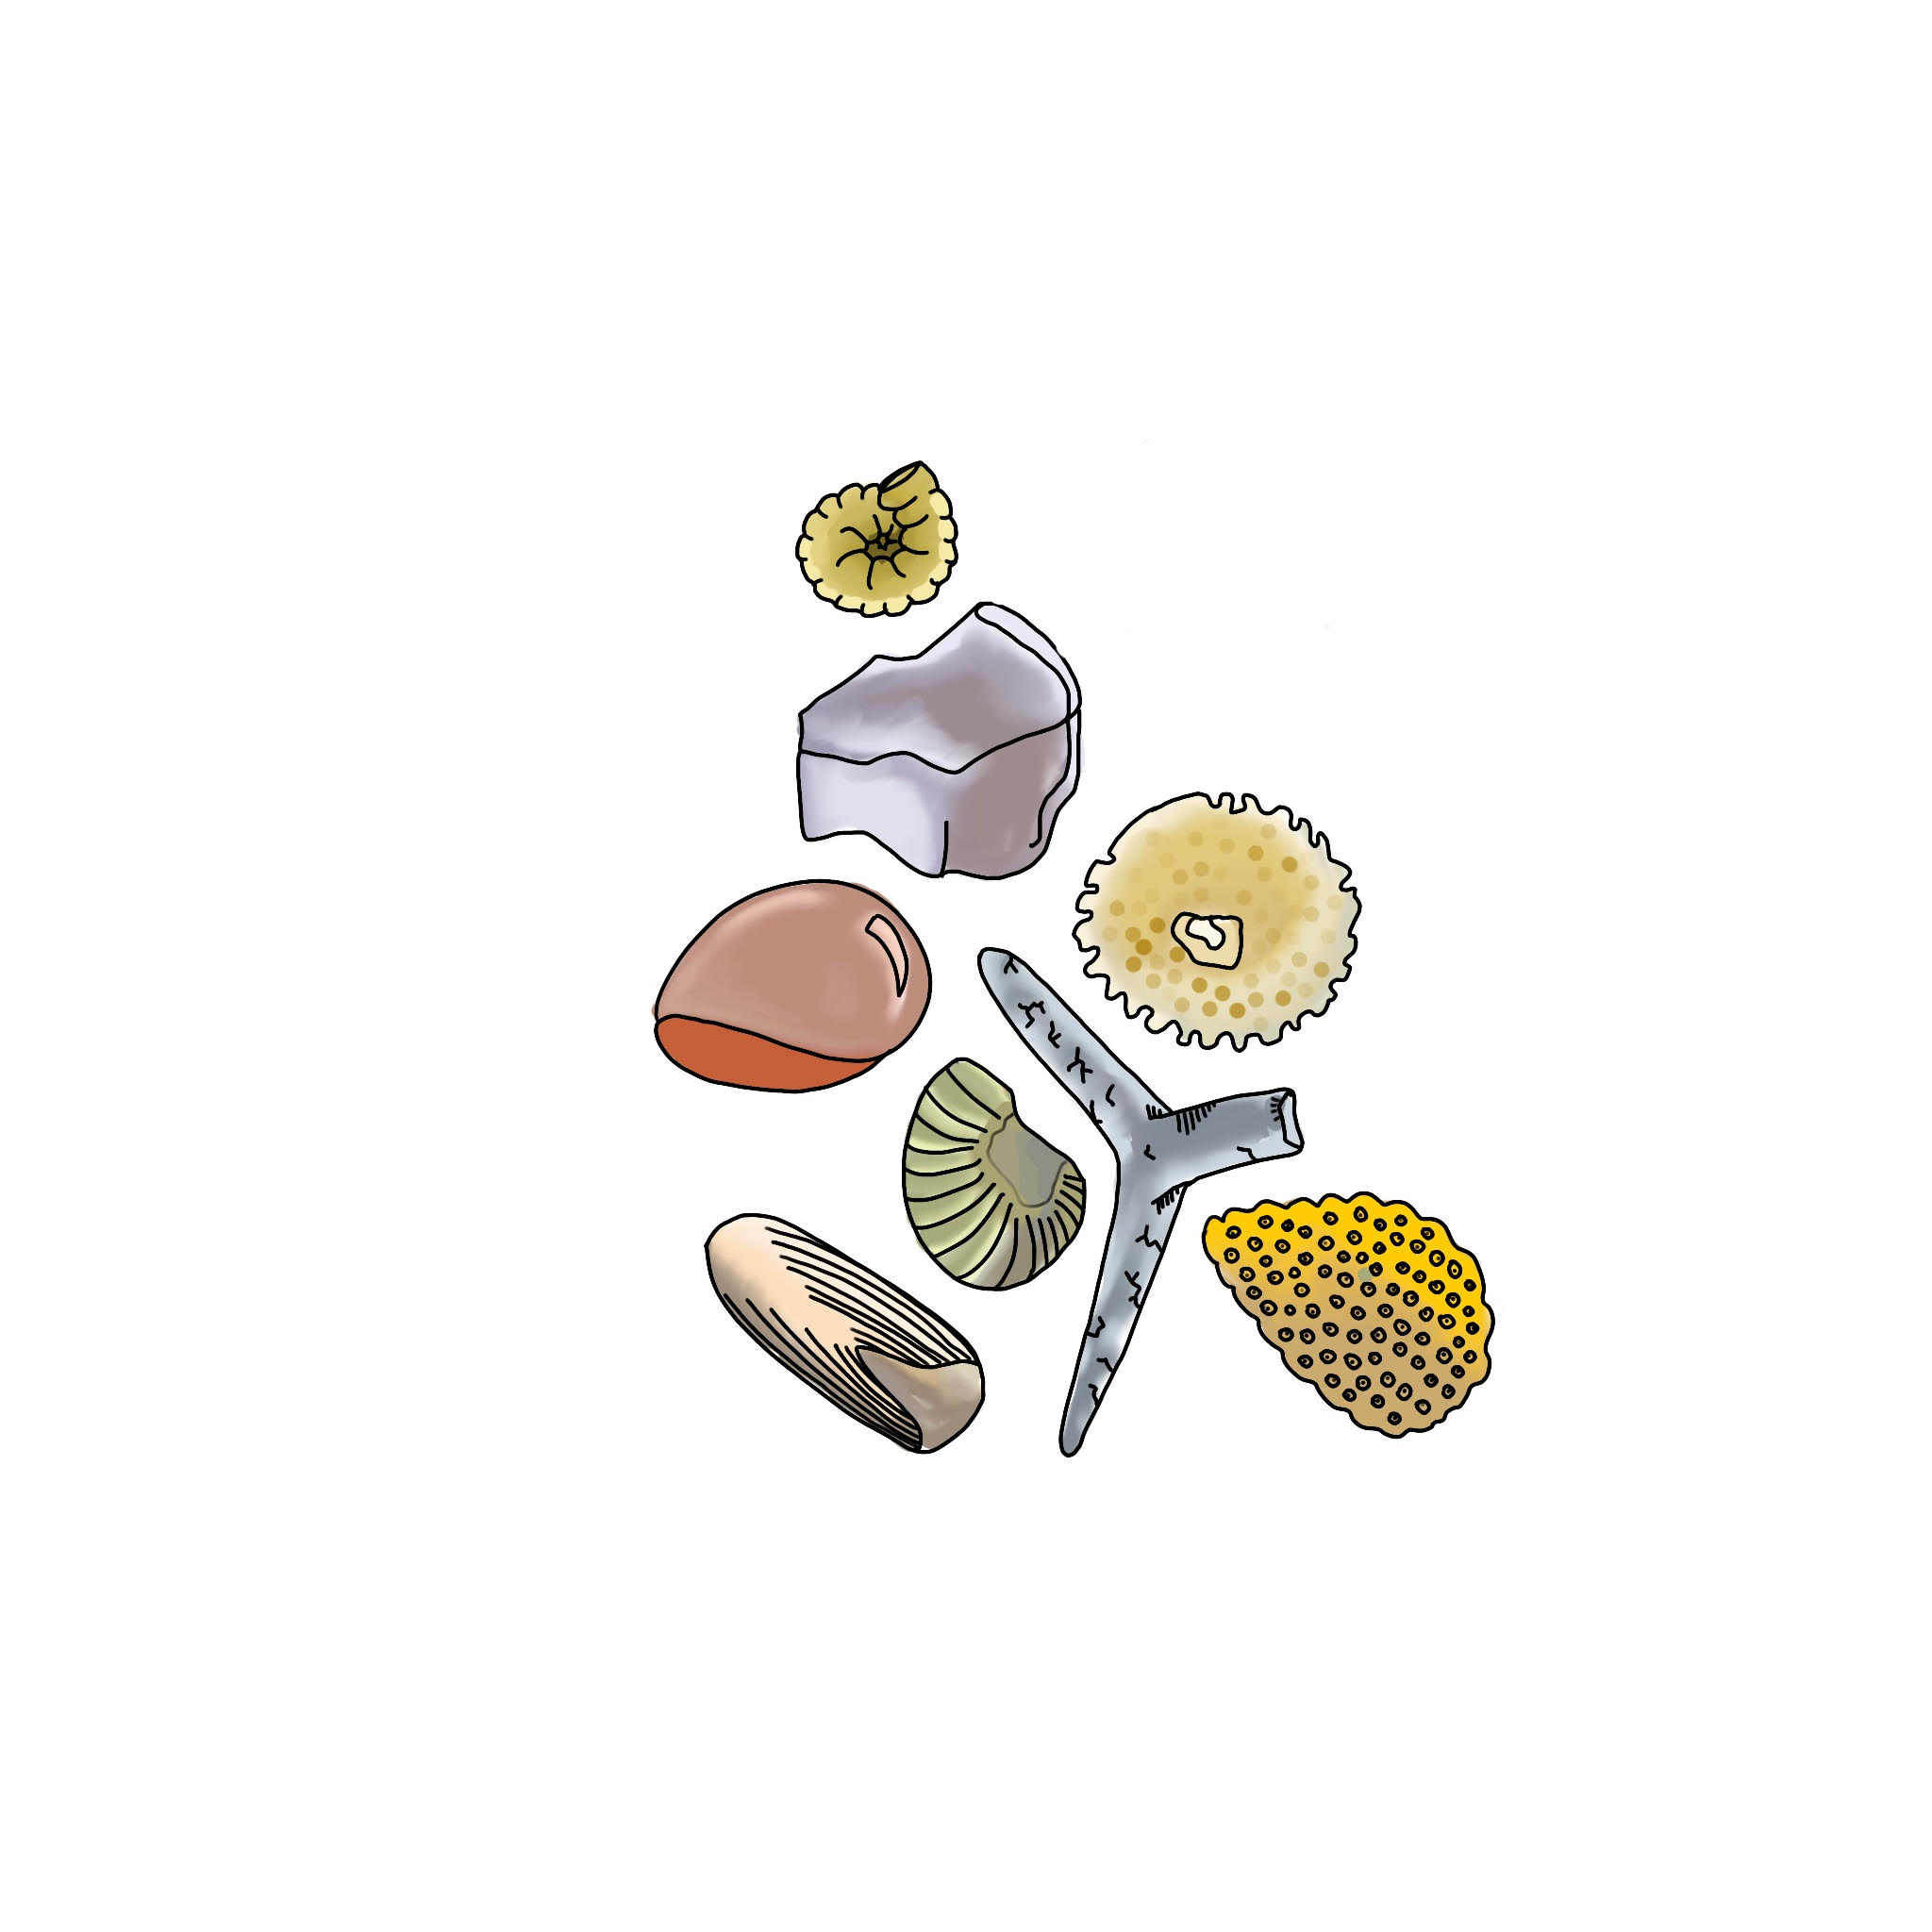
We’re getting towards the good stuff. Small enough to be blown by the wind, fine sand forms the dunes you look at while wishing you’d bought a fatbike. Mostly comprised of broken up rock, it can also contain fragments of shells and corals, or whole shells of tiny sea creatures.
It’ll also work its way into your drivetrain easily, and on a quiet day you’ll be able to hear it grinding your new oval chainring away one dollar at a time. On the plus side it makes for soft landings and the best cyclocross tracks (see: Koksijde). Get yourself something like the Challenge Gravel Grinder if you’re on <40mm tyres, as it’s based on their Dune/Chicane models. If you’re on a fatbike, then anything goes!
Medium
(0.2 – 0.6mm or 1/10 spaghetti thickness – 6x paper thickness)
Bigger, meaner and more grindy than fine sand. Less prone to forming dunes, but waves can carry it just fine. Think big sandy beaches you can camp on, nice, solid and compact when wet. No worries about clogging your drivetrain here, but unfortunately sand has an annoying habit of finding its way into mud and creating Natures Finest Grinding Paste™. As well as beaches, these can be found inland due to the breakdown of sandstones, themselves possibly an ancient beach from 1 million BC (Before Cycling).
If you’re riding along a beach you’ll need some wide rubber, but you already know this. If it’s a hardpacked sandy trail, perhaps a GravelKing SS or similar would do nicely.
Coarse
(0.6-2.0mm or 6x paper thickness – standard spoke width)
At this point it’s almost too large to remain airborne long enough to ruin your drivetrain, but God help you if you fall off; this is the sandpaper you start with when you’re in a hurry. The result of stormier beaches and moderately fast rivers, coarse sand helps to create free-draining, dry, grippy trails. If it lies over a slick rock base you may as well ride over a handful of ball bearings.
As for tyres, we’re approaching the dedicated ‘gravel’ tyre. GravelKing SS or SK a good benchmark, or perhaps the WTB Horizon.
Gravel
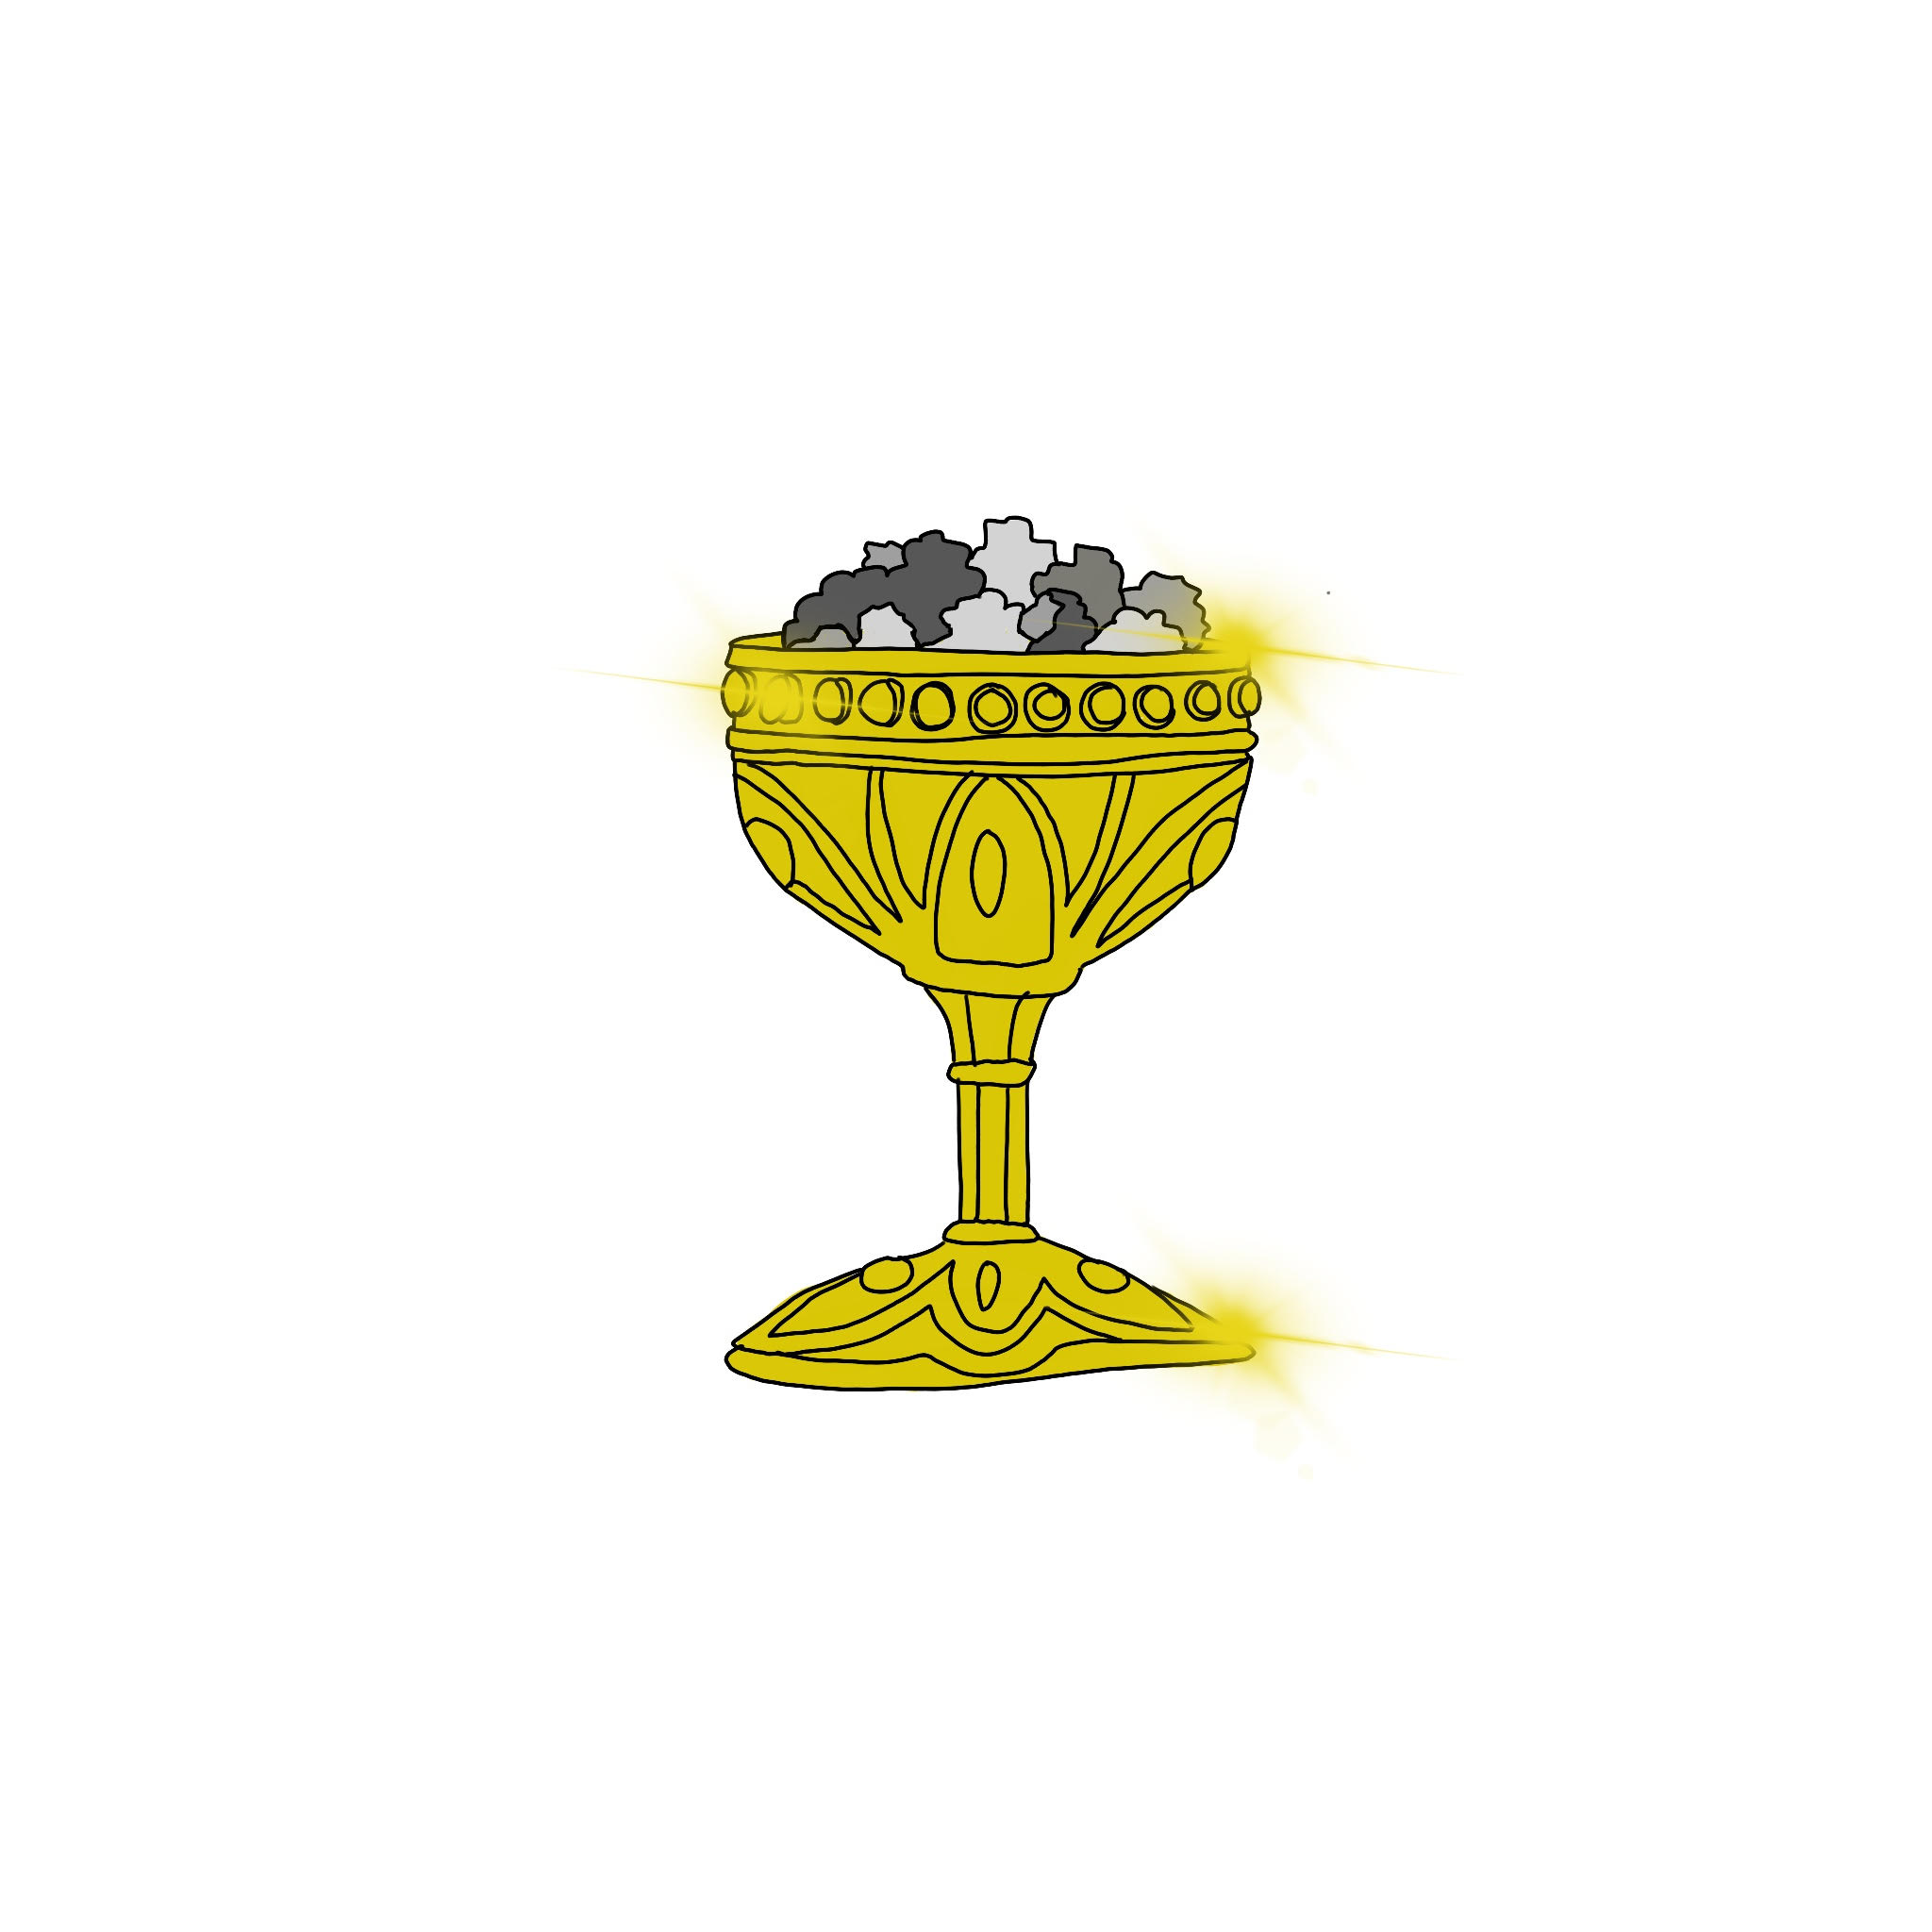
Fine
(2-6mm or a cable ferrule – chain width)
One of the two Holy Grail sediments, along with medium gravel. Coarse enough to not end up in your drivetrain unless mud is involved, fine enough to not worry about pinch flatting or tyre cuts. At this stage it’s approaching broken bits of rock of varying shapes and sizes. The bits lock together more easily and so are less prone to slipping. We’re getting properly into GravelKing SK and WTB Byway territory now, or Schwalbe G-One.
Medium
(6-20mm or chain width – handlebar diameter)
The second of the Holy Grail sediments, but with added danger. Single lumps just about big enough to accidentally ping into passing traffic. About the coarsest you can go without wondering if you should invest in some form of suspension if you’re riding a UCI legal ‘cross bike.
You can start to see the local geology now, which will start to dictate the ride more than the size of the lumps themselves. If the rock breaks into regular lumps you’ll get a loose ride, and if they’re irregular they’ll lock together better to give a more confidence inspiring trail. Small knobs are maybe not a terrible idea at this point, depending on how much clay is also about. WTB Byway or Michelin Power a good starting point.
Coarse
(20mm to 60mm or handlebar diameter to 2.25” tyre)
Local geology is going to dictate how this rides. Sandstone will be lovely and grippy, flints will be noisy as all hell, and anything approaching slate and you best hope you’re running tubeless. Once coarse gravel starts to appear it’s about the point you usually have to start paying proper attention. Fingers crossed you’ve got fatter tyres, but suspension forks probably not totally necessary. It’s unlikely that coarse gravel will be the main size fraction, but if there’s coarse gravel about you’ll need something with a bit of bite.
Cobbles
(60 – 200mm or 2.25” tyre – Standard Nalgene)
You’re going to need big tyres or suspension if you want to enjoy your time on loose cobbles. Pinch flats are a real possibility here. Most likely you’ll be coming across cobbles in areas of more recently weathered rock, high energy rivers, or very stormy beaches. Nobody’s going to blame you if you want to push at this point, especially if the gradient goes uphill.
Whatever tyre you use, these are going to suck at some point, especially if it’s wet. Fortunately you’re unlikely to come across miles of pure cobble. If you do, you’ve done something very wrong, or you’ve taken a wrong turn into a quarry.
Boulders
(>200mm or >Standard Nalgene)
Think of the lumpiest bits of Fort William track and you get the picture. Pinch flats start to look appealing after you crumple a rim. Their saving grace is that they’re usually big enough to stay in place while you ride over them.
Boulders can be found in very high energy rivers in the high mountains, as they’re often only moved by glacial meltwater. If you need to cross, watch your footing and think warm thoughts!
Tyres aren’t so much of a choice here as footwear…
Peat
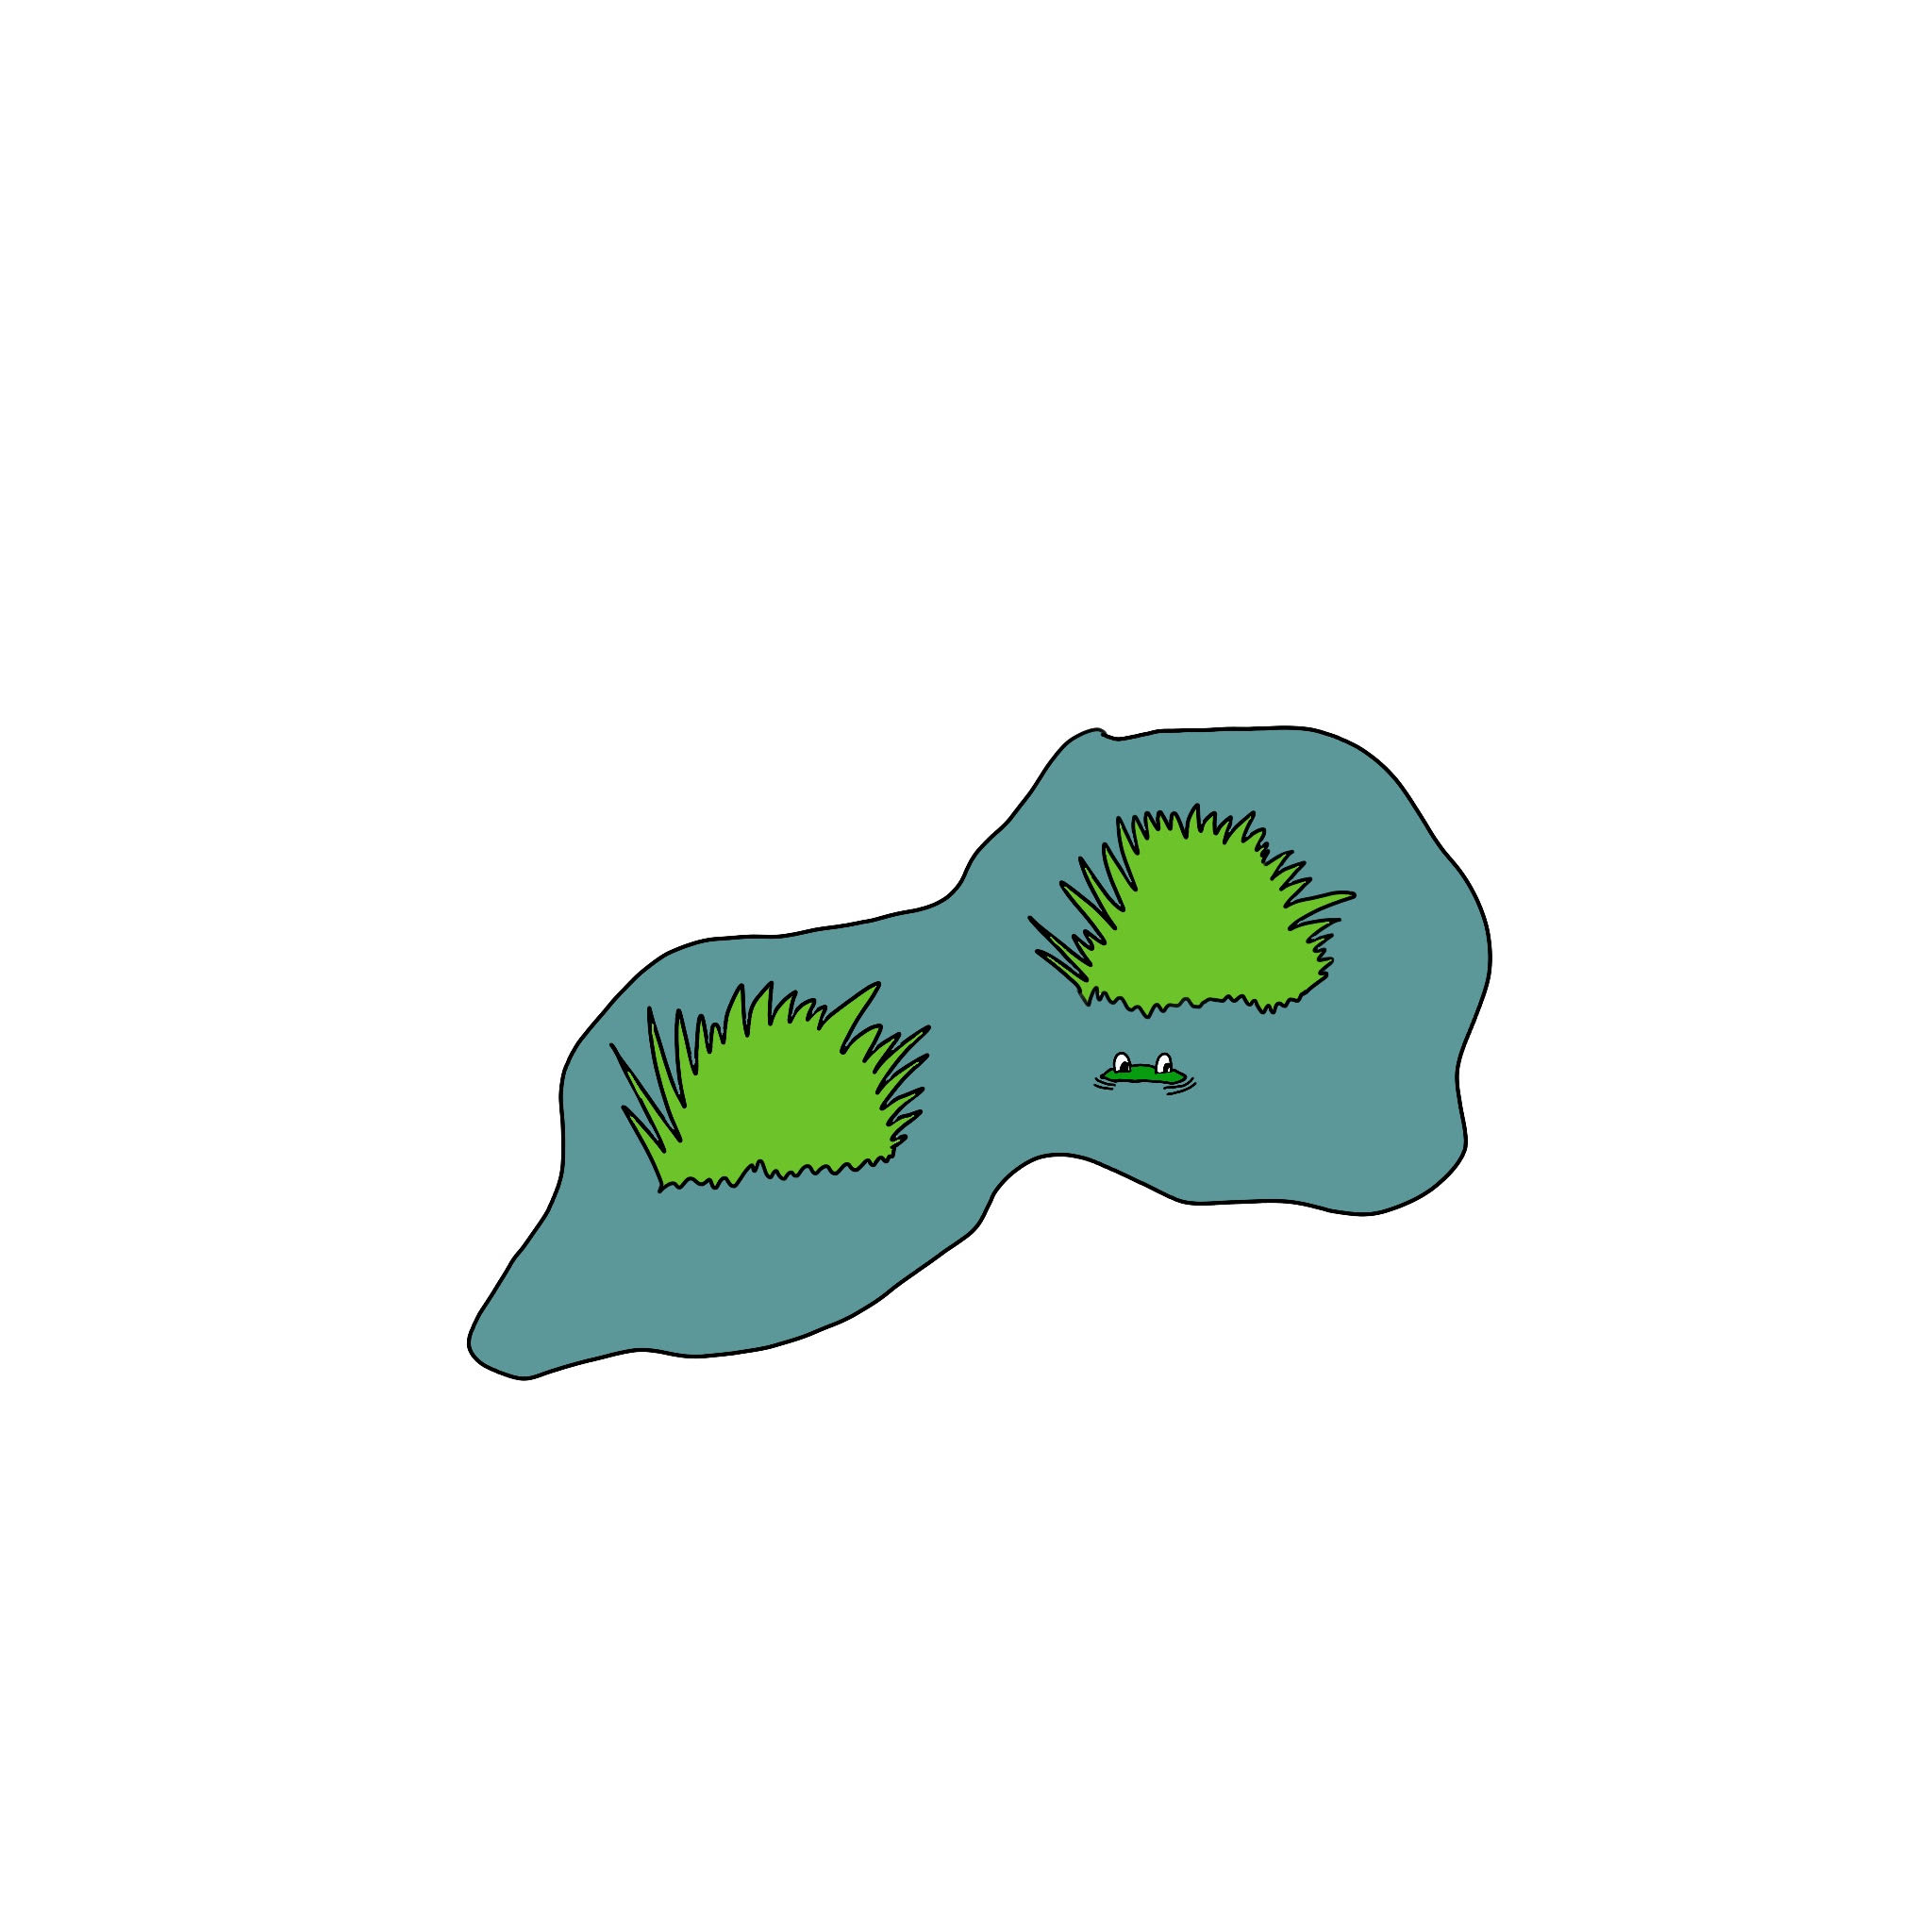
Size is a bit irrelevant in terms of peat. Famously boggy, it’s the result of rotting vegetation. Give it another million years and you might get some coal. Very soft landings, and very difficult to wash out of clothes. If you see oily looking runoff from a field, it’s likely peat is involved. Mud tyres needed, and a water filter…
In reality nearly all the surfaces we ride over are a mixture of sediment sizes, but hopefully now you’re able to say “Look at this slightly silty sand” as you wash it out of your knees, or explain to the guy with the ‘Truck Norris’ bumper sticker exactly what size lump you pinged into his truck.
Last modified: 17th December 2020


Always good to know what surface you’re falling on 😀
However, I don’t really get the tyre suggestions in terms of thread: what I would have expected is that you what large and deep knobs for mud (and other soft terrains, or snow), maybe small knobs for sand over hard-pack and when the deposit size grows then the thread has very little effect and the rubber quality matters more, especially in wet conditions. I mean, from medium gravel to larger sizes, the knobs are not really doing anything, in particular if the gravel is a bit deep… or maybe the flexing rubber adds grip? Of course, the surface is often mixed and “pure gravel” is quite uncommon on this side of the pond…
I see the reason behind the choices for clay, but I would be curious to read why the other examples were picked.
And just a pedant typo correction: I guess boulders are >200 mm in size 🙂
I am so happy to find out I’m not the only one who thinks about soil in a different way to most. I also think being a geologist and a MTB/gravel rider go hand in hand because you get to appreciate the millennia beneath the rubber, how the landscapes have been formed.
my favourite riding surface that you missed out on the list is basalt.
Ok this was not an article I expected! I feel chalk should get an honorary mention as both rock and oh god aaargghhh death teflon. And for any southern hemisphere riders, the Western Australian pea gravel (perhaps the truest sub-rounded to rounded gravel of all time) aka ballbearings of dooooom.
Great article from a clearly very knowledgeable guy.