With the advent of increasingly wide drop bars (anything from the modest Ritchey Venturemax through the palatial Crust Towel Rack to the frankly enormous Curve Walmer), it’s become easier than ever to run large Carradice-style bags mounted to the bars.
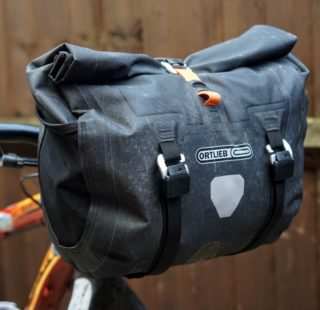
The problem with this setup, especially for those with a particularly racy front end, or for smaller riders whose bikes have short head tubes, is that these large saddlebags are often deep enough to drag on the front tyre.
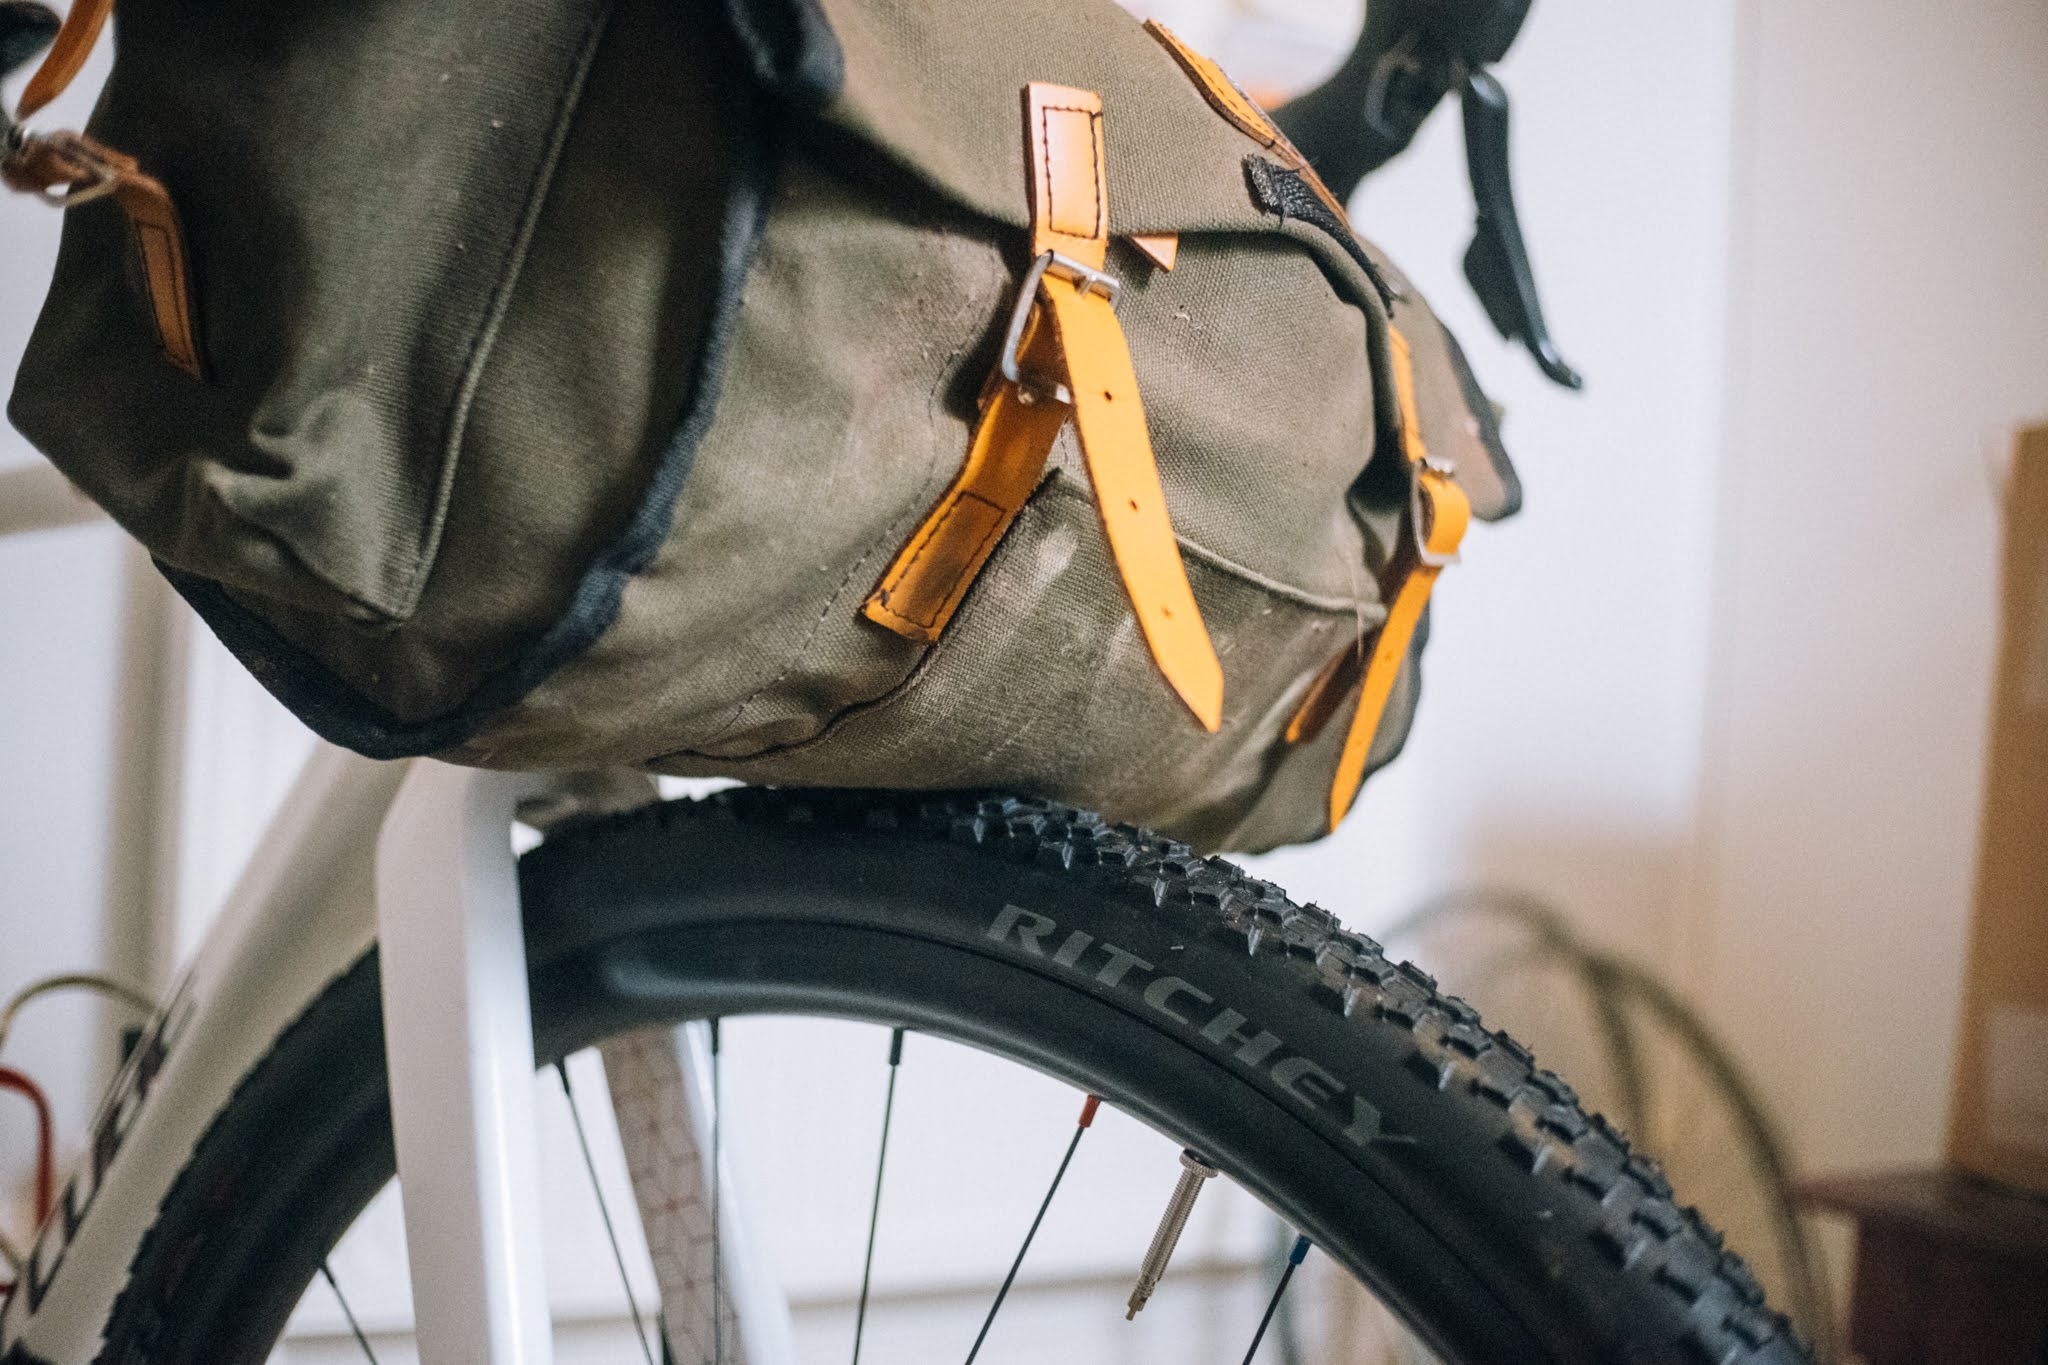
Have you ever seen a more forlorn looking handlebar bag?
Now, it’s perfectly possible to run a front rack providing your forks have the correct mounting eyelets, but this does somewhat fly in the face of the minimalist aesthetic we aim for as bikepackeurs. What we’re after here is simply a means of lifting the base of the bag off the tyre, with the majority of the heavy lifting still being done by the handlebars.
What I’m going to take you through is a perfectly workable, and dare I say elegant solution, but it will likely void some or all of your warranties, so proceed at your own risk.
What you’ll need
The design is based on the peck-deck from leading gravel influenceur Ultraromance, via ronsbikes.com, with a few tweaks.
- One big saddlebag. My drug of choice in this instance is a Carradice Nelson Longflap
- 2x Tubus 350mm rack struts (£5.49 ea)
- 2x Tubus stayholders (£7.99 ea)
- A sheet of 2mm aluminium (300x100mm in this instance, £4.20 on eBay)
- A handful of M5 nuts and bolts
- Some mending bar, flat and right angled
- Big washers
In terms of tools, you can get away with just a power drill and a basic toolkit, but access to a vice, hacksaw, centre punch and some files will make your life easier if you need to play about with the mending bar as I did.
This DIY rack support shouldn’t cost you more than £35
All being well this should cost you no more than about £35 and an hour or two of your time. I don’t know how much it weighs, but I think it’s safe to assume if you’re planning on bolting a metal plate to the base of a waxed canvas saddlebag weight probably isn’t your number one priority.
In the words of Jake Gyllenhall’s character in the film ‘Nightcrawler’… “I will never ask you to do anything I wouldn’t be prepared to do myself”. I’ve tested mine both on and off-road as so far it’s performing valiantly.
Now, let’s get on with it shall we?
Step 1
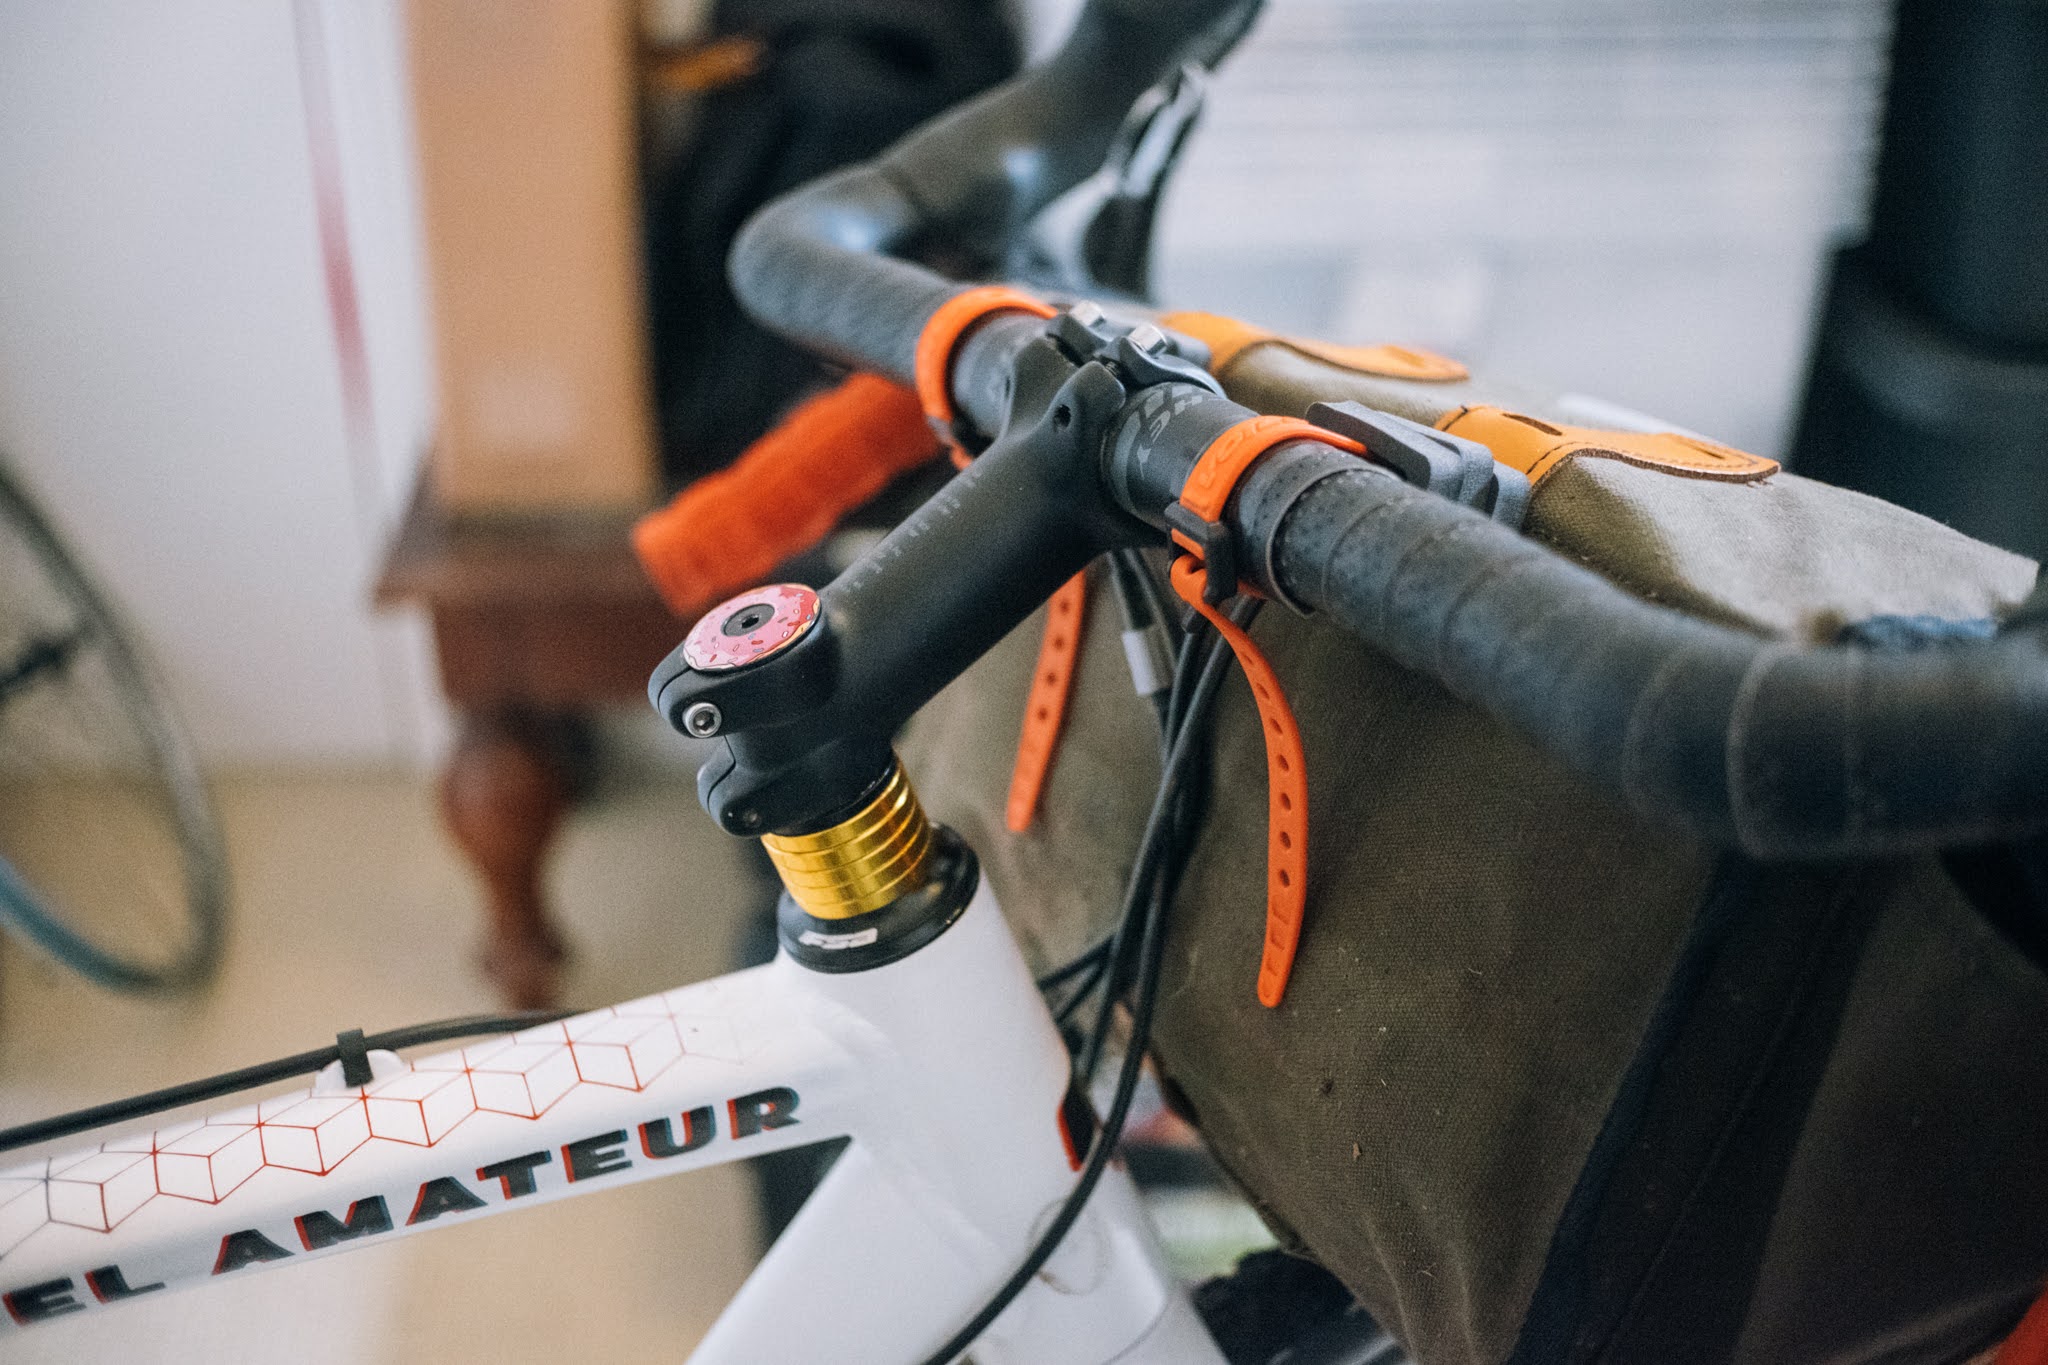
Make sure you’re happy with the bike set up before getting started
Make sure your bike is set up as you like it in terms of bar height. I flip my stem for longer tours, so make sure you do this before you begin as the struts have to be trimmed to length.
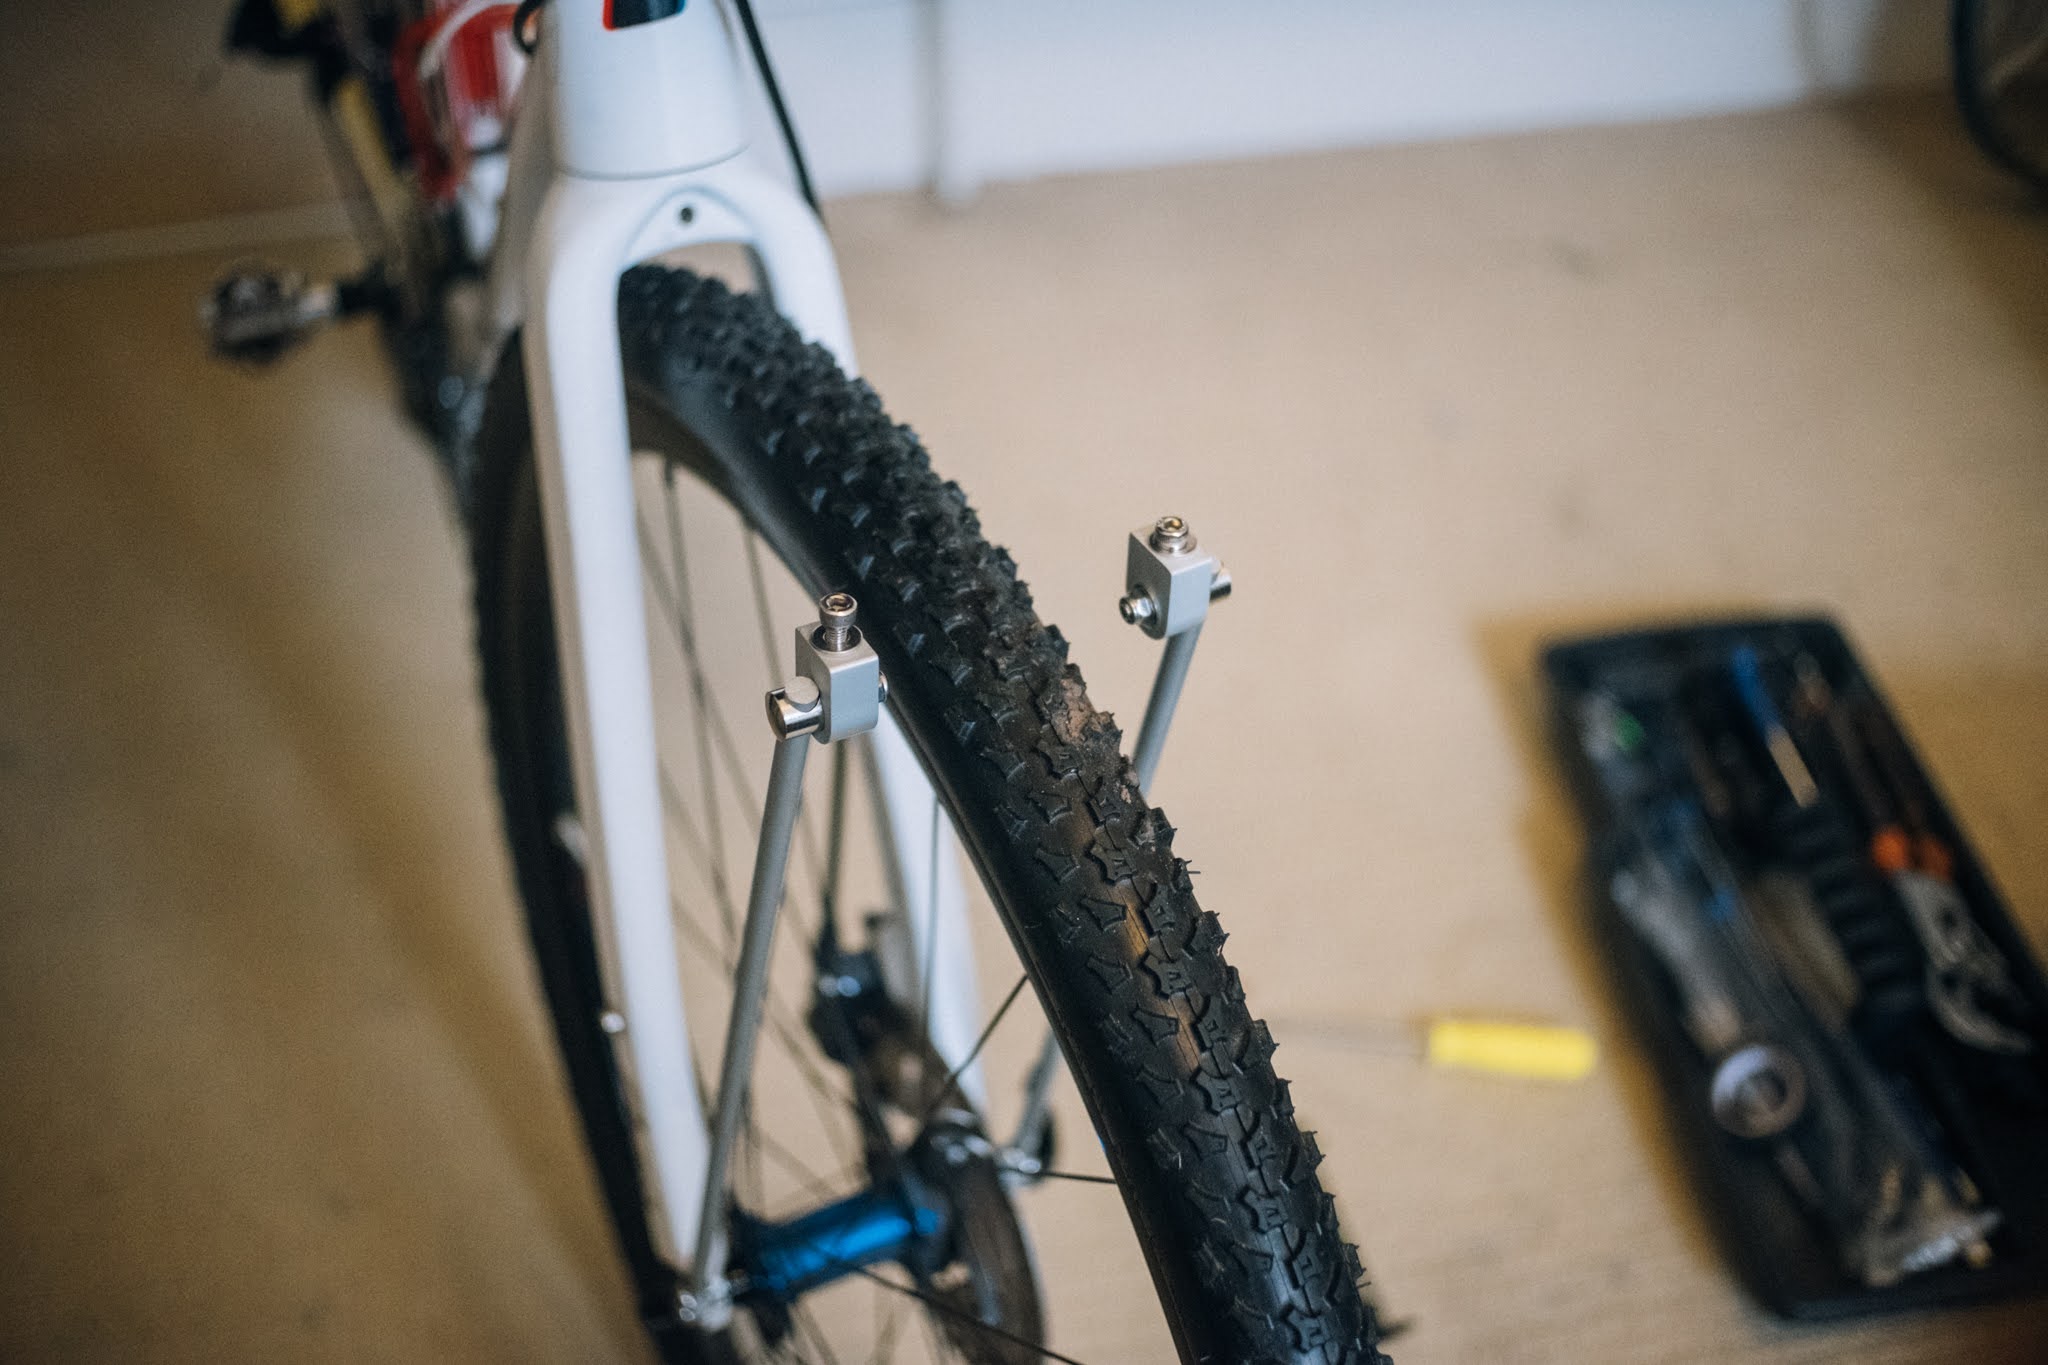
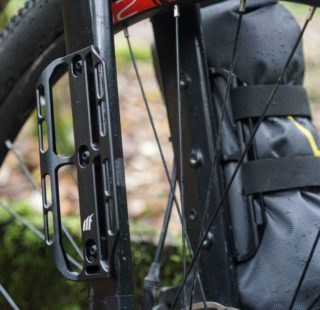
Attach the struts
Once you’ve got your setup how you like it then attach the struts to the fork legs. If you have mid-fork eyelets then this is the ideal place.
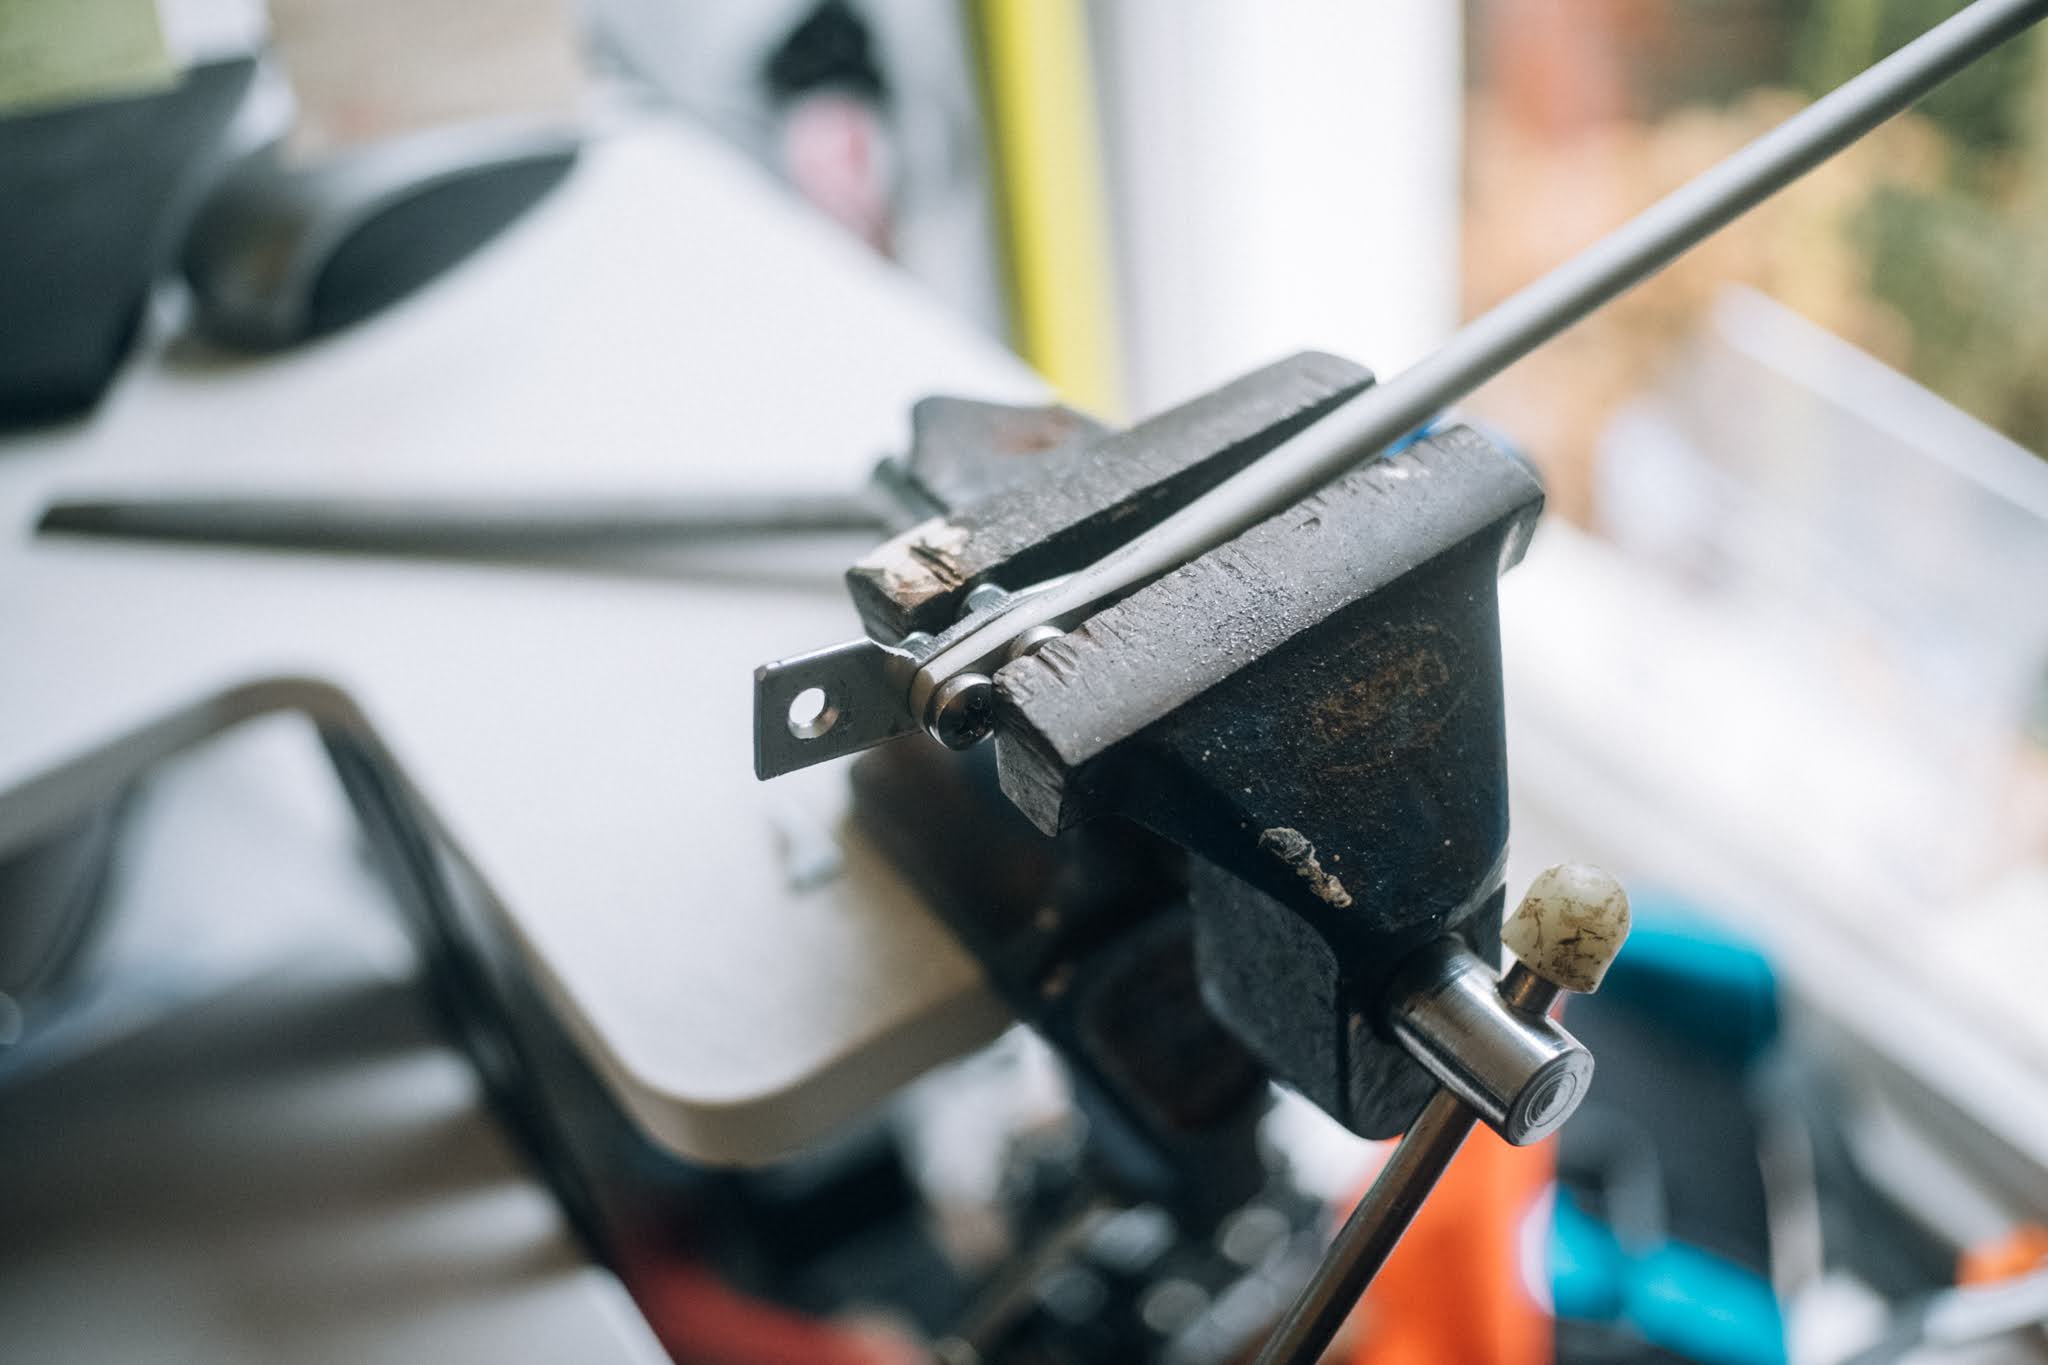
If you don’t have load-bearing mid fork blade mounts, you might have to get creative
Mine are only rated for mudguards so I had to make my own axle mounts from some mending bar and 16mm washers to space them out from the dropouts enough. This isn’t the most beautiful solution, but it is no less effective.
Step 2
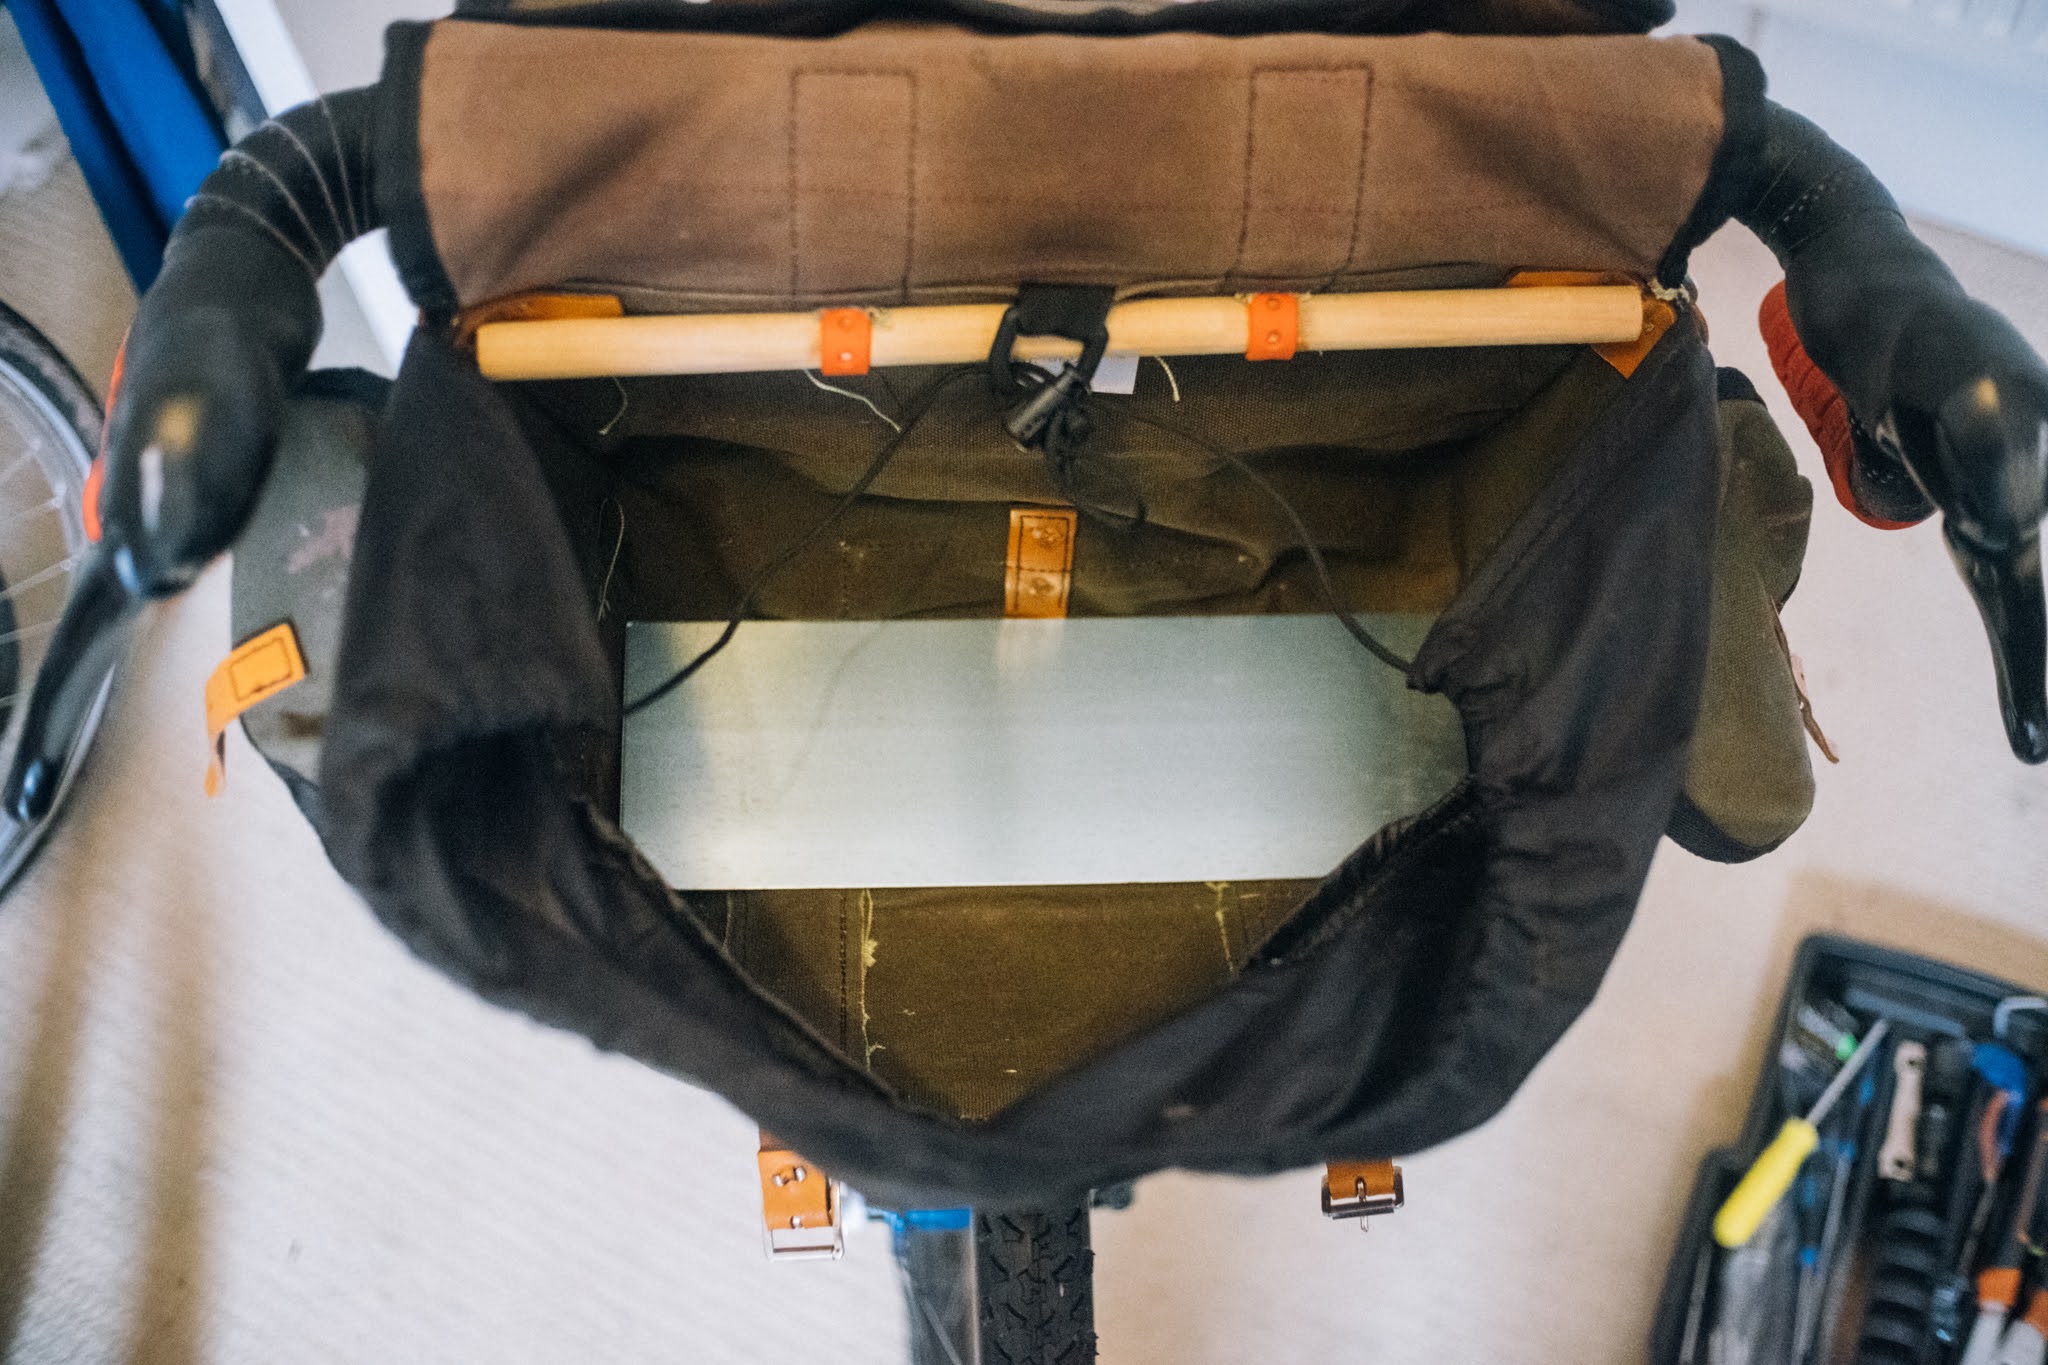
Placement will depend on your bag of choice
With the bag attached, place the pre-cut aluminium plate into the base of your bag and eyeball where you want it to sit. If you need to trim the struts down then now is the time, and make sure to file off any rough ends. Remember to factor in the additional height of the stayholder clamps.
With the struts secured, and the height set, now measure the width between the top bolts on the stayholders.
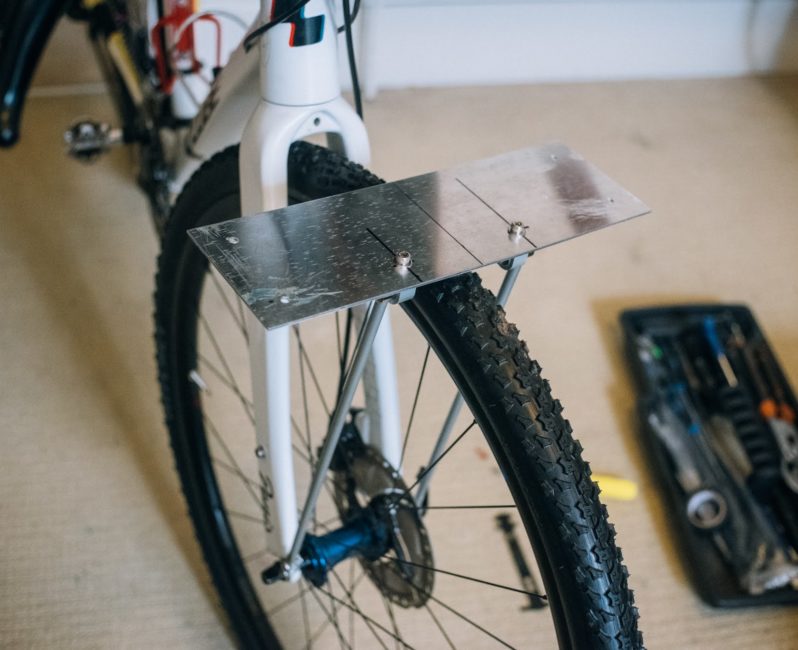
Step 3
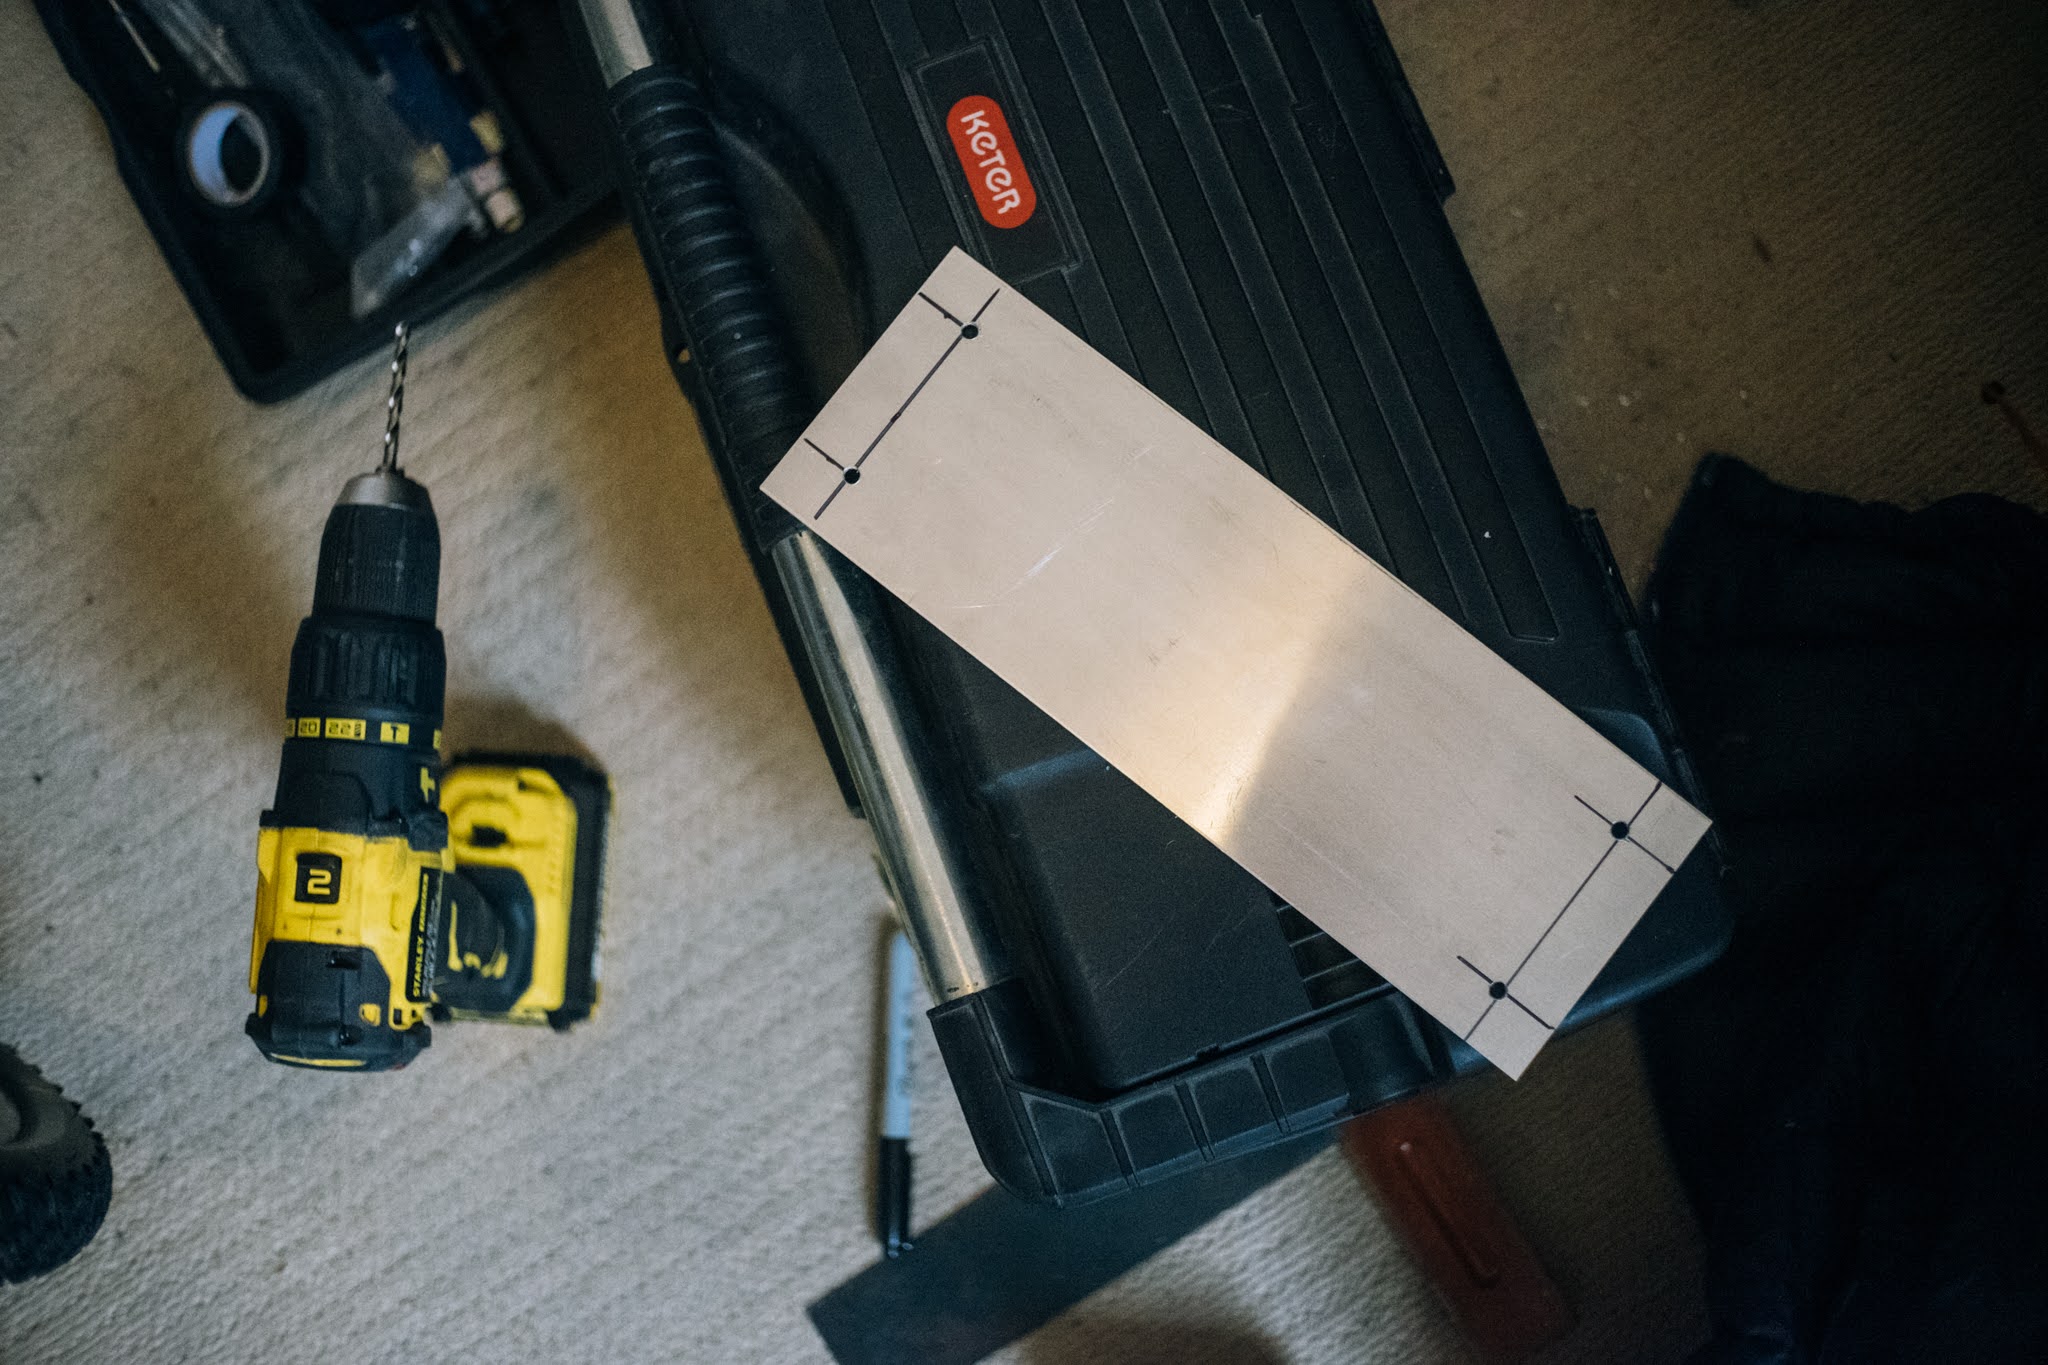
Measure twice, cut once etc etc
Mark your centreline on the aluminium plate, and mark a pair of holes equidistant from the centreline close to the front that will correspond to the bolts on the stays. Now make four holes, one in each corner about 2mm in from the edges, that will be used to bolt the plate to the saddlebag.
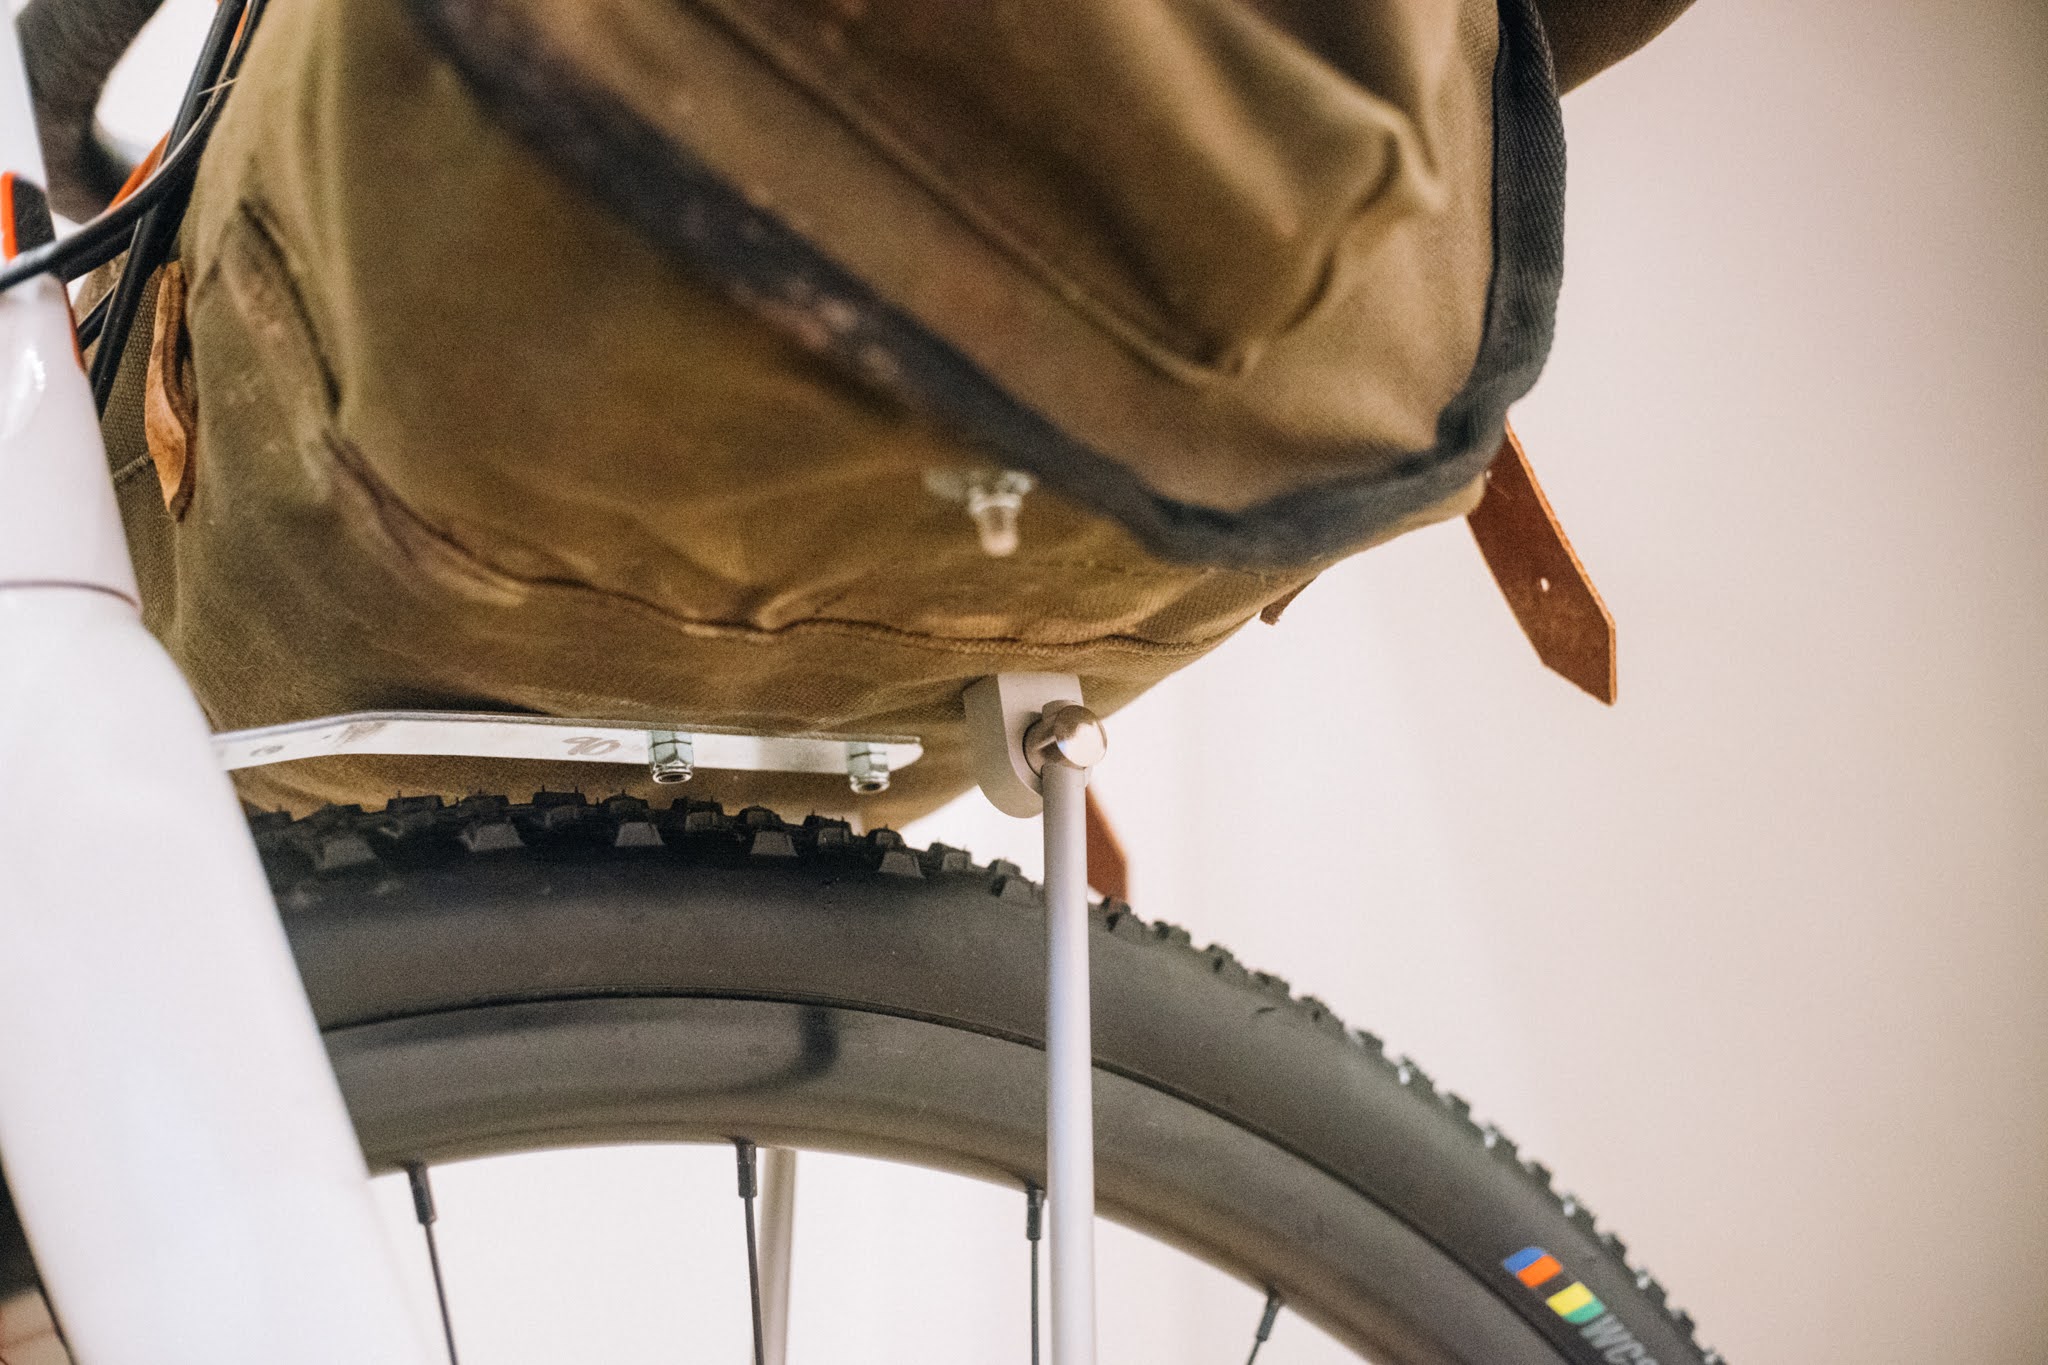
Step 4
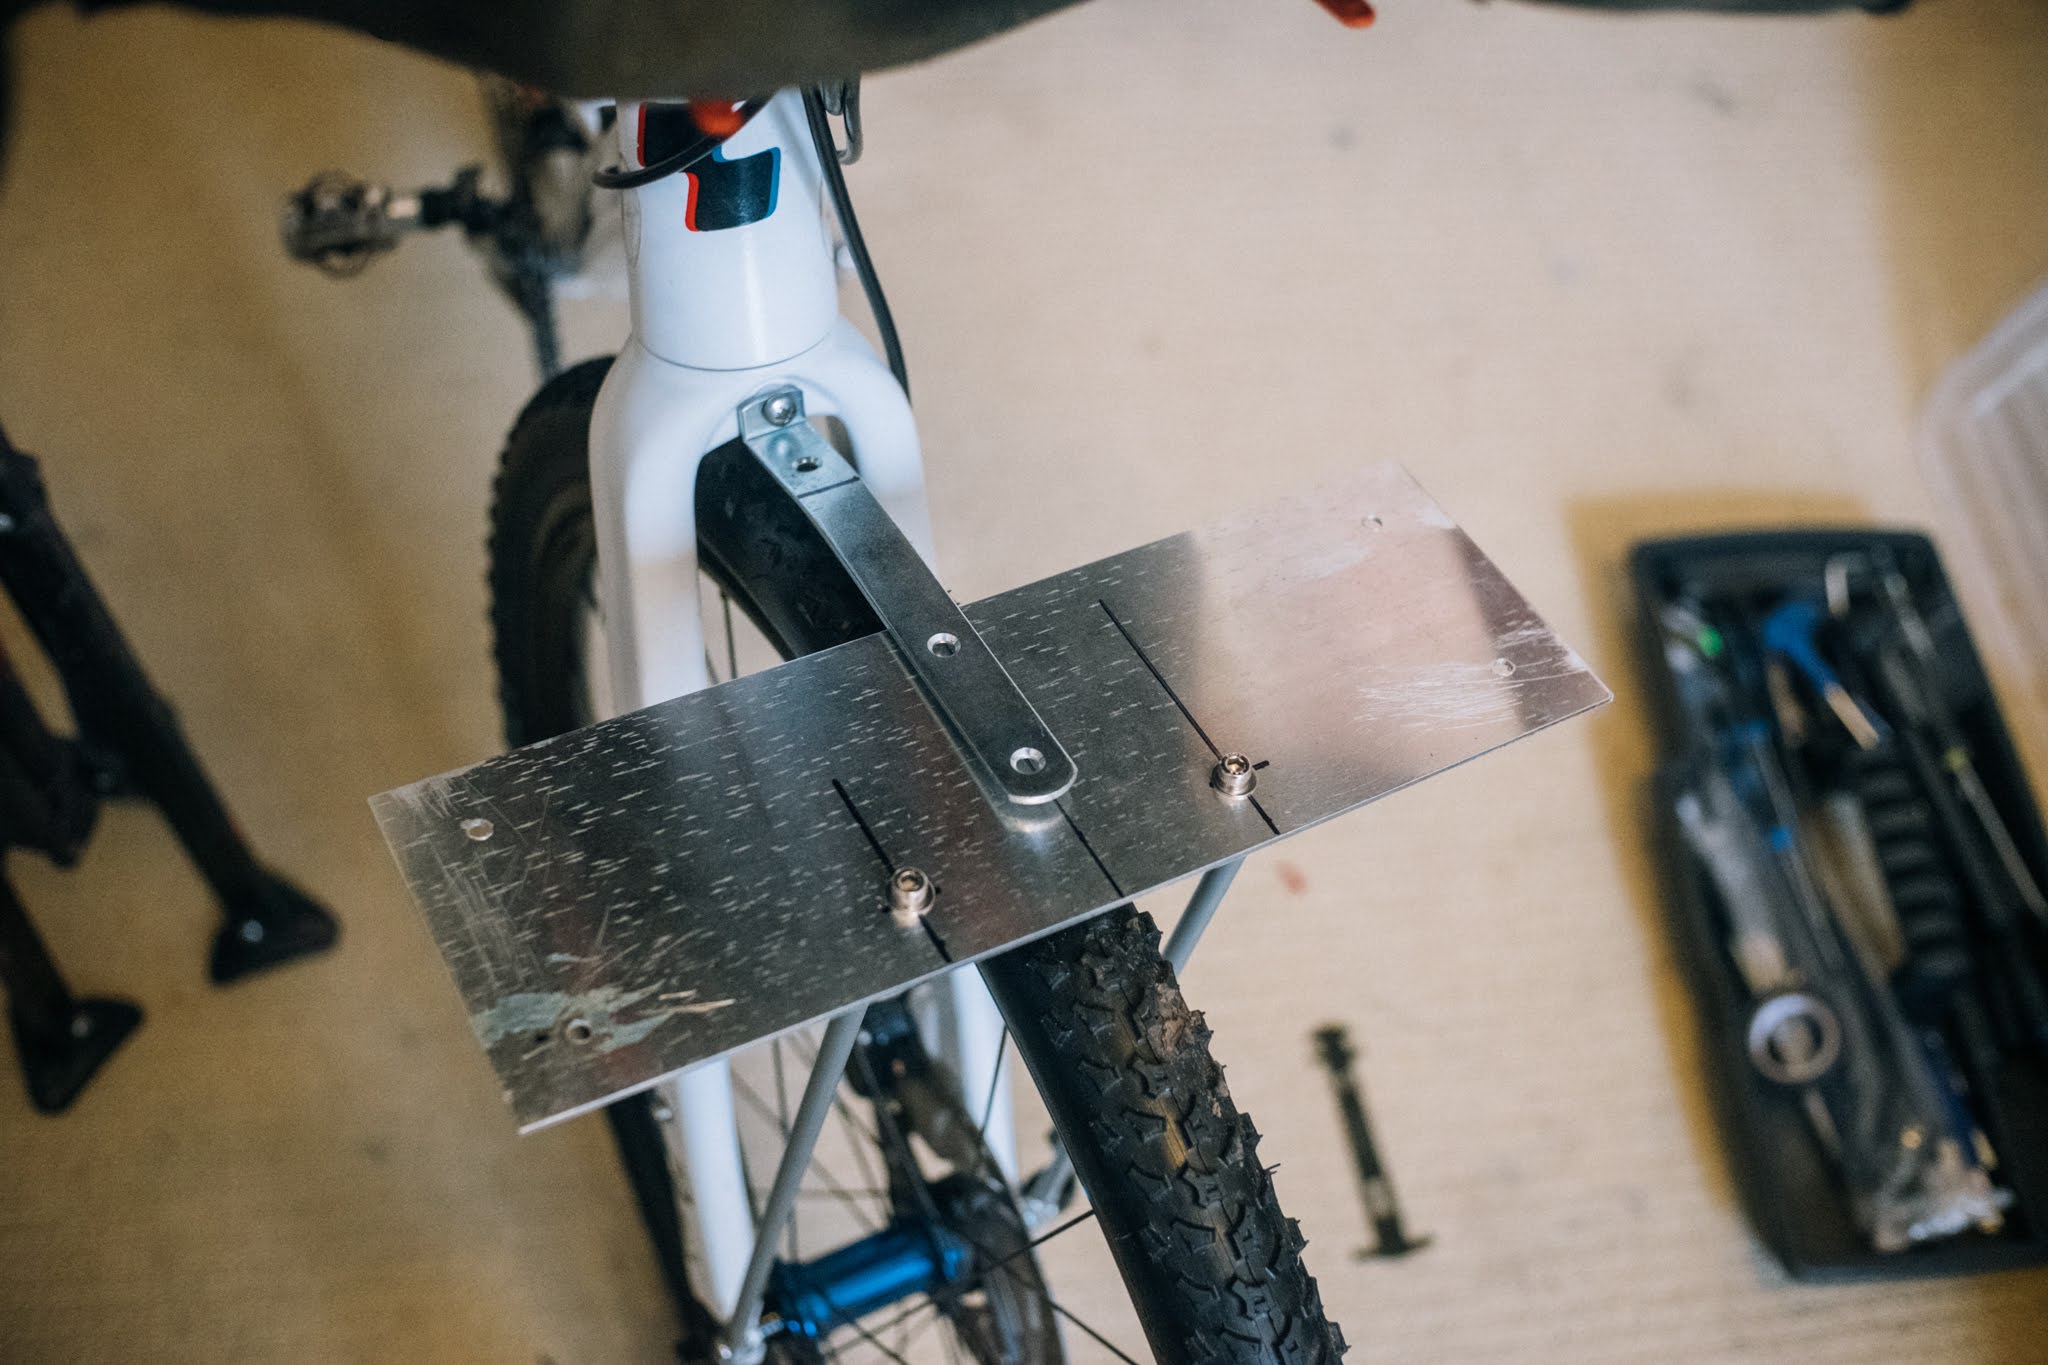
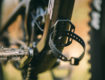
The bar from the fork crown will stop the support twisting
Bolt the plate to the stays, and using some right angle bar create a supporting strut from the fork crown that will stop the system rotating. Mark and drill holes to bolt this to the plate. Here you can mock up the system before committing to drilling holes in your bag, making sure it all fits and sits square.
Step 5
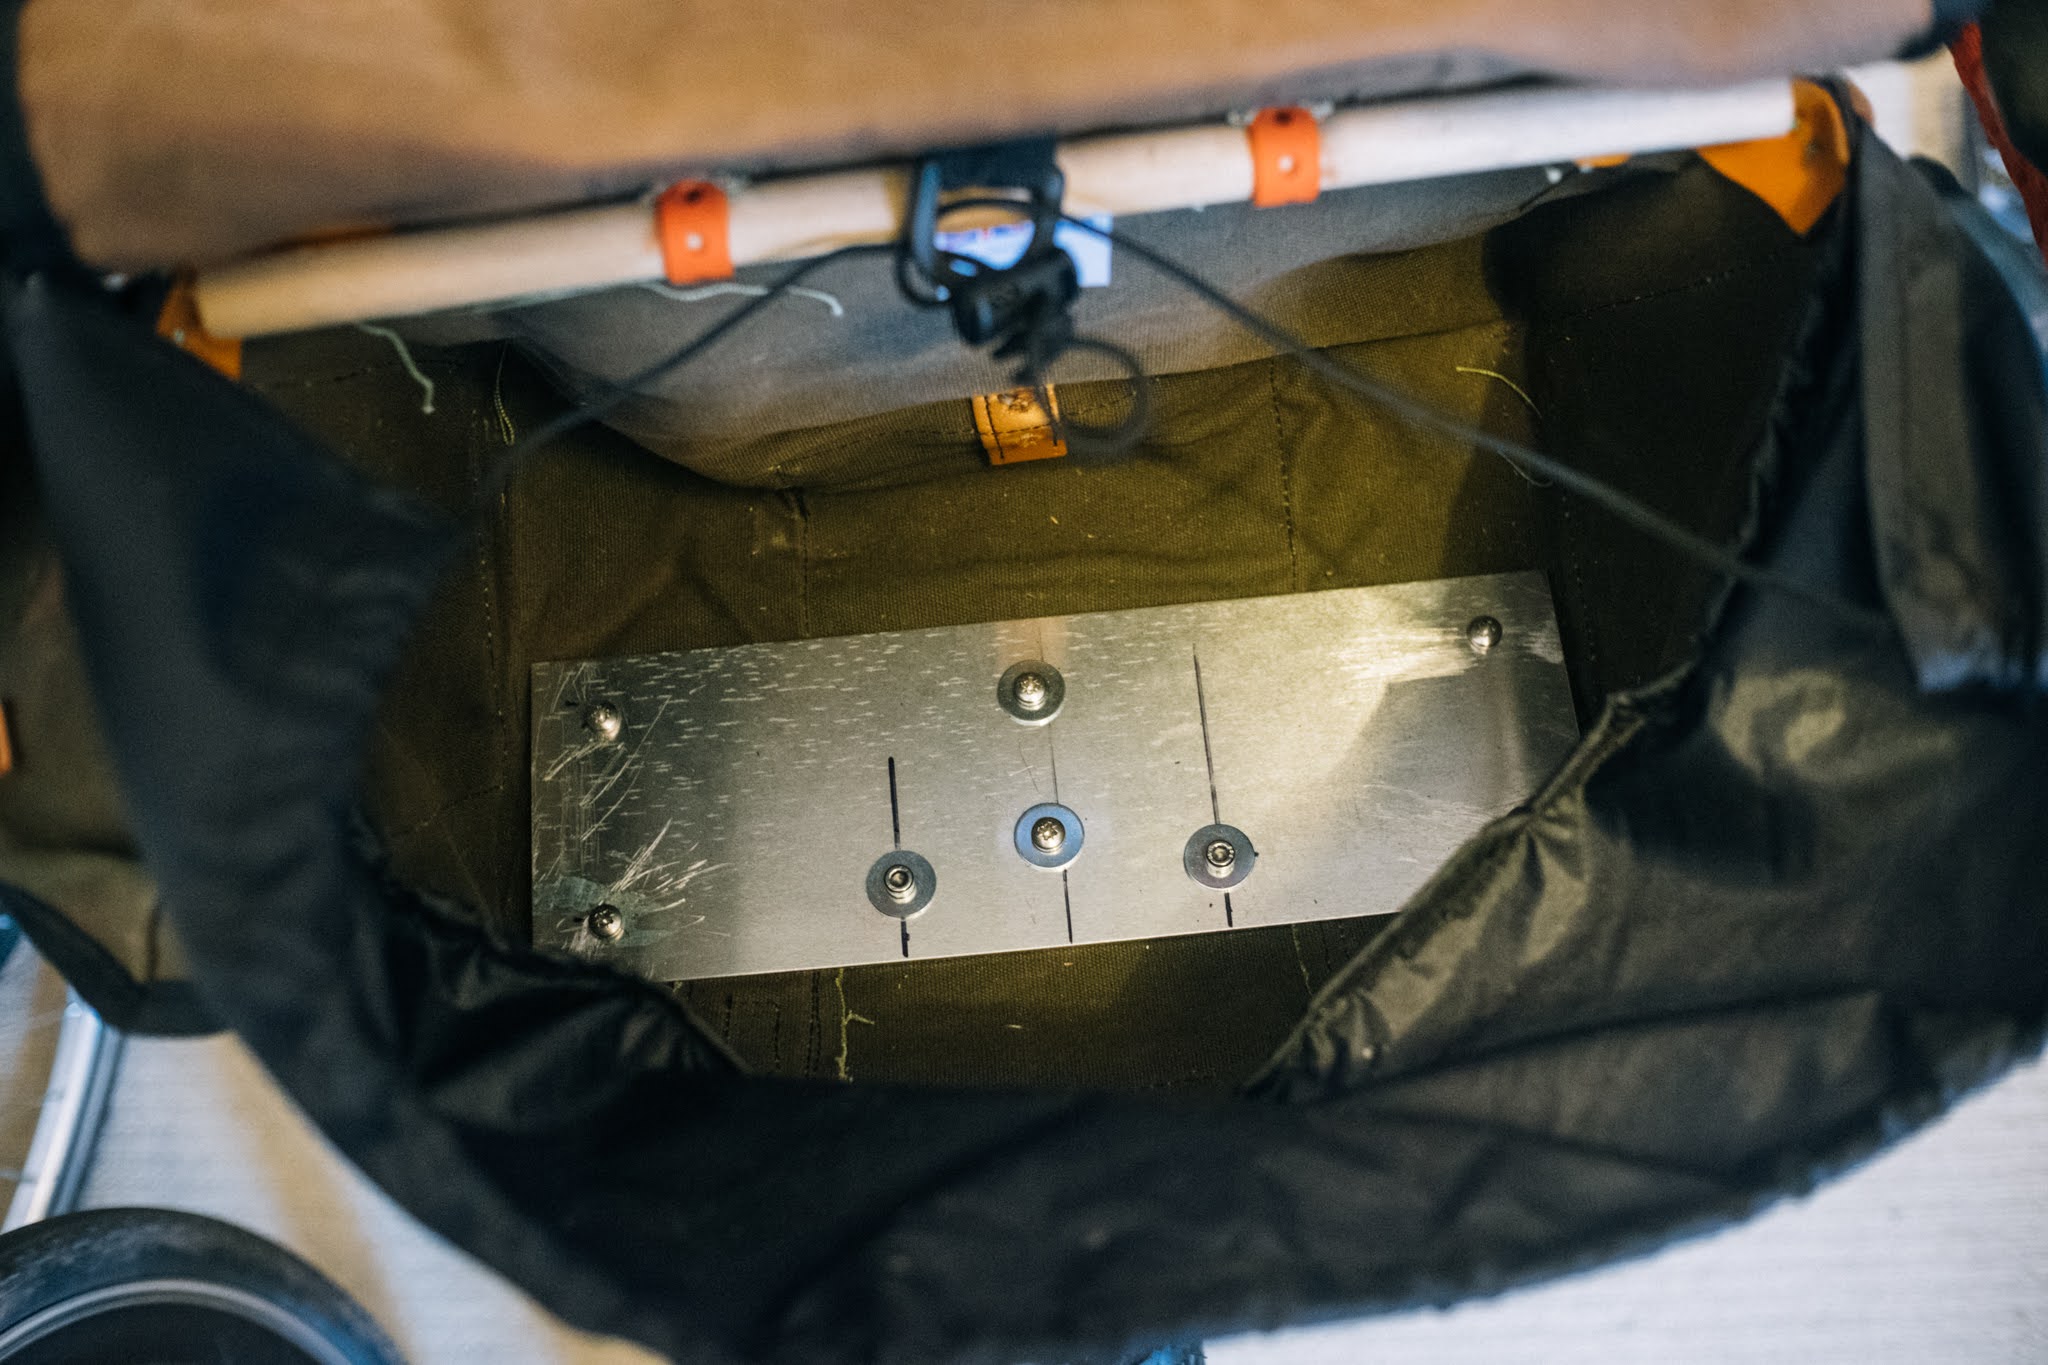
This final step requires making holes in your saddlebag, so make sure you’re happy with it before you commit!
Place the plate in the bottom of your bag, make sure it’s nice and square. Using a small drill bit, start drilling holes through your beloved saddlebag. I found it easiest to start with the central ones that will go through both the plate and the fork crown strut. Widen the holes with a centre punch if necessary, and bolt as you’re going along to make sure it doesn’t shift about.
If you don’t want to drill holes in the base of your bag it should be entirely possible to sew on some daisy chain, run a rod the width of the bag and attach this to the struts by way of P clips.
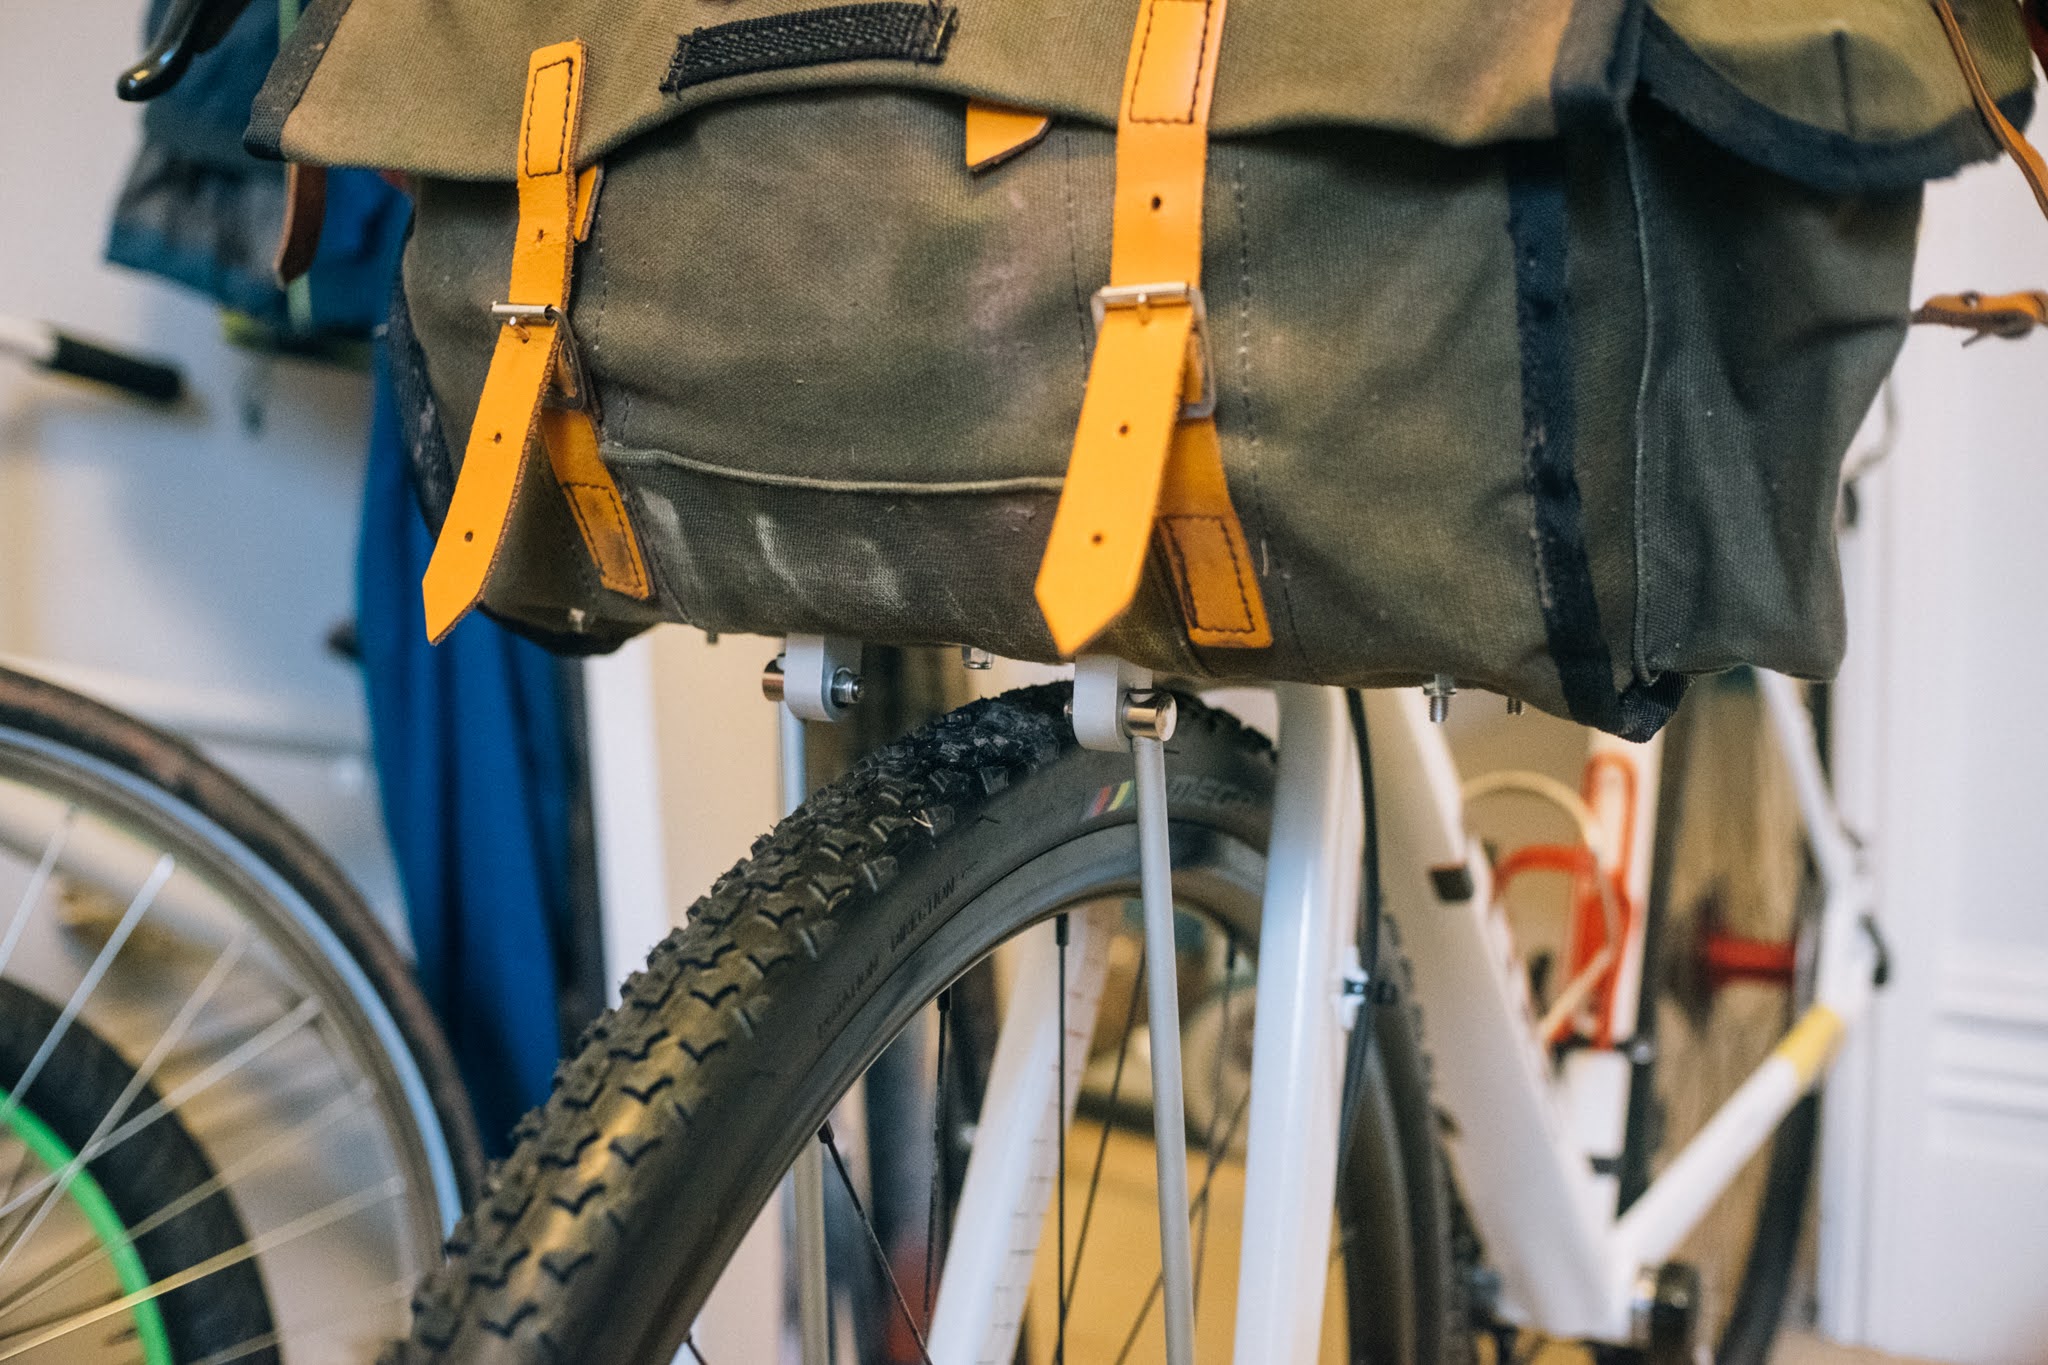
The support forms more of a semi-permanent attachment, although you can remove by unscrewing the plate bolts
Voilà!
Now, bask in the warm glow of your own magnificence, and go forth onto your nearest gravel track knowing you’ve got the hottest front end in the business. You’ll have probably saved a few quid over any commercial system, so if our paths ever cross mines a pint of something brown and some salt and vinegar crisps.
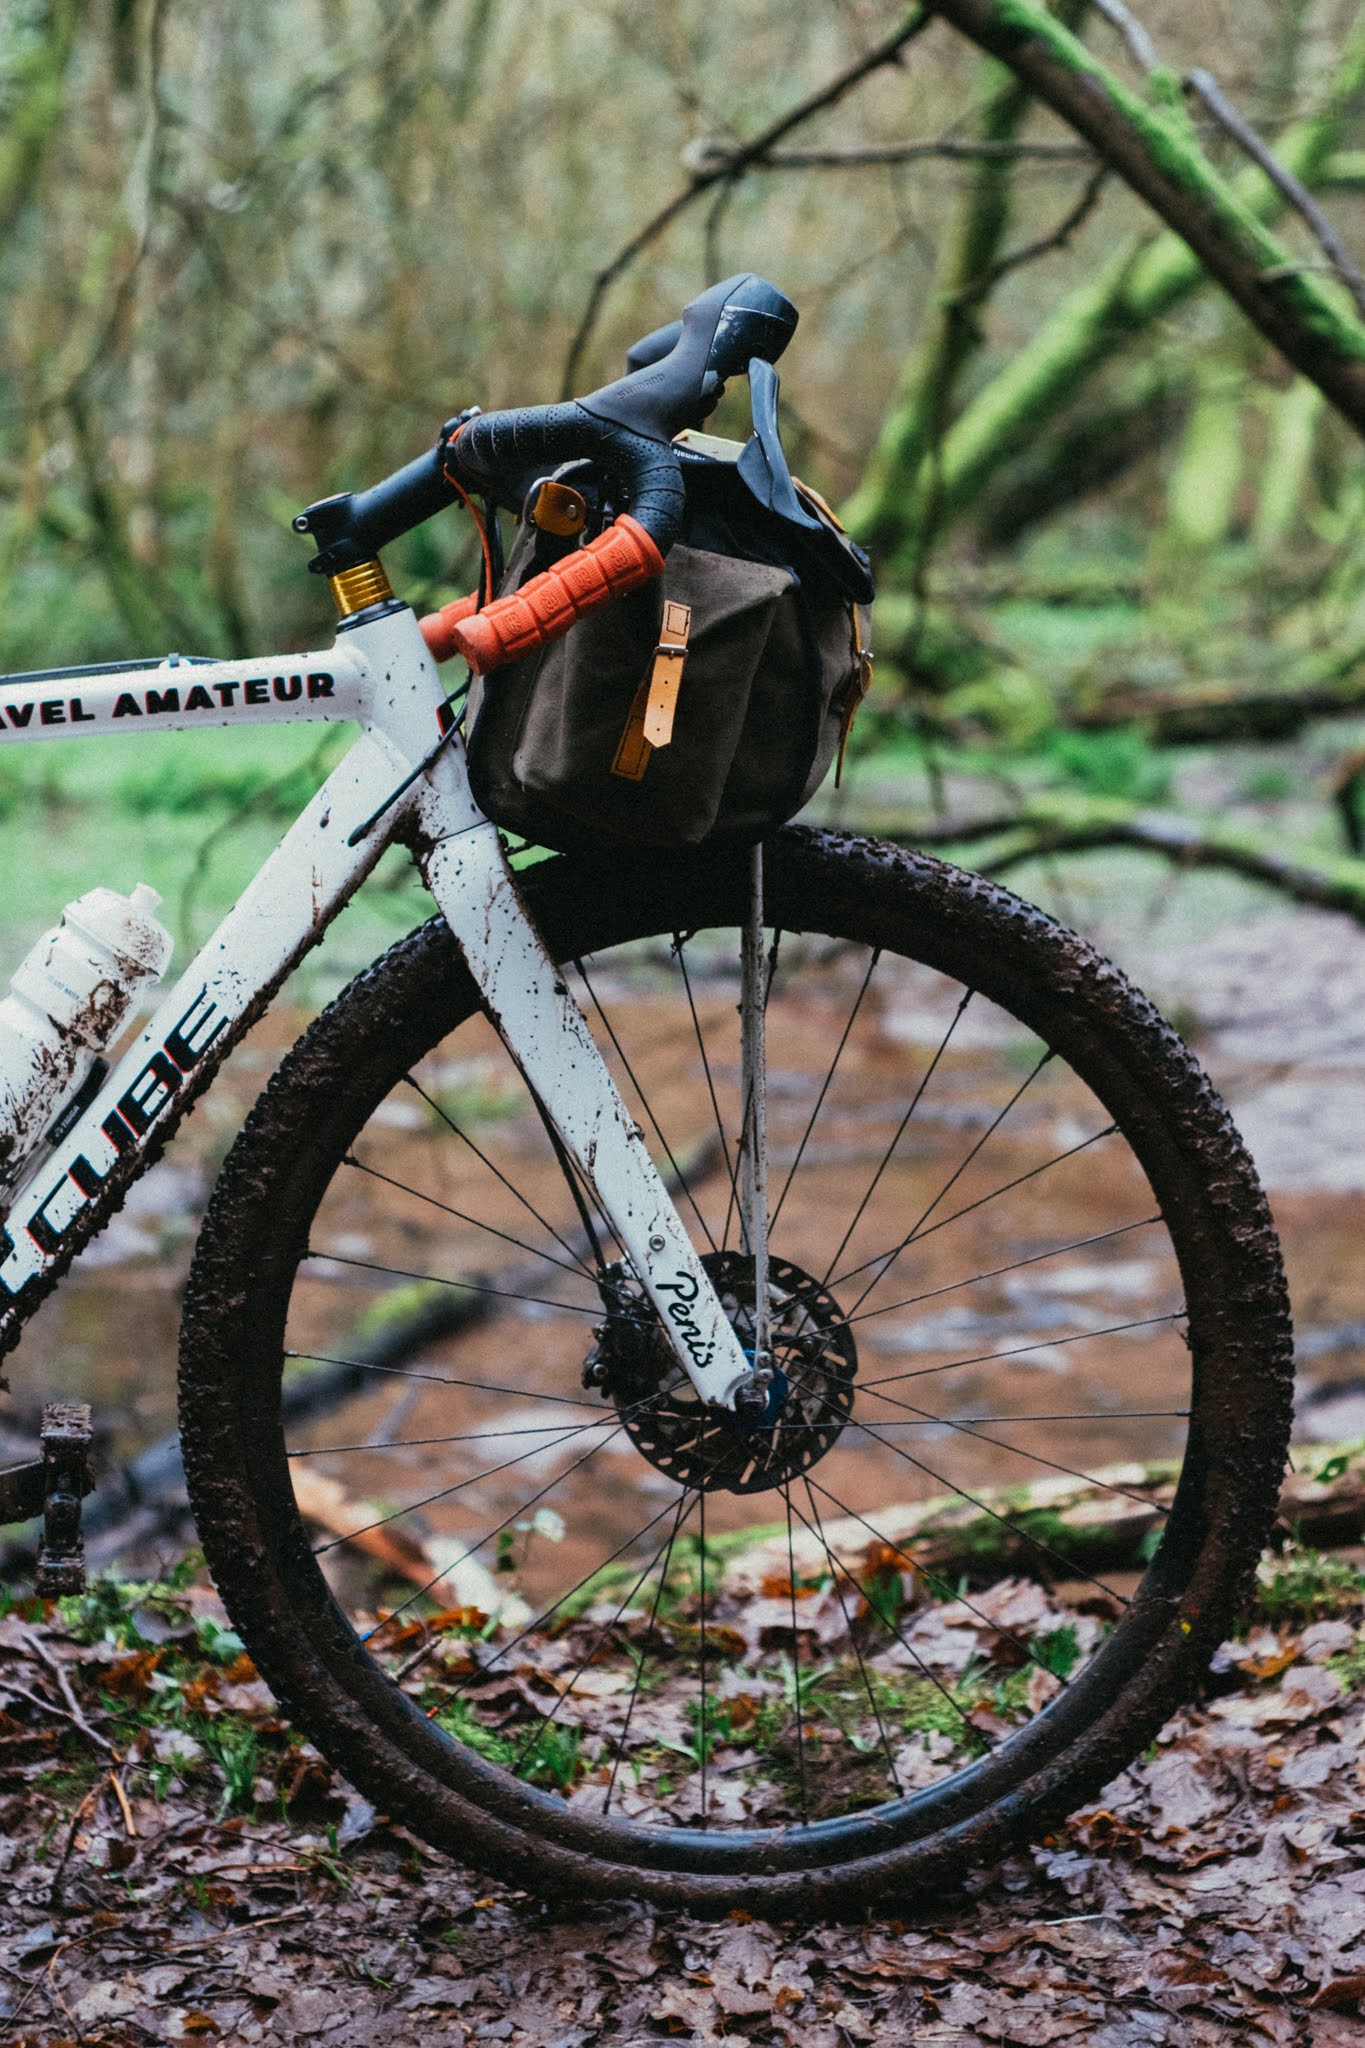
Initial testing has been successful
Last modified: 22nd February 2021


