
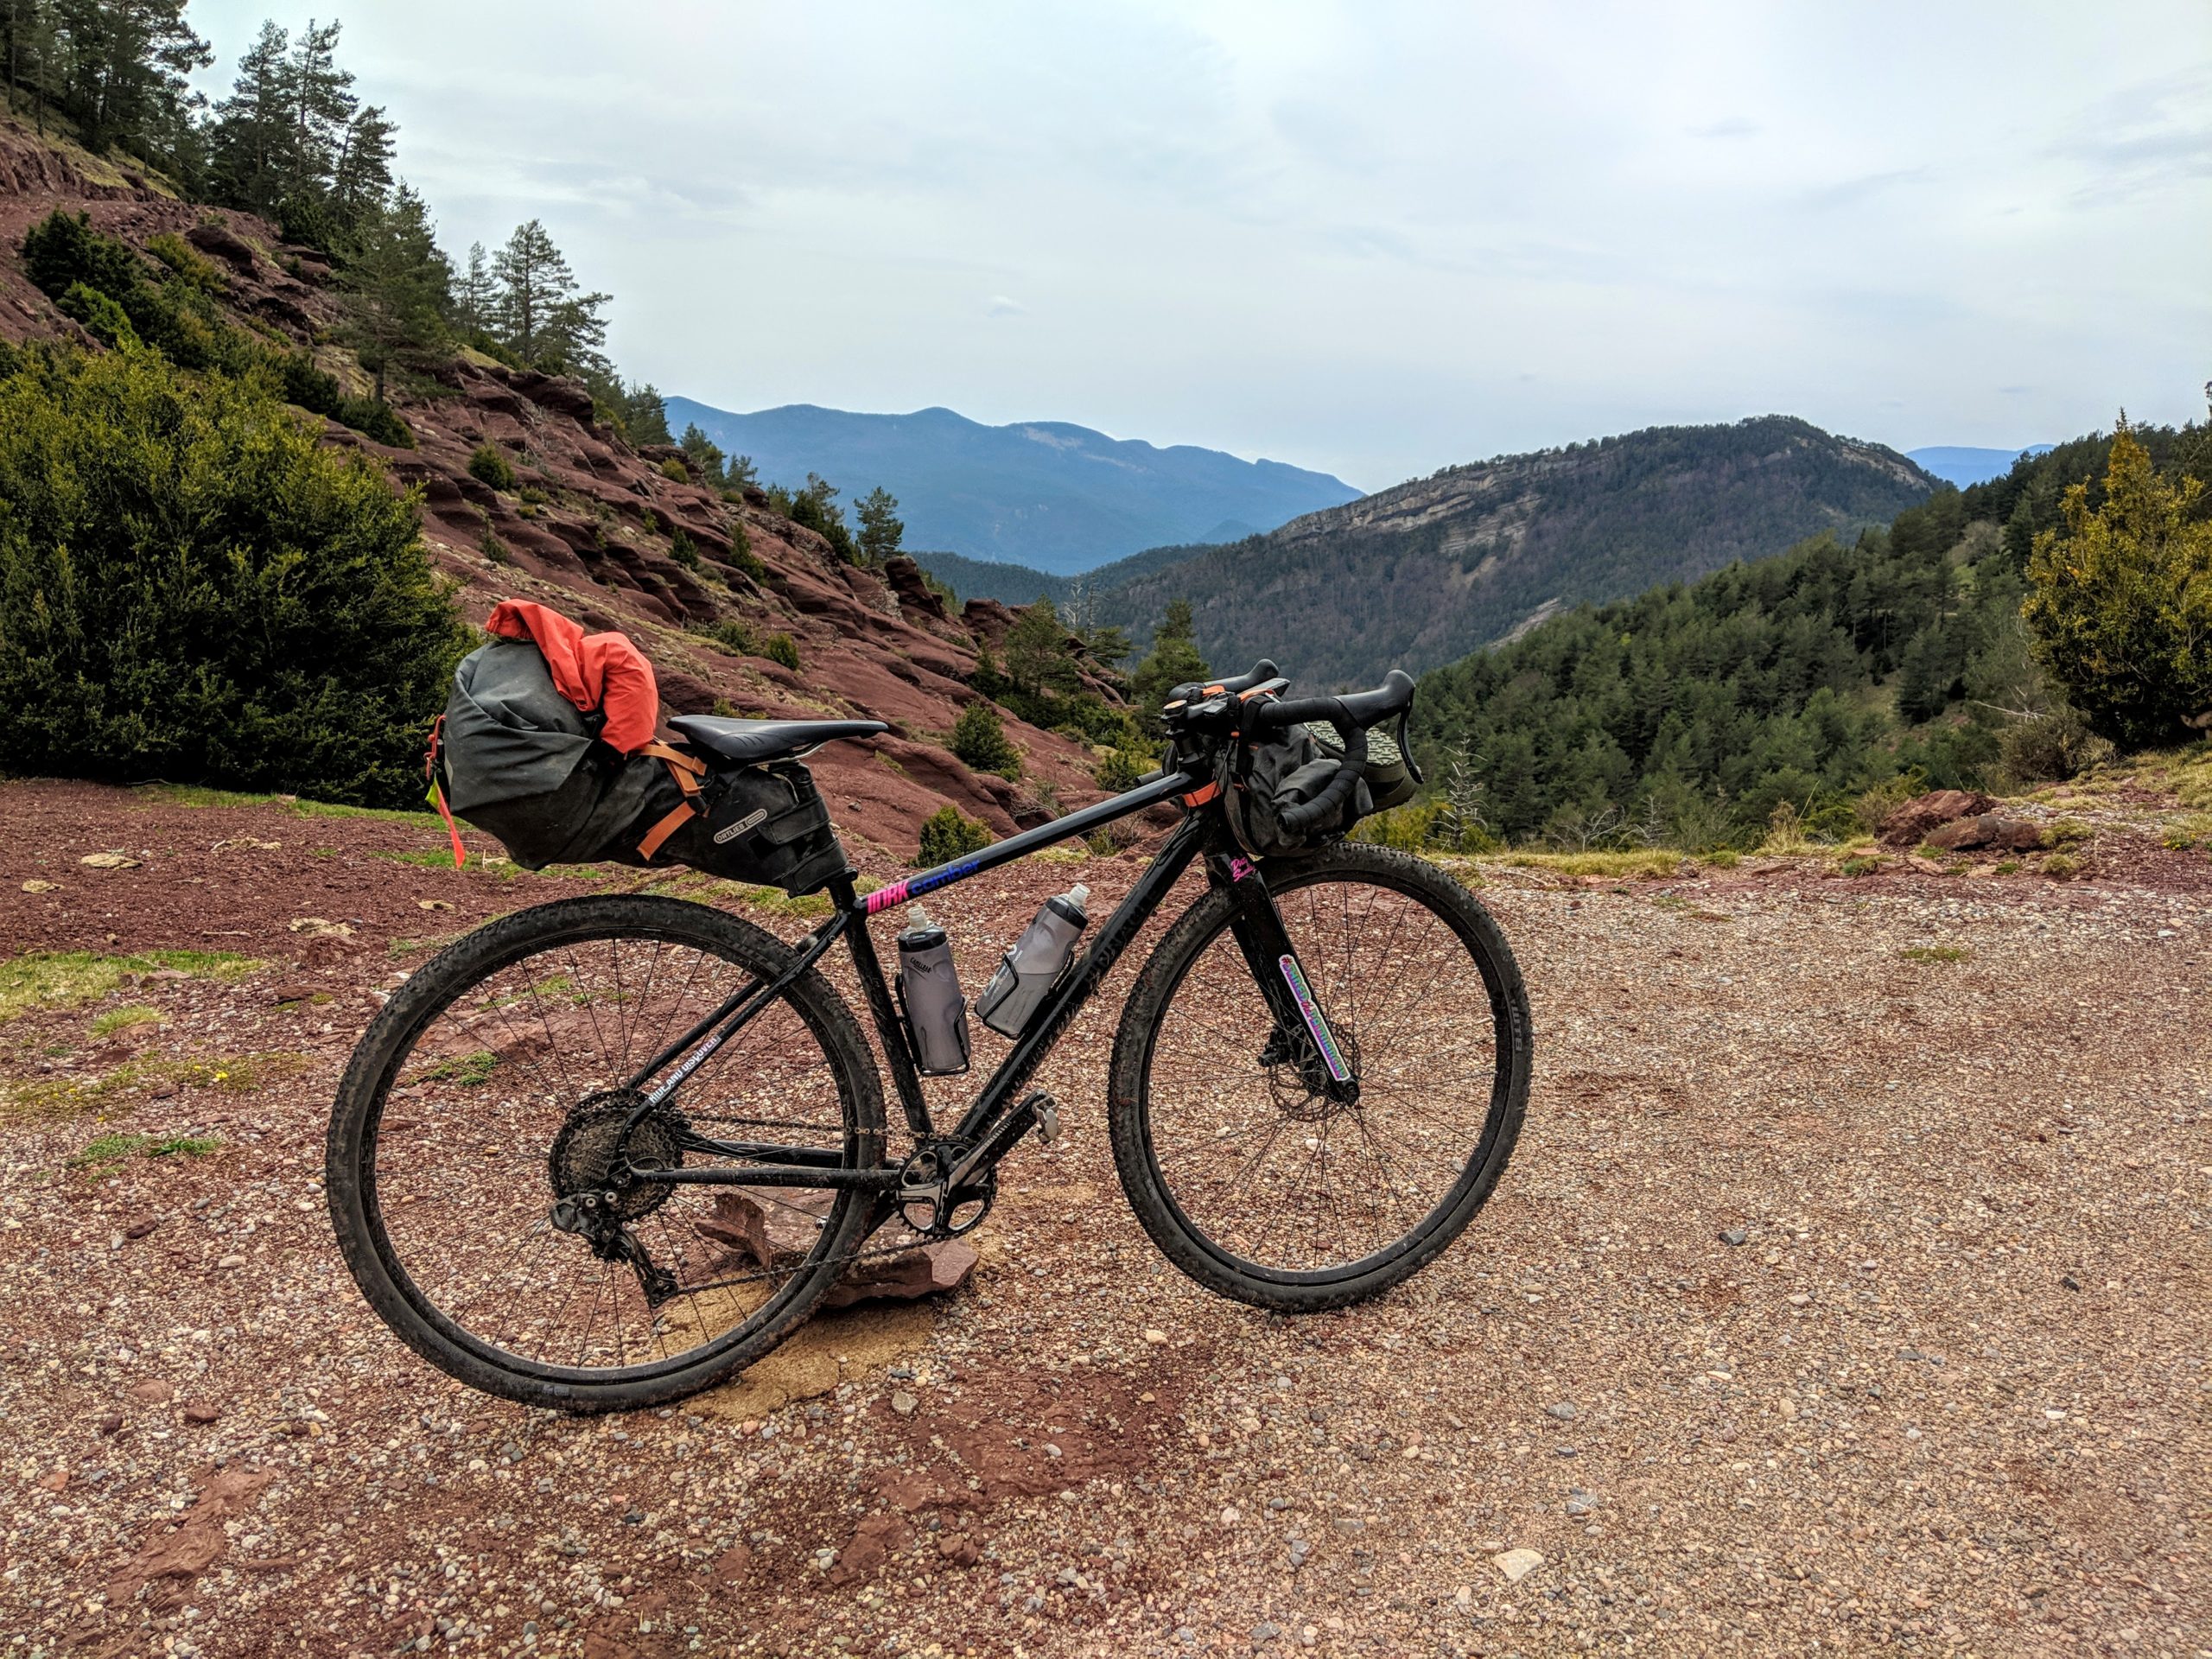
Since the spring of 2017, I’ve been using Ortlieb bikepacking bags, with the handlebar roll and seat post packs for a number of trips, from the Catalunya Trail race to touring the Cairngorms, from School Night Bivvy Club outings to week-long tours. They’ve been a sure staple of my bikepacking experience, and after a number of requests for long term Ortlieb bikepacking bag reviews, I’ll share my experiences with you.
The Ortlieb bikepacking bags range
German waterproof luggage experts Ortlieb first released their bikepacking range in early 2016, which then consisted of a handlebar pack, seat post pack, accessory pouch and two different sizes of frame bags. Today, after new releases and models have been introduced, the range boasts some ten models, some in different size options, including newer ‘gravel packs’, fork bags, a backpack and top tube bag. We’ll be reviewing some of these newer additions here at ADVNTR in due course.
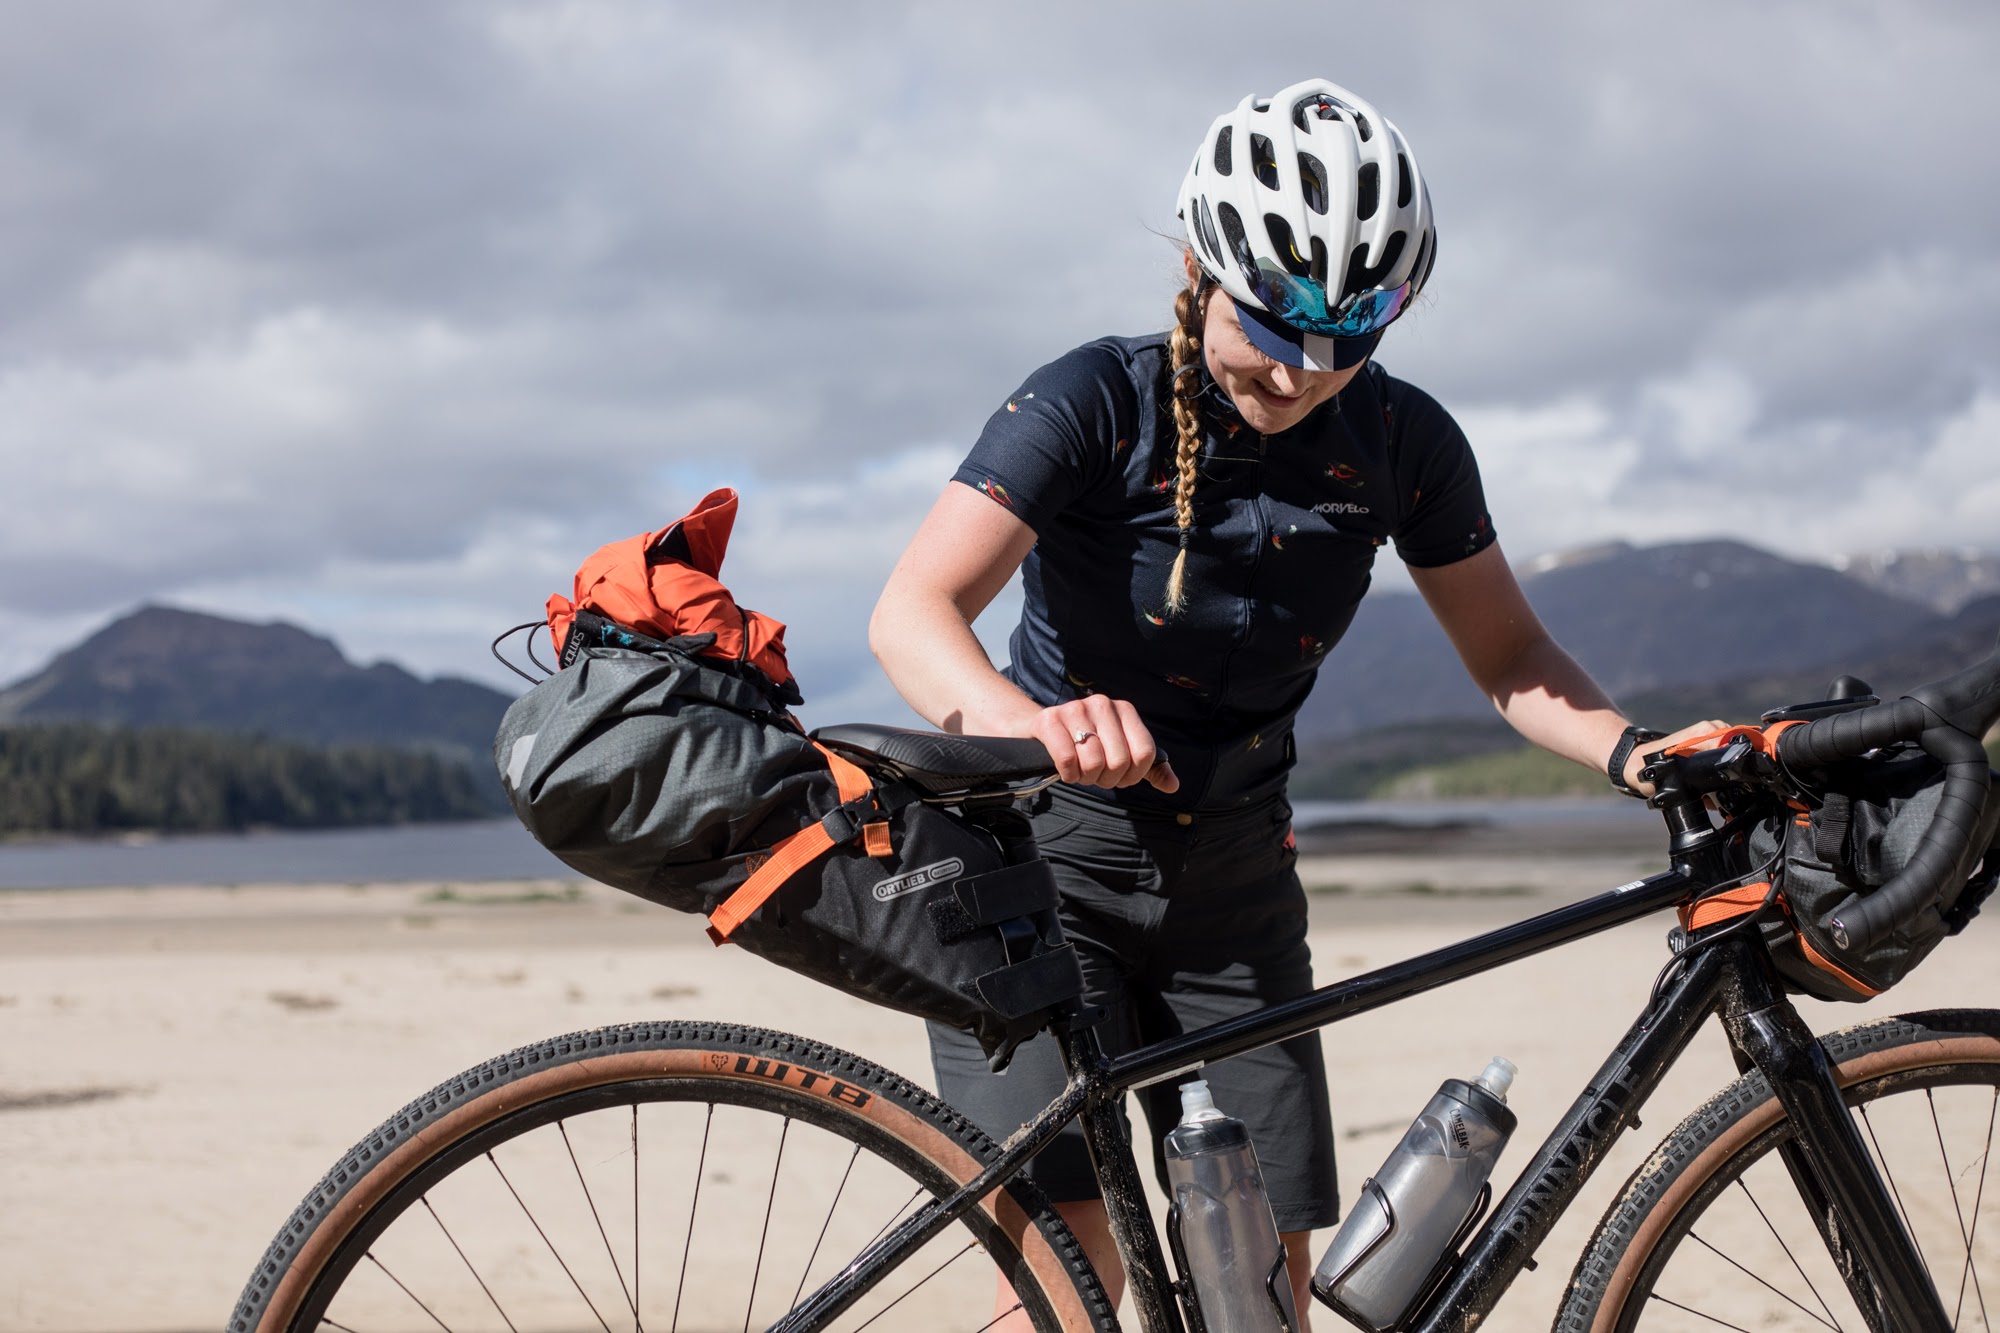
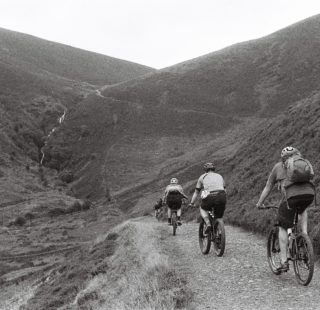
The maiden trip with the Ortlieb bags in the Cairngorms, spring 2017. Photo: Toby C Martin for Pinnacle Bikes.
The bags reviewed here are the original rather than the latest editions, so I’ll mention where these have been updated. I first used the handlebar pack and seat pack on a bikepacking trip with Pinnacle Bikes in May 2017, and the smaller seat post bag was a more recent addition for a newer bike with a shorter seat post.
Ortlieb handlebar pack 15L
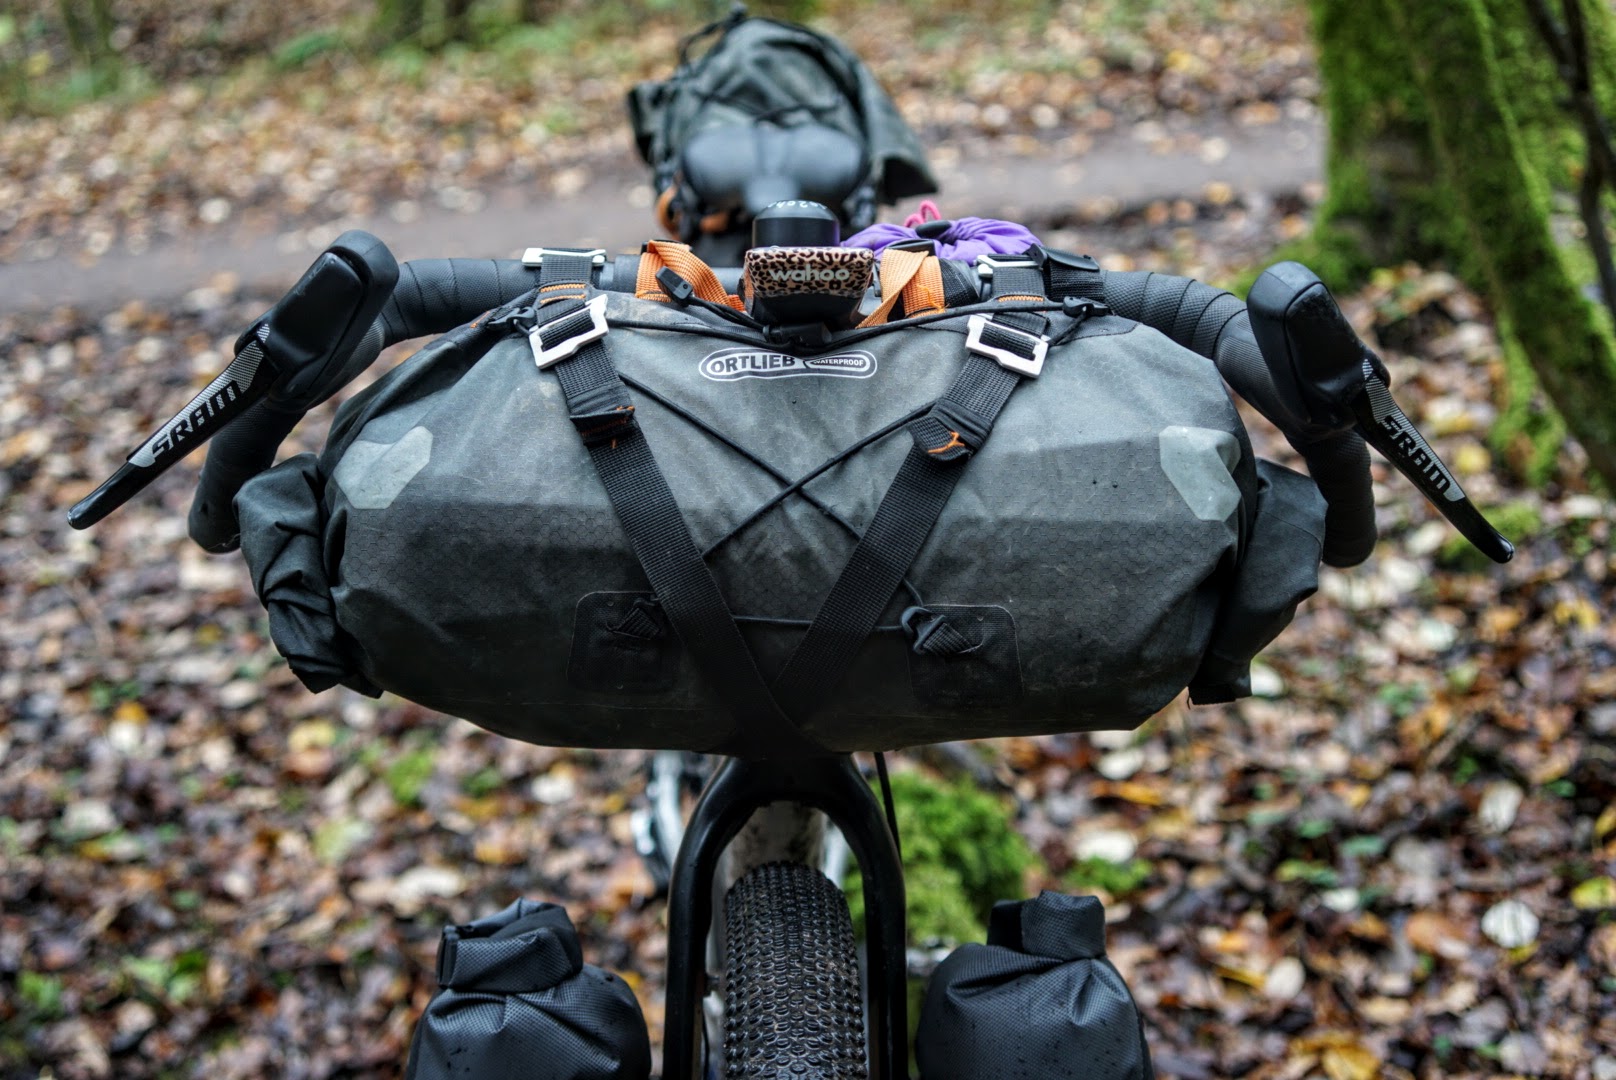
The front handlebar bag can expand to fit the width of the bars
Today there are two handlebar packs on offer, 9L (£105, €100, $140) and 15L (£115, €120, $160), mine being the larger of the two. Essentially it’s a large tube of welded waterproof material, which you close at either end with a roll closure and buckle like a dry bag.
The handlebar pack is attached to the bars using many straps: firstly some wide, robust velcro, which are then doubly secured by bright orange webbing straps secured and tightened by rugged plastic buckles. Not only do these velcro straps give a really good fit, but the rubberised reverse means that theres next to no wear on the handlebars after use.
In addition to these straps, wider black webbing straps run over the bars with the metal slider hooks. Then, a single orange removable webbing strap is used to secure the back lower down around the head tube to prevent any bouncing over rougher terrain. Webbing loops on the back of the bag allow you to position this best for your set up, or even use a strap from your frame bag attachment, for example.
I remember a lot of foam blocks being supplied with the bag which can help prevent rubbing and adjust the fit to give space for your hands between the bars and the bag, but I haven’t used these much and kept them as back up for other bags and friends mainly!
This larger handlebar pack has the addition of an elastic cord criss-crossing on the front, which is a *brilliant* feature for easily securing items, from a waterproof that you’re regularly putting on and taking off, to a pack of bread rolls for lunch that you want to keep safe. With a simple plastic toggle, this can be easily tightened to keep your kit safe, and as it’s in front of you (rather than on your saddle pack) it’s easy to see if anything is going awry.
The pack can be used with drop bars and flat bars equally easily
The two wide black webbing straps can be used in parallel or (as I prefer it) criss-crossed across the front of the pack, then tightened to help raise the handlebar bag a little and keep it secure on the bars. Shorter riders may struggle with the larger pack, as it is quite deep and prone to rubbing on the front tyre if not secured properly or if you don’t have sufficient clearance. I made this mistake only once, wearing a small hole through the base material on the first trip after some rub on a long, rocky descent. To avoid this happening again, I often supplement the straps with a voile strap anchored around the bars which is easily tightened for extra stability and anti-sag.
Drop bars and flat bars
With a rolling closure on either end, the handlebar bag can be expanded to fit between drop bars, and works especially well with Di2 set ups where the levers don’t need to move much
I’ve used the Ortlieb handlebar pack with both with flat bars and drop bars. As width is typically the limiting factor when it comes to drops, you simply put a bit less in and thanks to the roll closures at either end can control how wide you want it to be. If you really want to max out on storage space, flared bars and Di2 can help, as electronic levers only need a minimal movement to shift compared to mechanical gearing.
With flat bars, there’s really no limit on width, so you can max out on storage and fit a huge amount in the pack.
Packing the handlebar pack
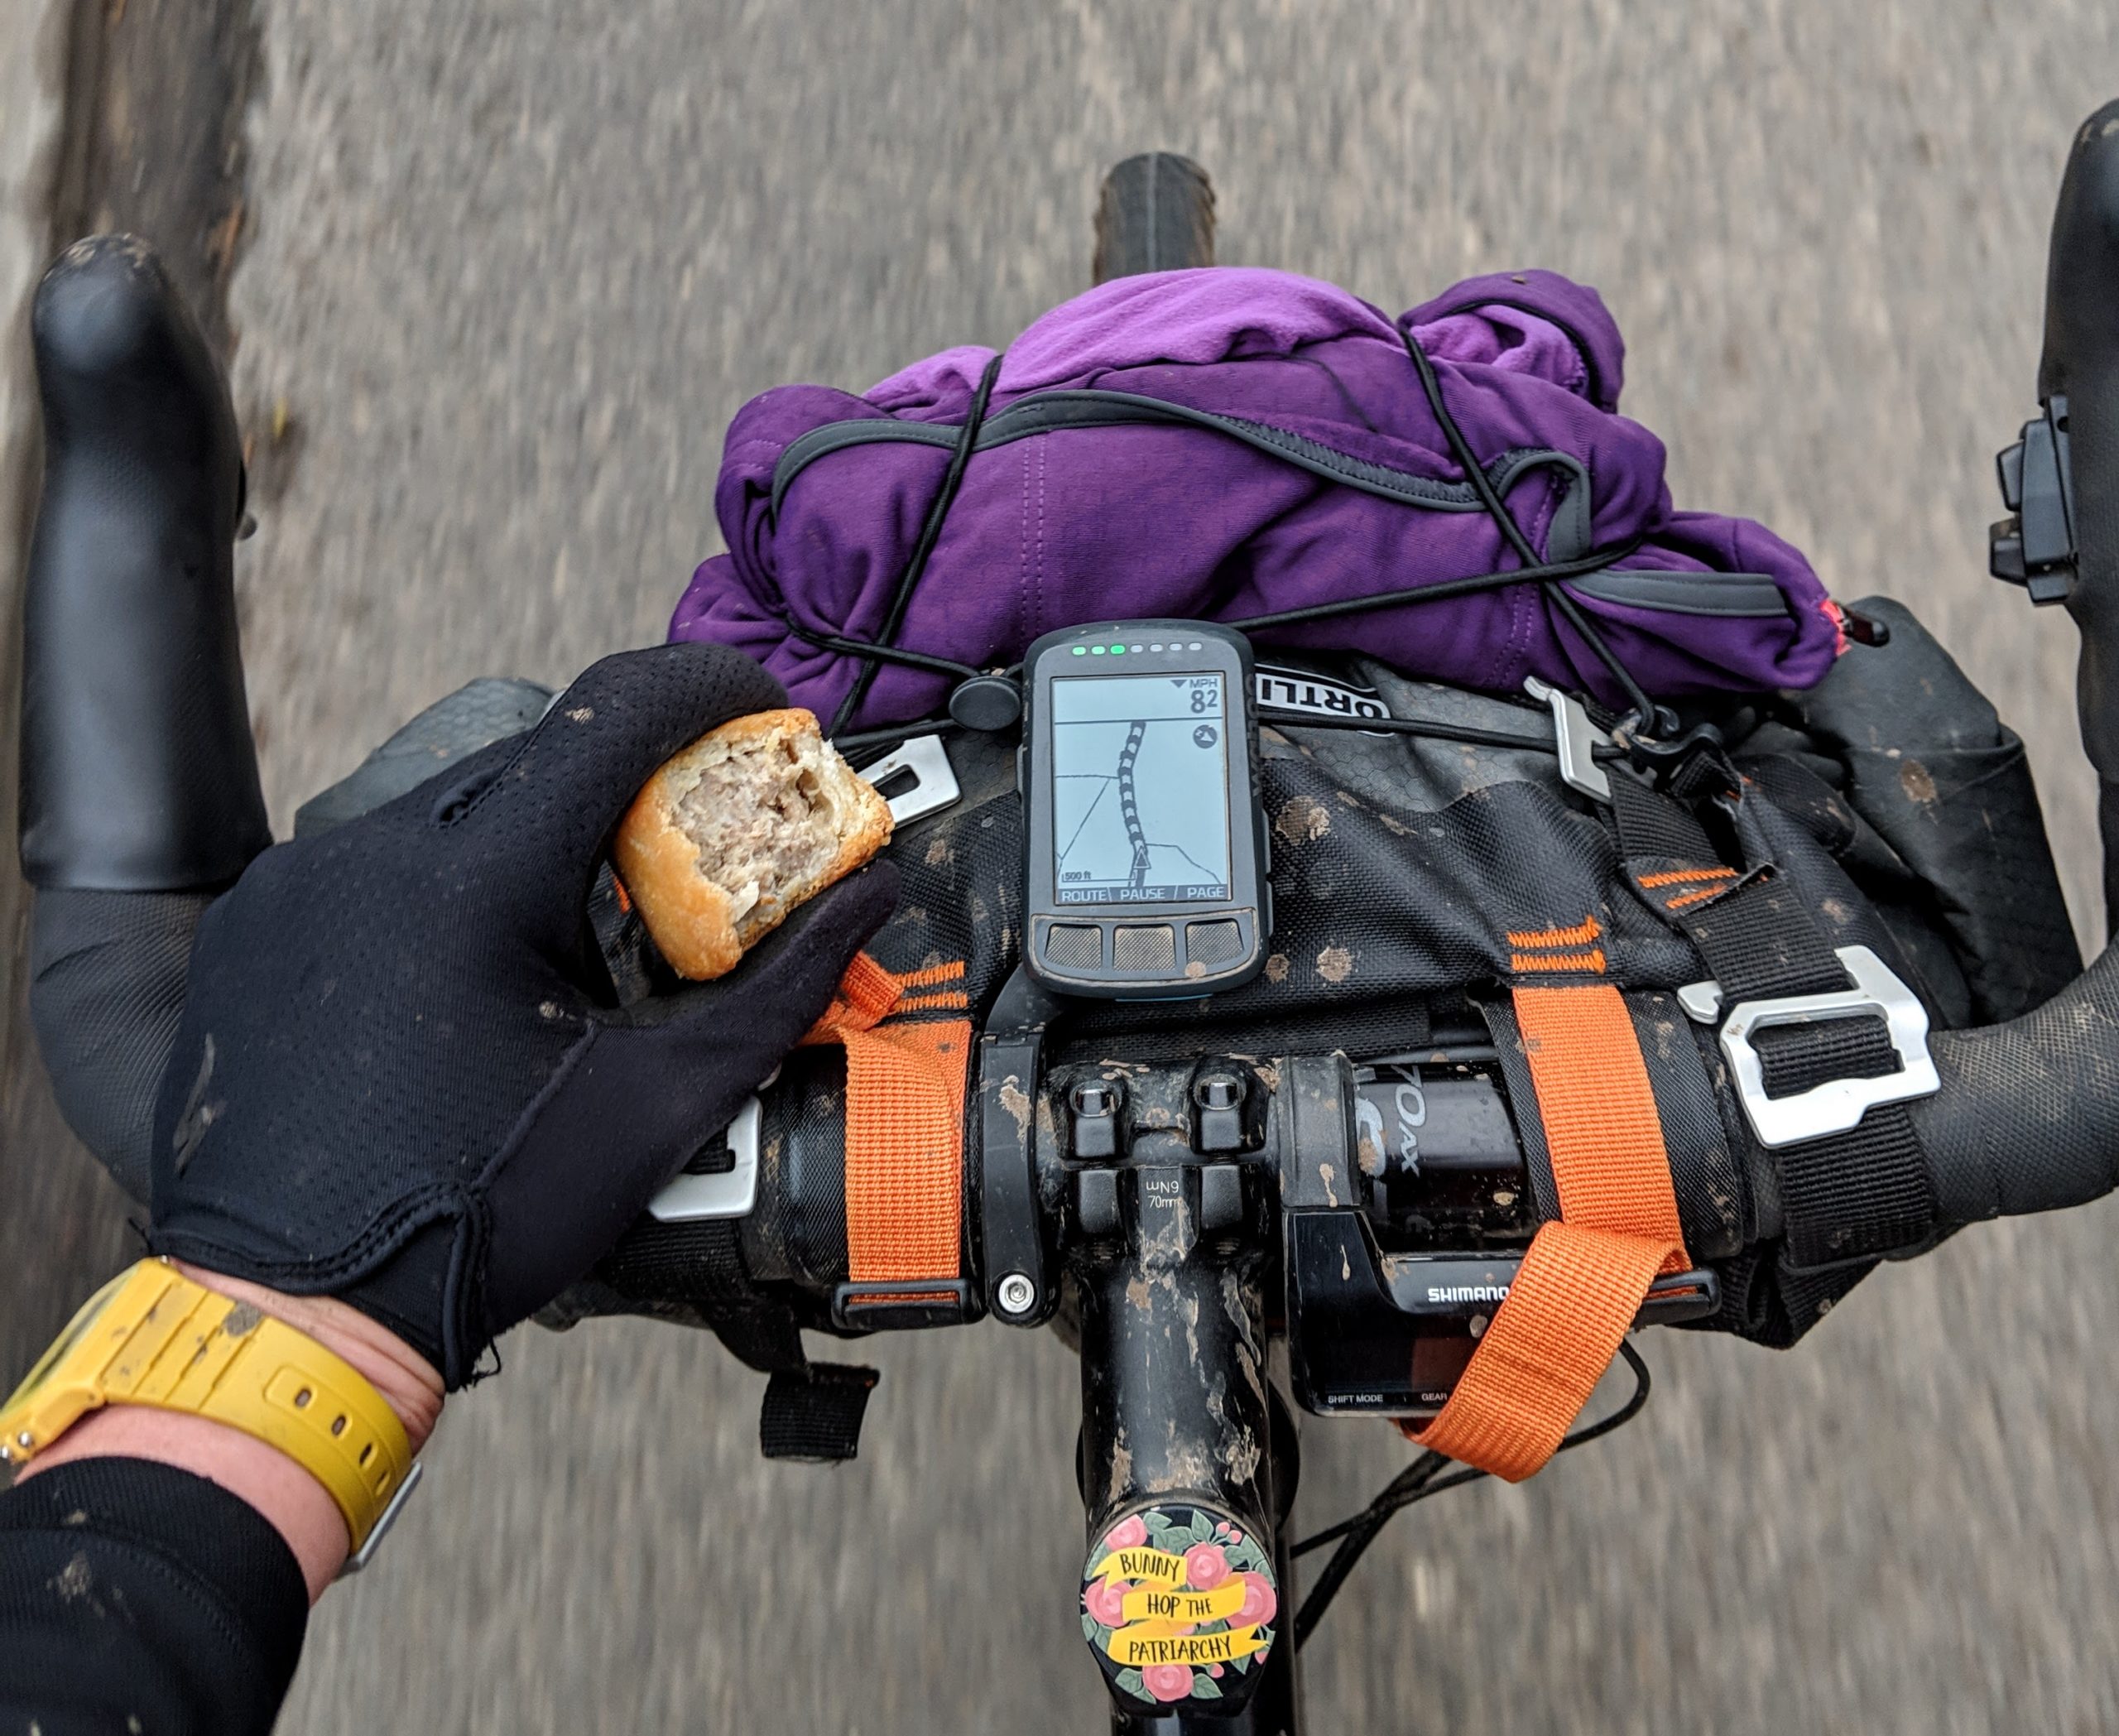
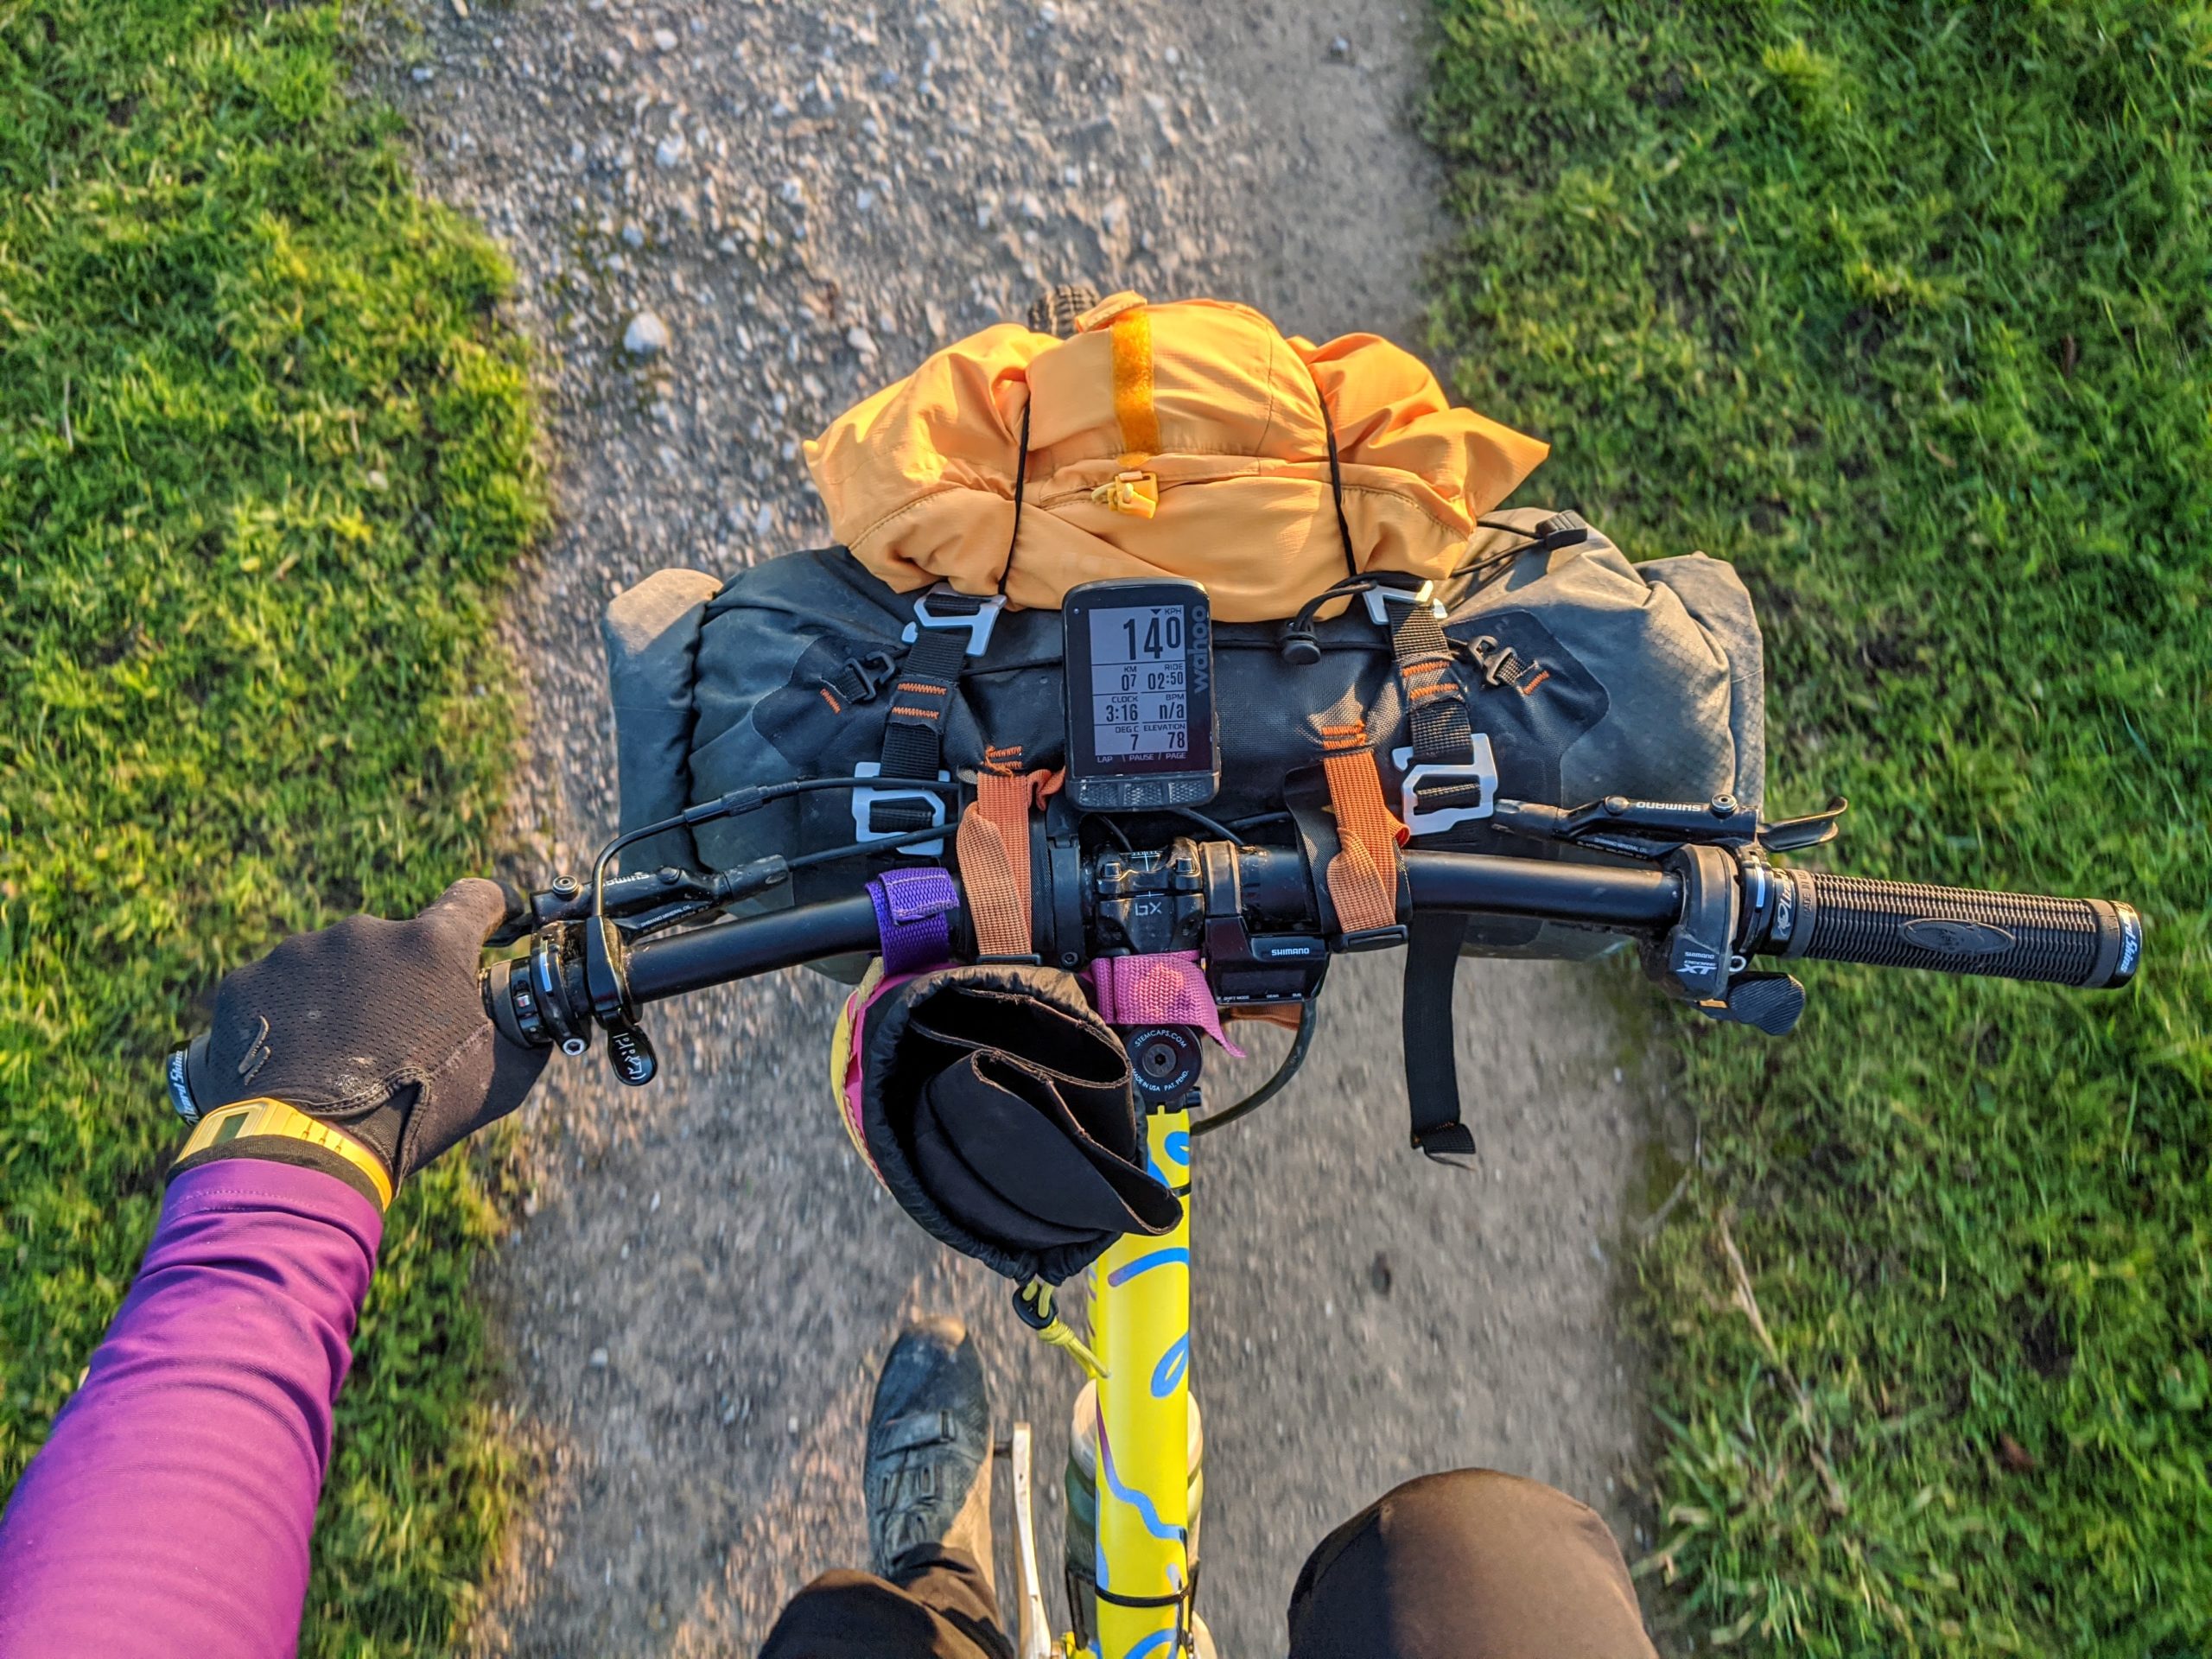
The front bungee cord is an invaluable addition for securing extra layer in changeable weather
As I predominantly use the handlebar pack on drop bar bikes, getting in and out of the ends can be a bit fiddly, so I pack sleep kit and other items that I won’t need to access during the ride. You can either pack the bag and then mount it to the bike, or mount it and then stuff your gear in, although it can be easier to overpack if you load up before fitting to your bars if width is an issue.
Typically I’d pack a sleeping bag in the front which takes up the majority of the space, then add in a survival bag, down jacket and other soft non-clothing items. To maximise use of the space, I often then attach my large tarp onto the top, securing using both the bungees and an additional voile strap. This doesn’t need to be kept dry, so I can save my precious waterproof storage space for other kit.
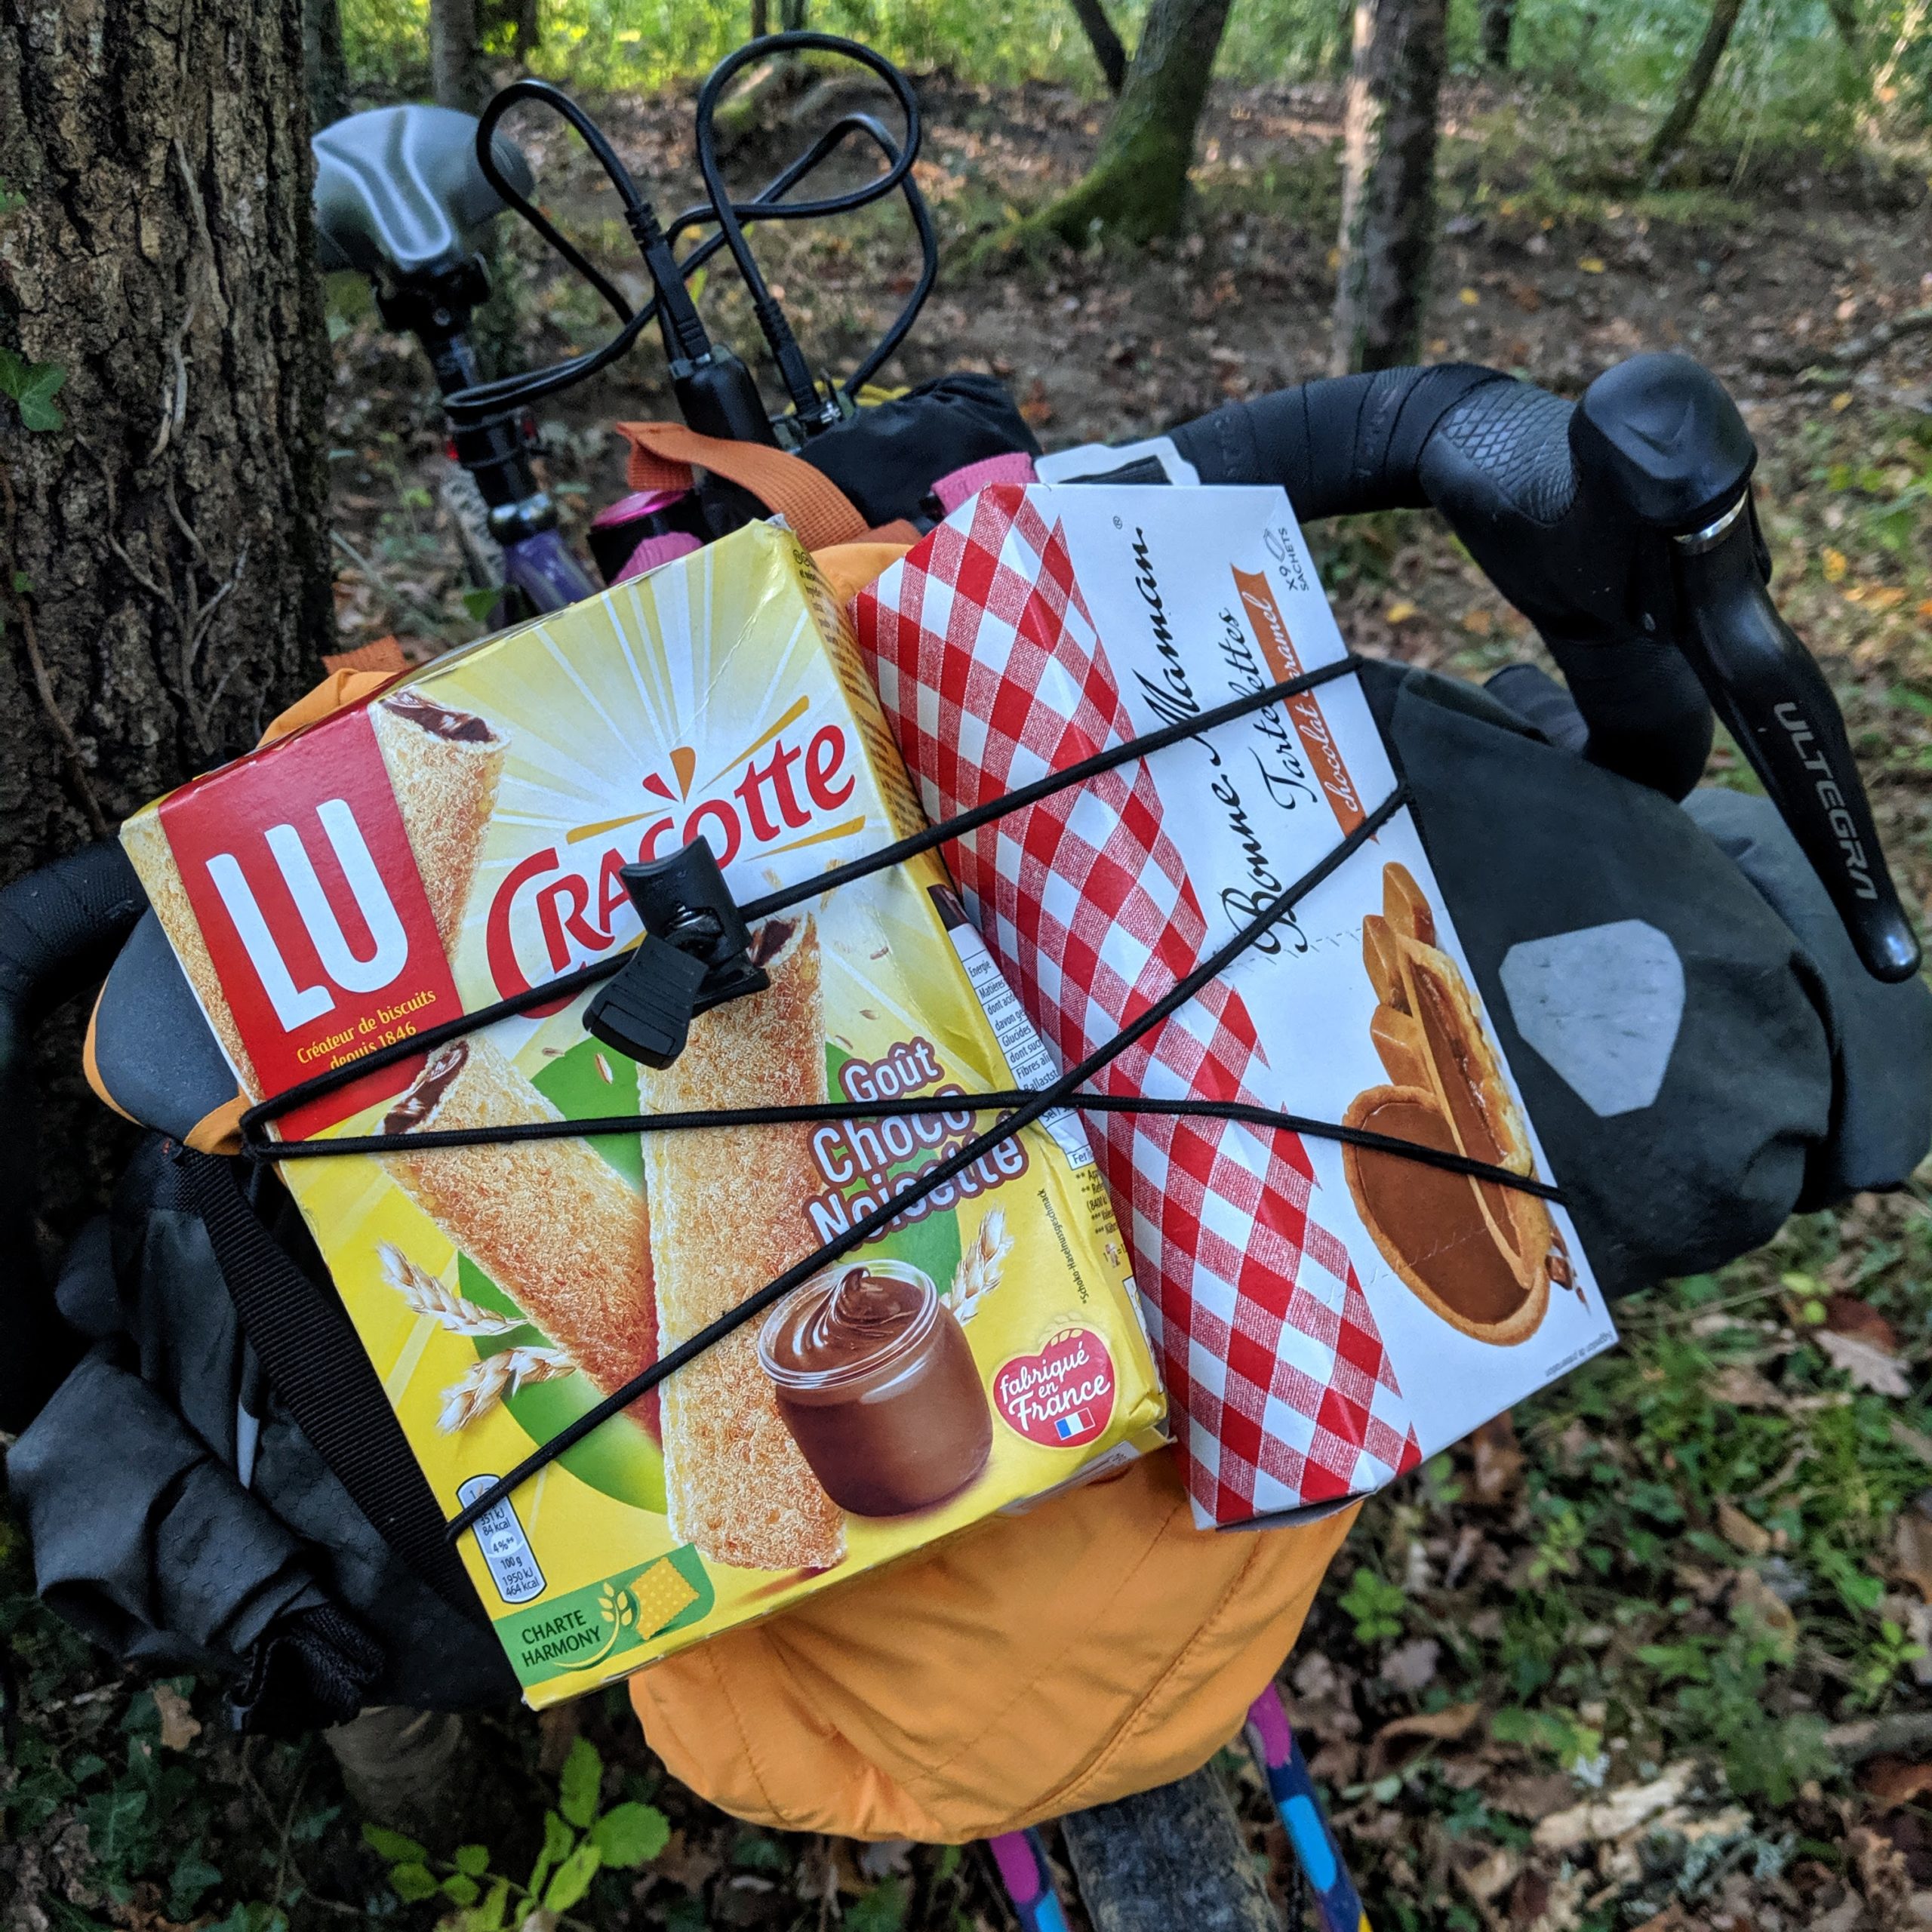
The bungees come in super handy for all manner of things!
The bungee straps – as mentioned before – also make for great easy access storage for extra layers, but don’t rely on this for storage space as you’ll need to keep these dry in the wet. They’re also great for carrying snacks and breakfast short distances, like from the shop to your overnight spot, but I again I wouldn’t rely on this for food all day round, especially on lumpy trails!
Recent updates
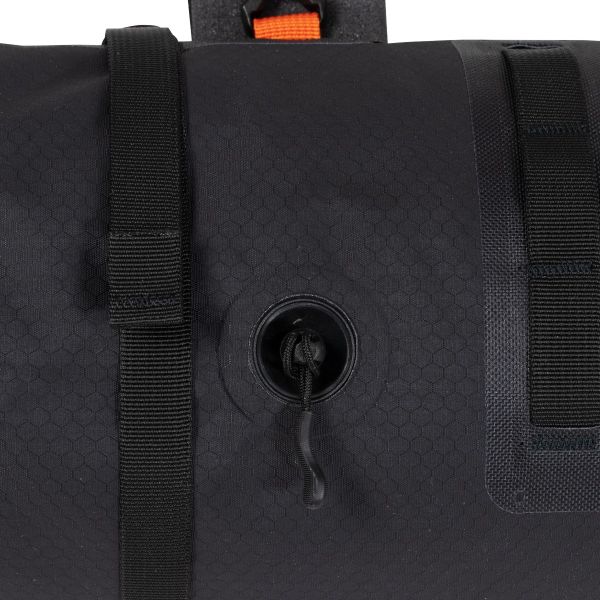
The one-way air valve is a neat addition to the new generation of Ortlieb bikepacking handlebar packs
The most recent black Ortlieb handlebar pack features an orange elastic cord rather than black, and more importantly an air valve at the back like on the seat post pack. This handy little rubber gadget makes it super easy to get excess air out of the bag as you secure it, without letting any water in.
The buckles appear to have had an update too with camlocks on the webbing straps. Some users found that when using the front Accessory Pack over time it would drop down a little, which the new camlocks now prevent. The stabiliser strap around the fork crown or headtube now also comes with a camlock, which is more secure than the original velcro fixture.
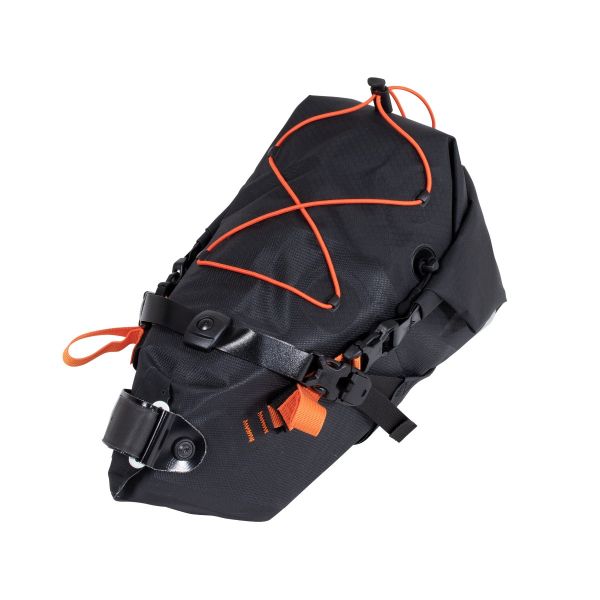
Seat post pack
The larger seat post pack has two velcro straps around the seatpost
Just like the handlebar pack, the seat post pack comes in two different sizes: 11L (£125 €136 $160) and 16.5L (£135 €150 $175). I have both: predominantly using the larger 16.5L bag, and opting for the smaller pack for riding on bikes with less exposed seat post for attachment.
The larger pack is made from the same waterproof, seam welded material as the front pack, with additional plastic inserts at the base for rigidity to fit against the seat post. Two large, wide velcro straps attach the bag to the seat post, which cinch down snugly using metal loops on the non-drive side. There’s plenty of adjustment here, so you can use it with both round and aero-shaped seat posts.
The second part of the bike attachment comes in the form of two orange webbing straps that pass from the bottom surface of the bag up to meet buckles from tougher black straps that thread through the saddle rails on either side. Pull these tight and secure easily to make sure that the bag fits snugly against the saddle to minimise bag sway.

Criss-crossing the opening straps can help secure the bag when really full
There are two more orange webbing straps left, which secure the single, large opening of the bag at the rear. This roll closure has a slightly thickened end panel to help roll, then you can roll up or down depending on your preference. I find rolling up can help prevent bag-sag especially when fully packed, but rolling down can be better in wet weather to prevent water pooling. You can secure these orange straps on either side, or criss-cross them over the top of the bag.
The bungee cords on the back are also really handy for securely stowing an extra layer
On the back of the bag, there’s a series of cut-outs in the doubled material (called the ‘daisy chain’) which is ace for attaching a light on a flexible mount, or dangling a safety pizza! Just like the front bag, a zig-zag of elastic cord on the top of the seat post pack is really handy for temporarily stashing extra layers. Be sure to secure these really well though: as they’re packed behind you it’s easy to lose something without realising otherwise!
Packing the seat post pack
Easier to access than the handlebar roll but still a large, singular compartment, I tend to use the seat post pack to stow clothing, a hammock and stove. It’s really impressive what you can fit in here.
Using the larger pack, you really do need a certain amount of luggage to stow for it to work effectively. Below this threshold, the straps are too loose, so a smaller handlebar or seatpost bag might be better. For bikepacking trips though, I’ve never had an issue filling it! I tend to put more solid items in first, really pushing them down into the end of the bag to help it keep rigid and stable: my hammock works really well in this smaller gap. Then I add layers that I won’t need until the end of the day, gradually working back to finish with any layers that I might need to access during the ride closest to the opening.
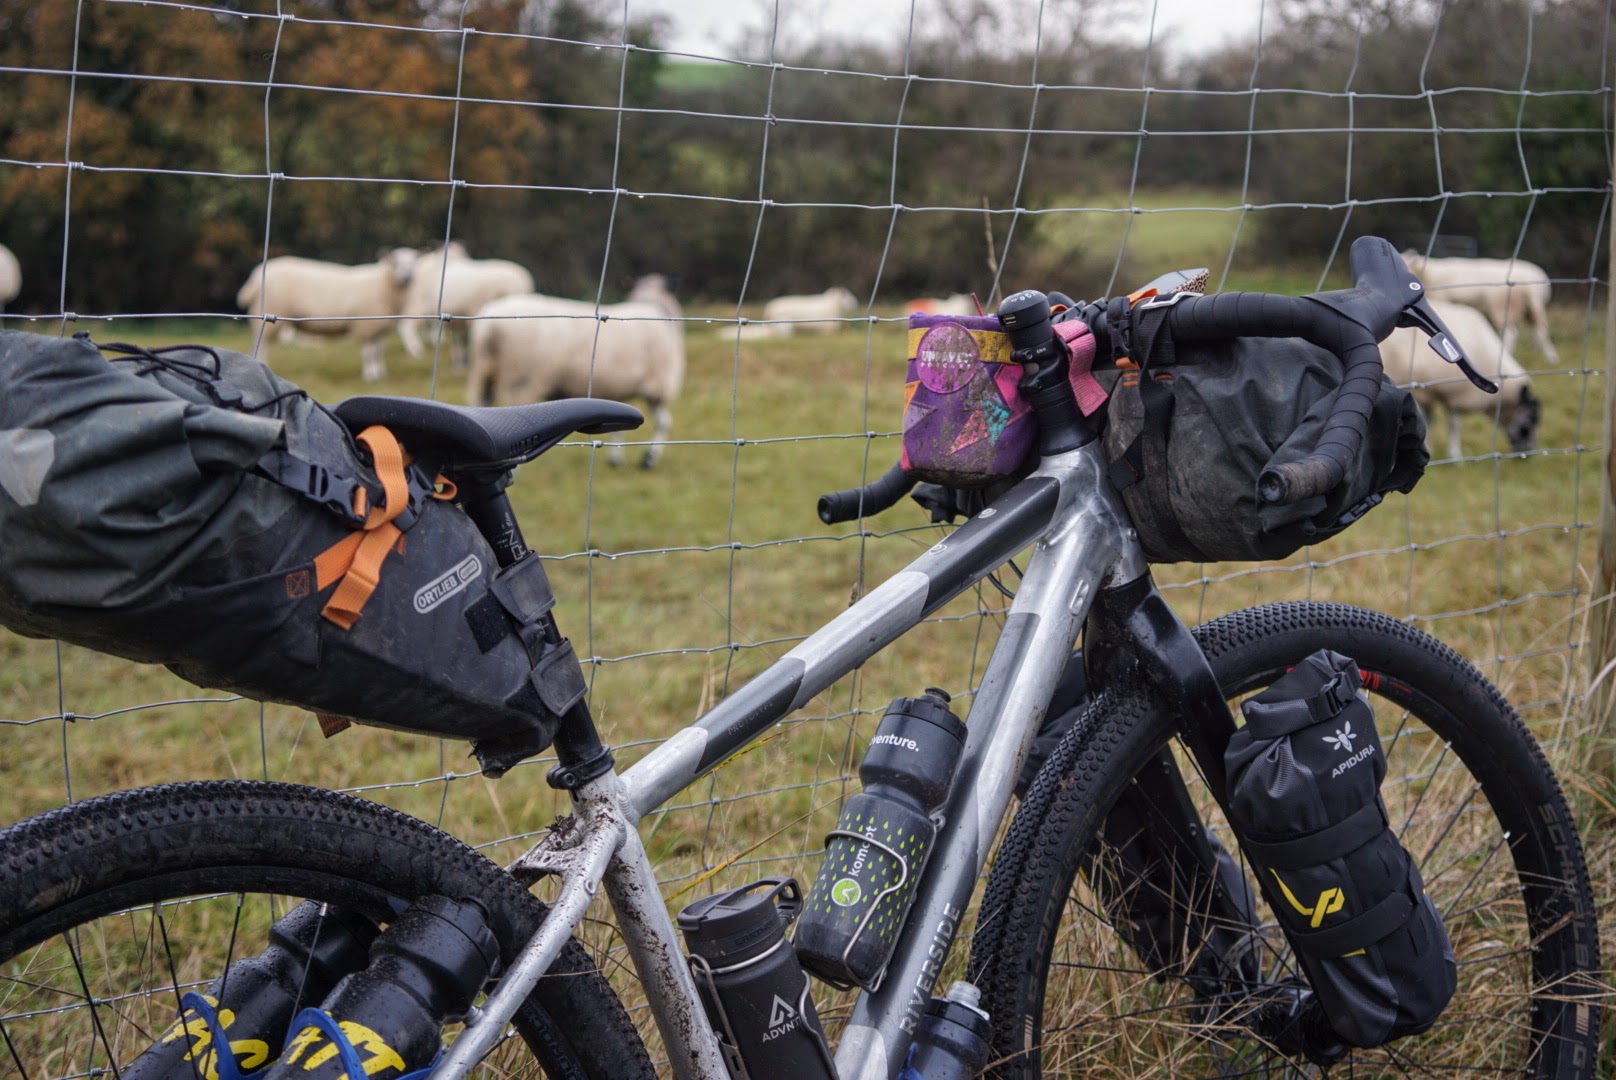
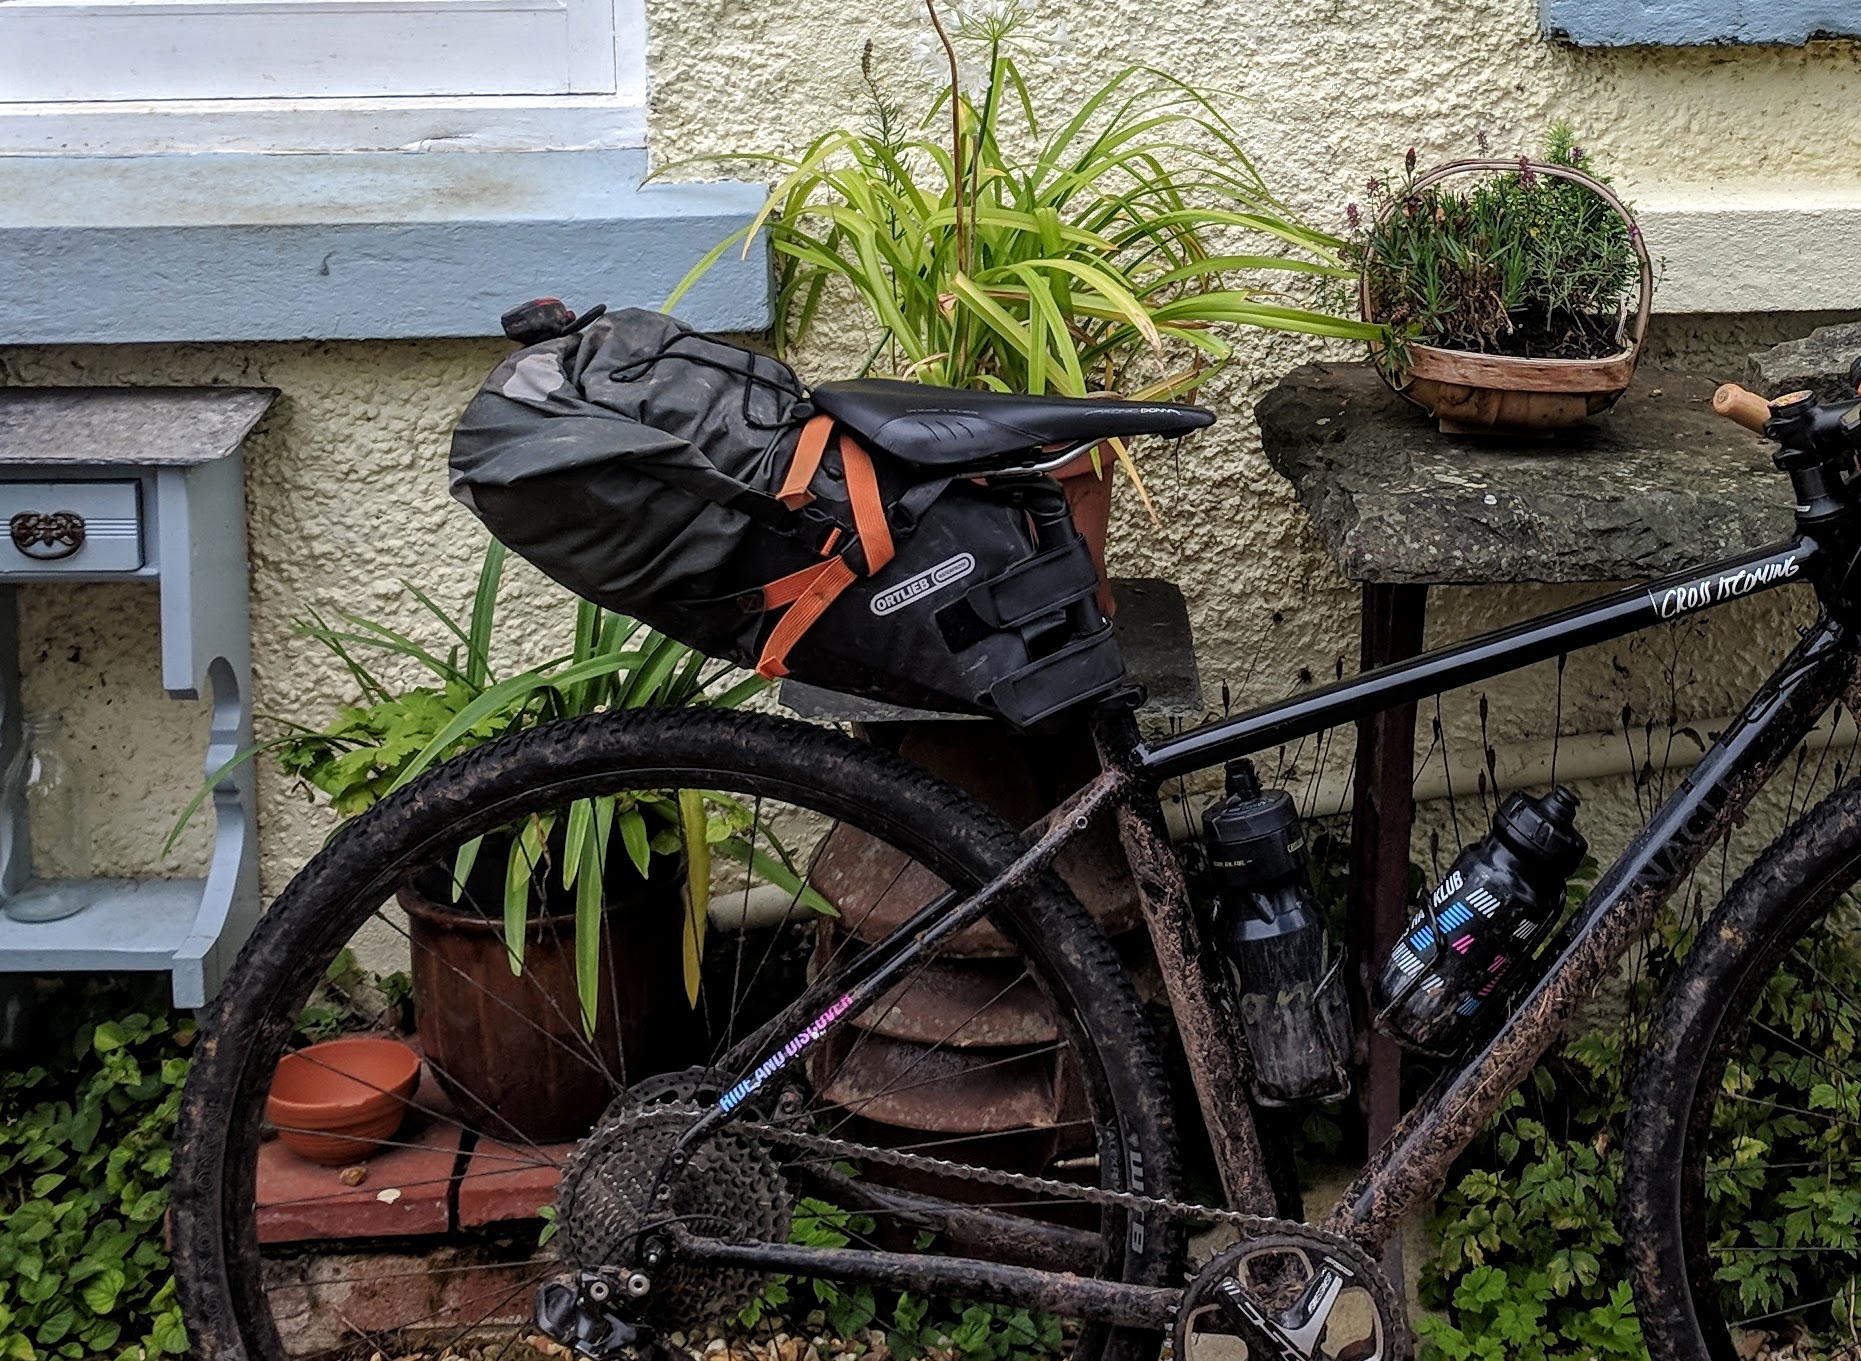
The reinforced base panels means the seat post bag fits well against the seat post and saddle with no sway
To secure the pack, easily pull out the rubber air valve and roll down the opening, buckling the sides and strapping down as tightly as possible, before securing the air valve. Packing is key to making sure you have a stable, sway free bag, and is something that you might find takes some practice.
Packed well, I don’t experience any bag sway with the seat post pack, which is a common criticism of bikepacking seat post packs. I think a lot of this is down to the rigidity in the base and sculpted fit against the seat post, as well as the clever tabs on the base on the bag which the rail straps link to, helping the bag to keep its shape even when filled.
11L seat post pack
The smaller one-strap 11L bag is a great choice for riders with shorter seat posts. Photo: ForTheHellOfIt.cc
After having such a positive experience with the larger pack, I invested in the smaller 11 litre pack to use with my new Mercredi, a bike with a higher top tube and therefore less exposed seat post to attach the bag to. With a single velcro strap rather than two, this slightly smaller bag fitted well.
The bag is much the same as the larger option, although this version didn’t have any elastic bungees over the top which I’ve really missed!
Recent updates
The newer edition of the small pack now includes a top elastic
The 2020 release of the Ortlieb seat post packs saw little change, bar the addition of the bungee to the top of the smaller pack (hurrah!) and a colour change to a darker black material and orange elastic.
Ortlieb bikepacking bags: waterproofing and longevity
Ok, so if you ride in the UK, Europe, or pretty much anywhere that isn’t the desert, waterproof bikepacking bags are a real priority. I could think of few things worse than getting to the end of a tough, wet day to find that all your stowed sleeping kit and change of clothes are also soaked through, not to mention damaged electricals!
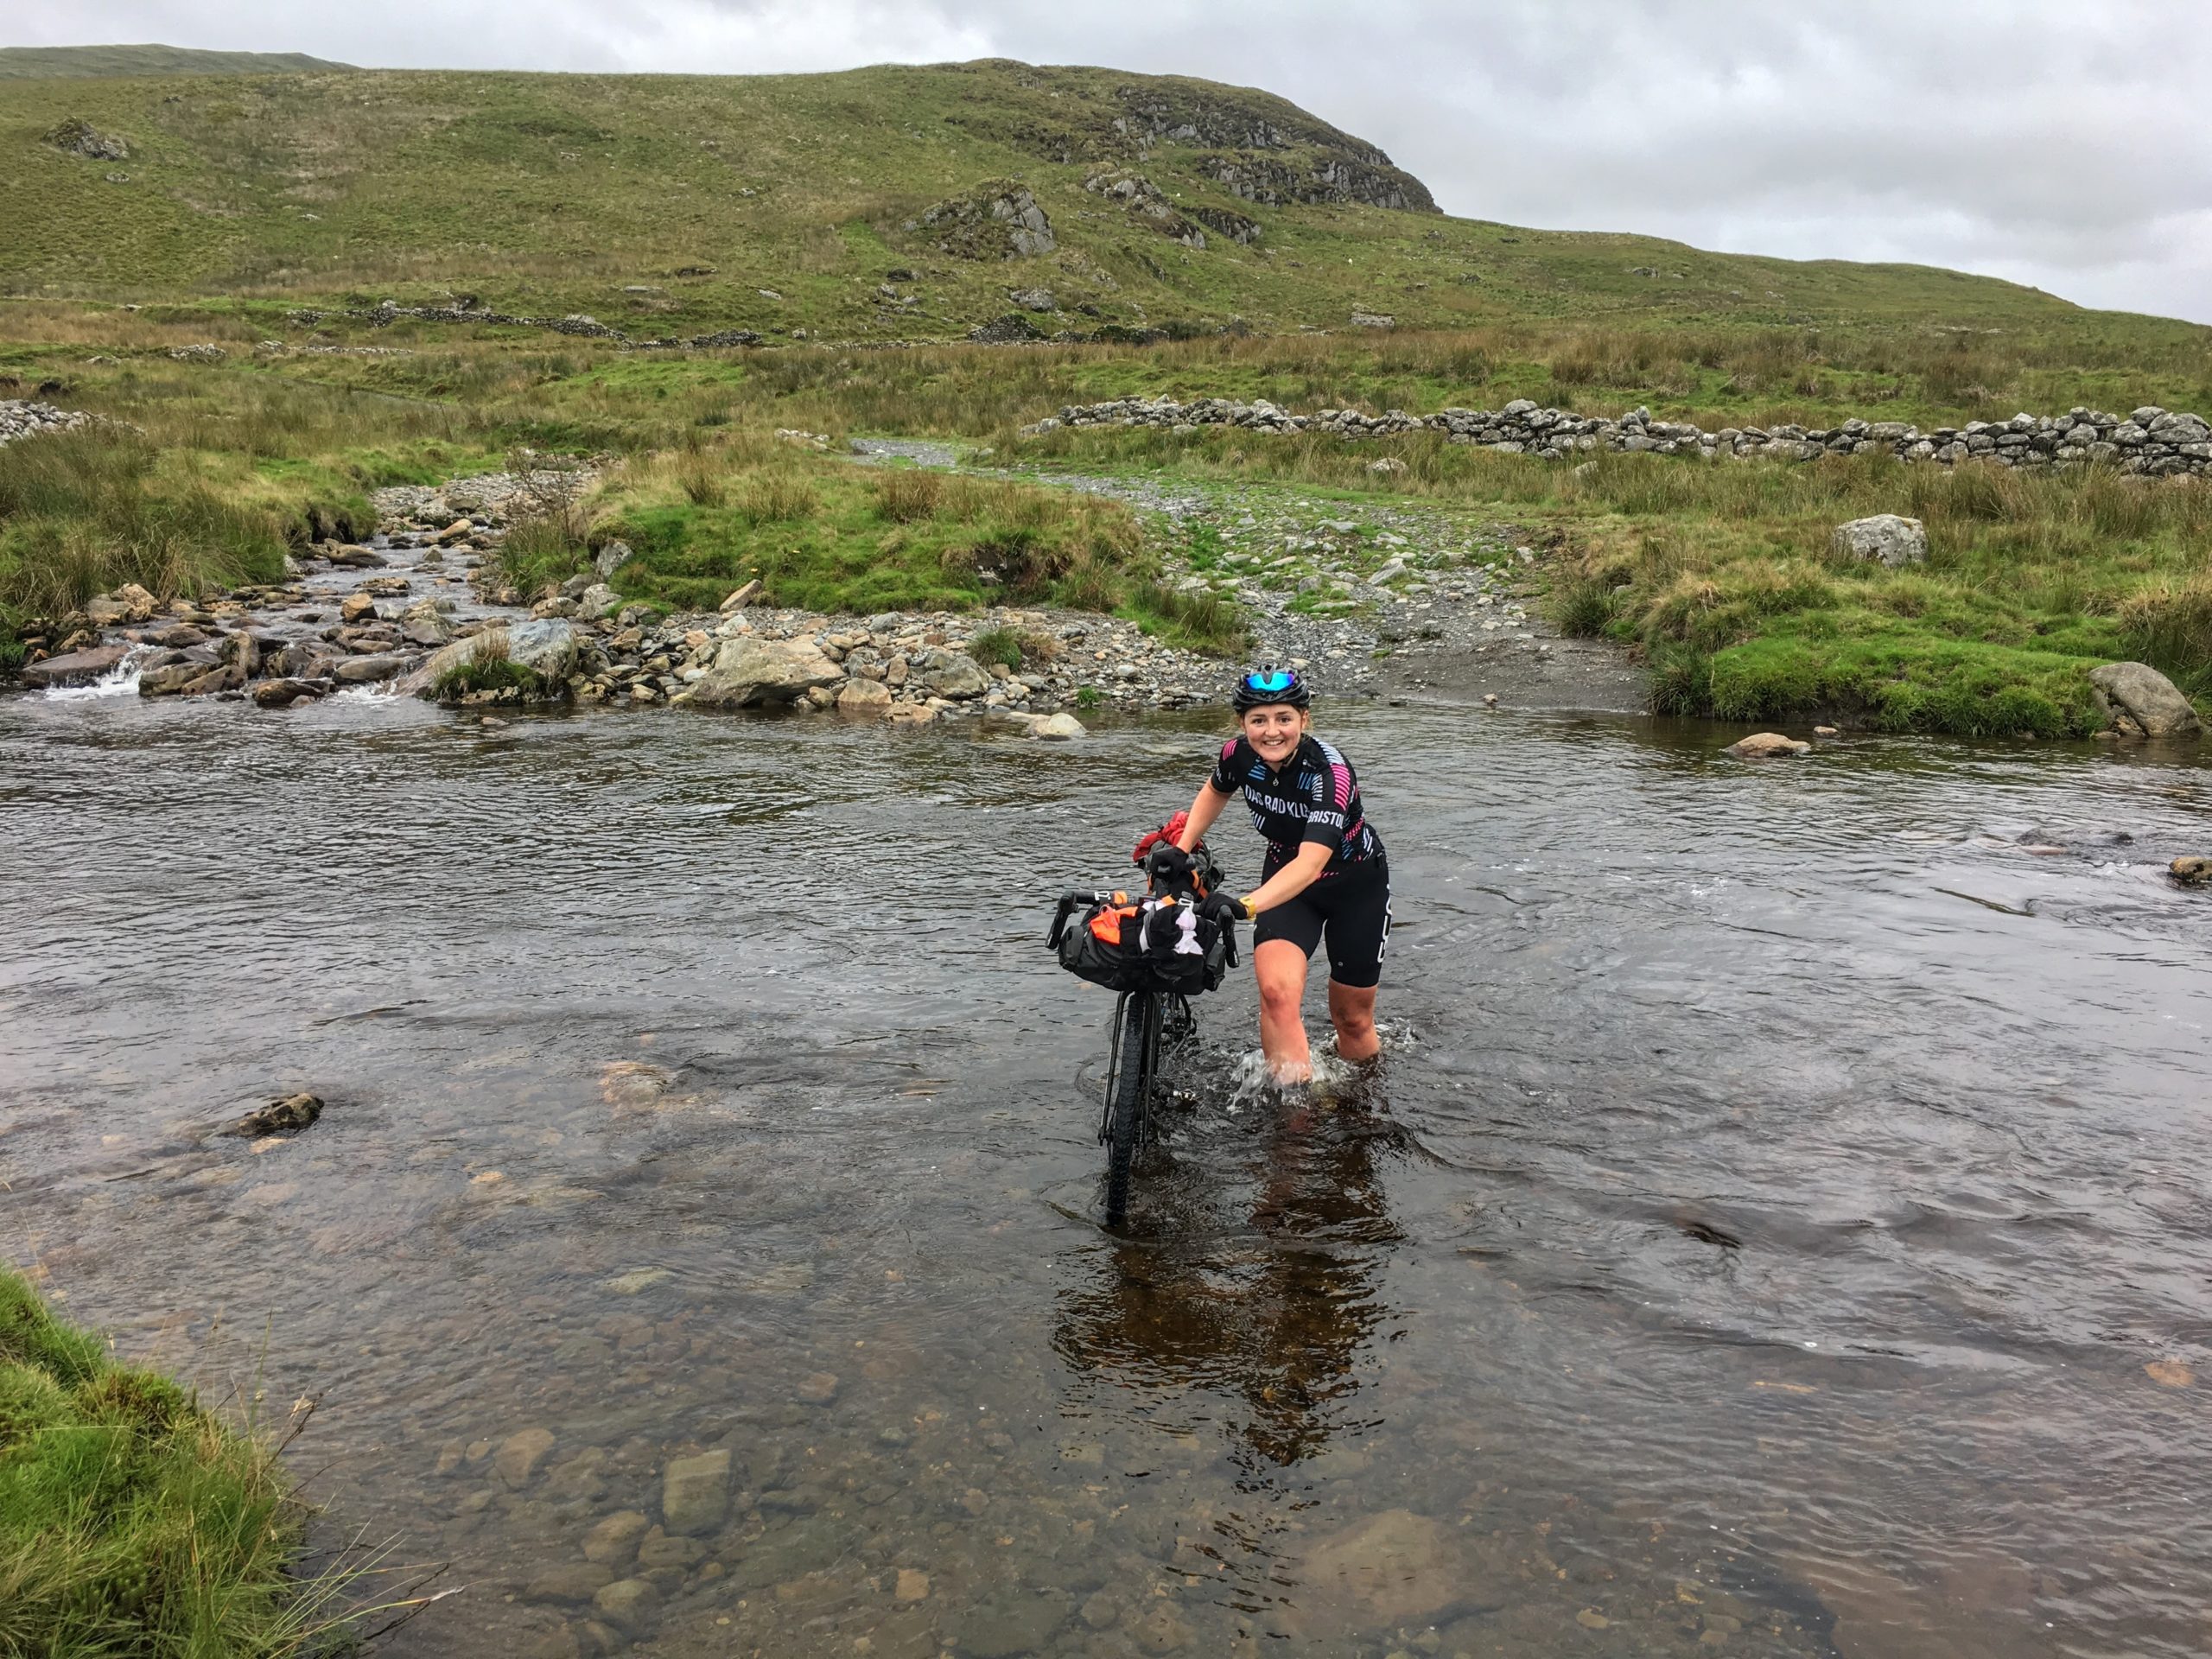
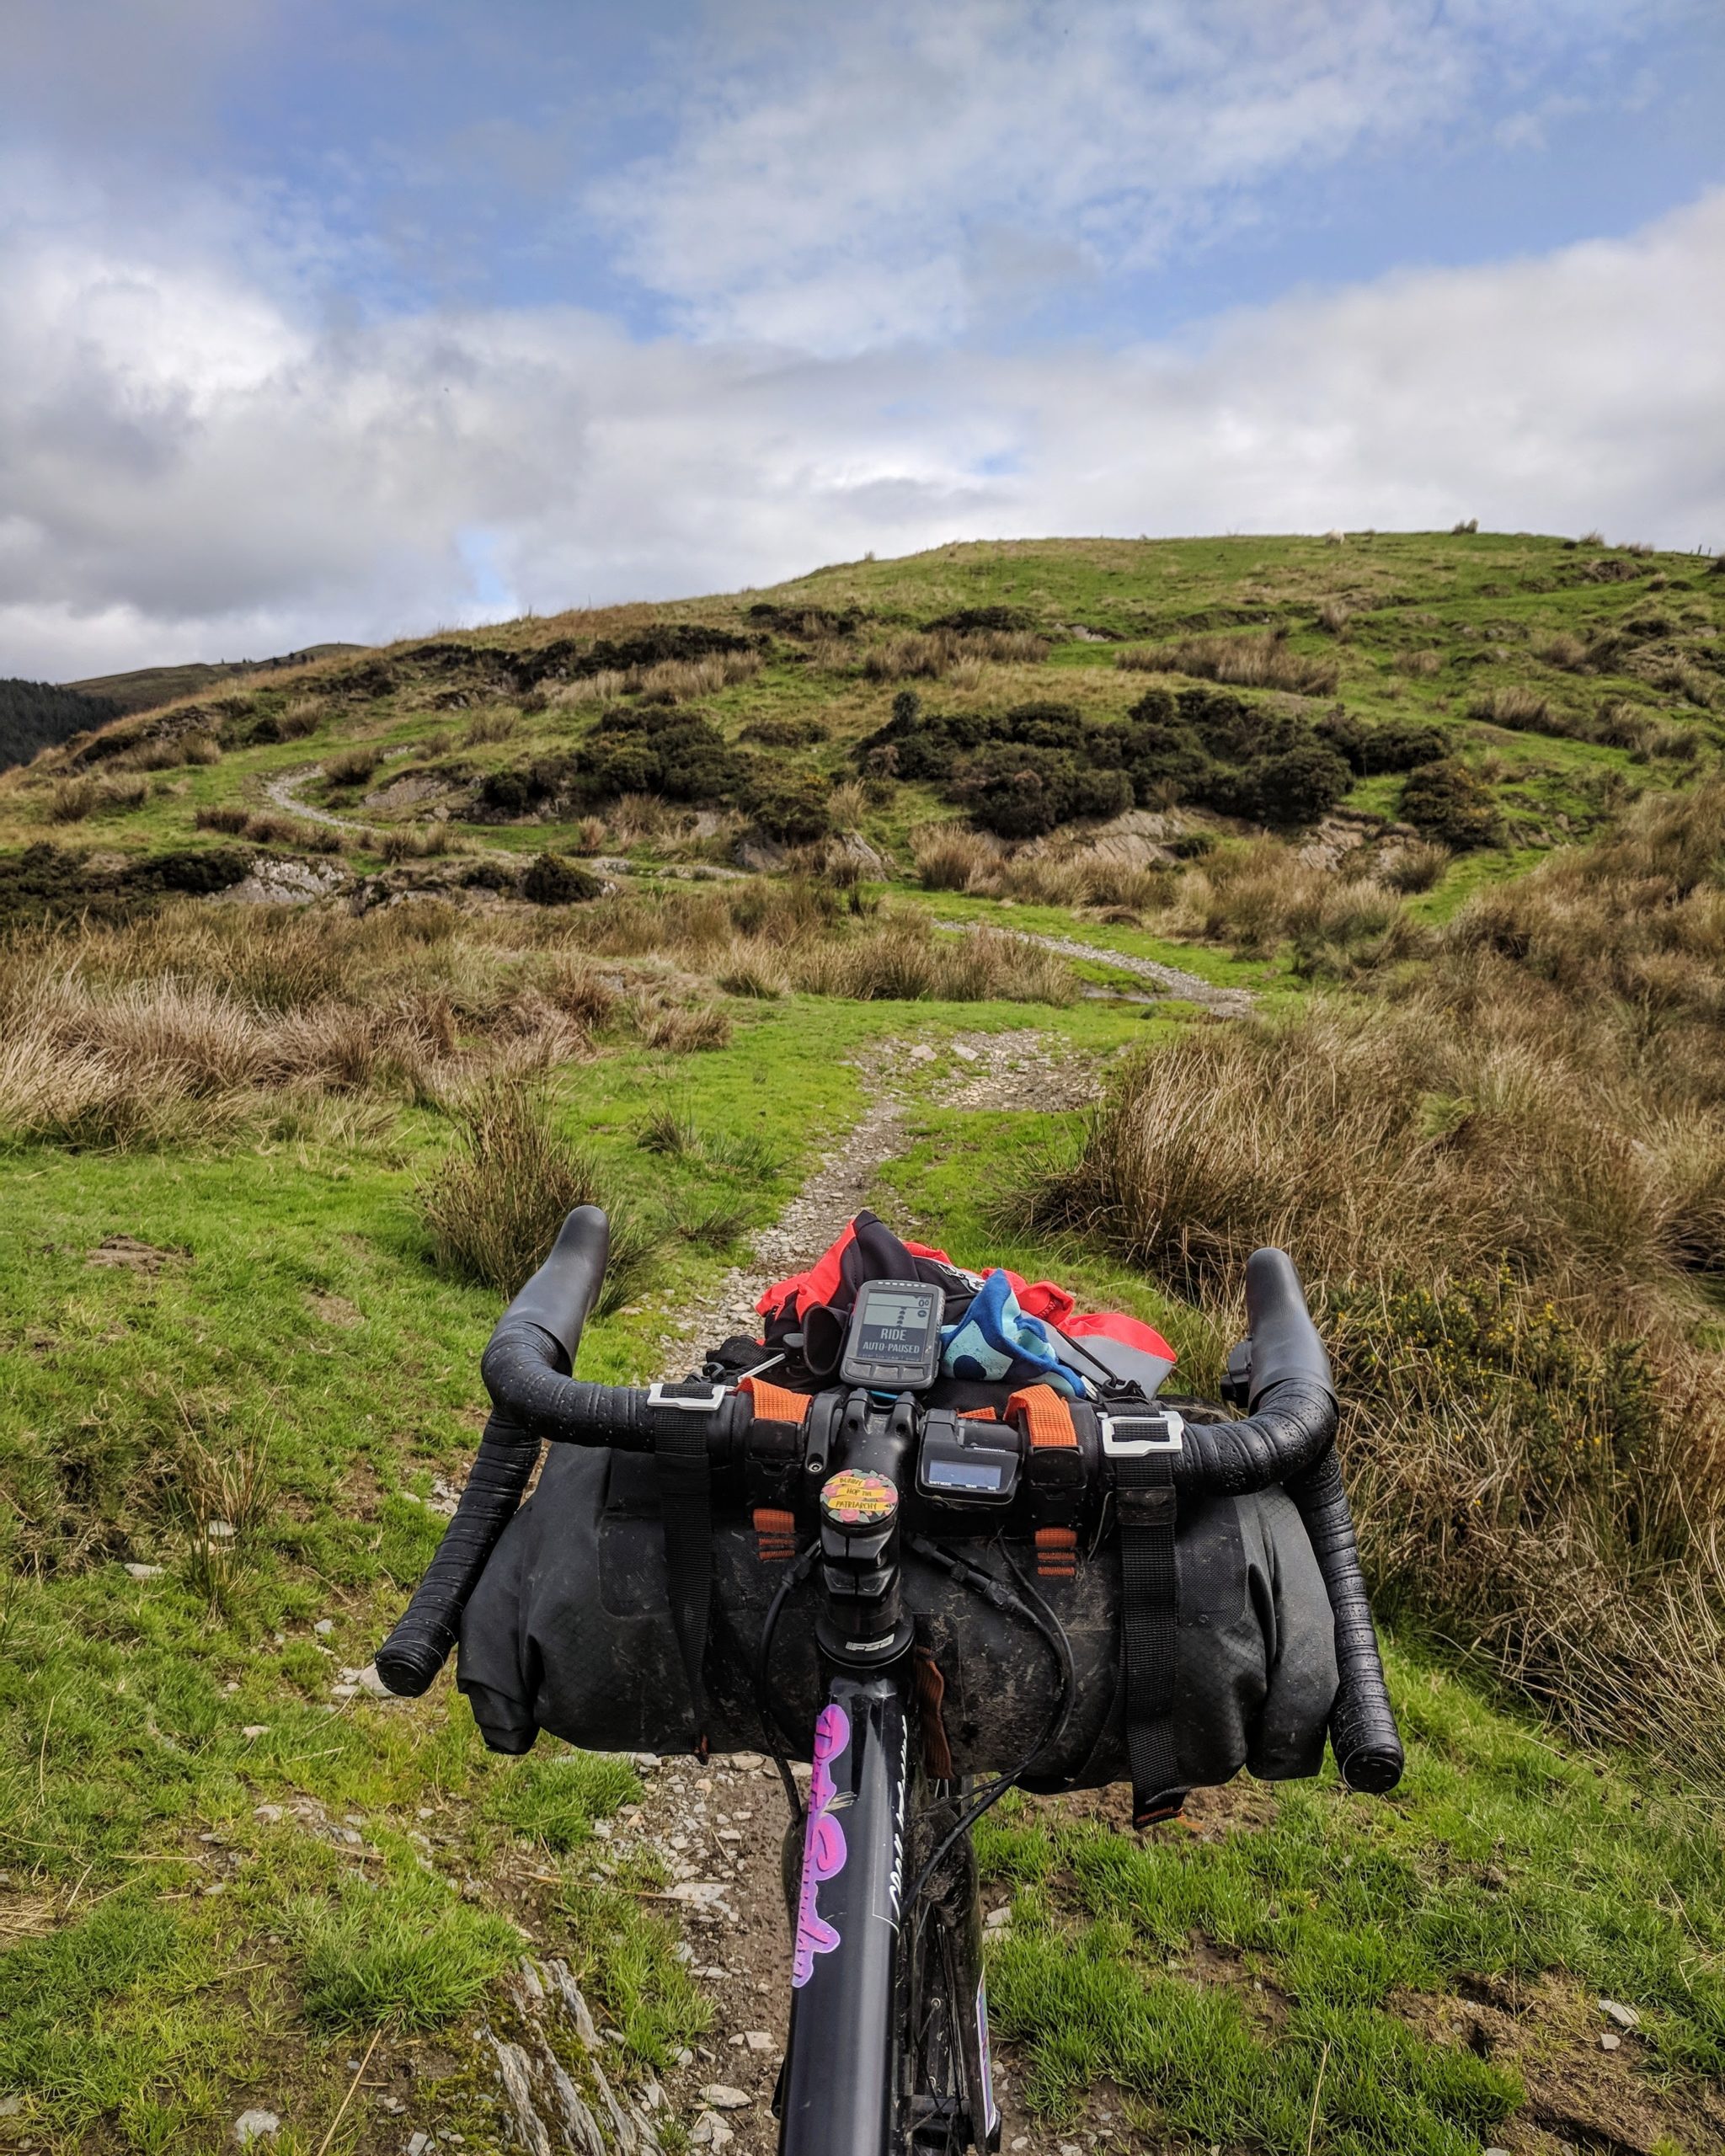
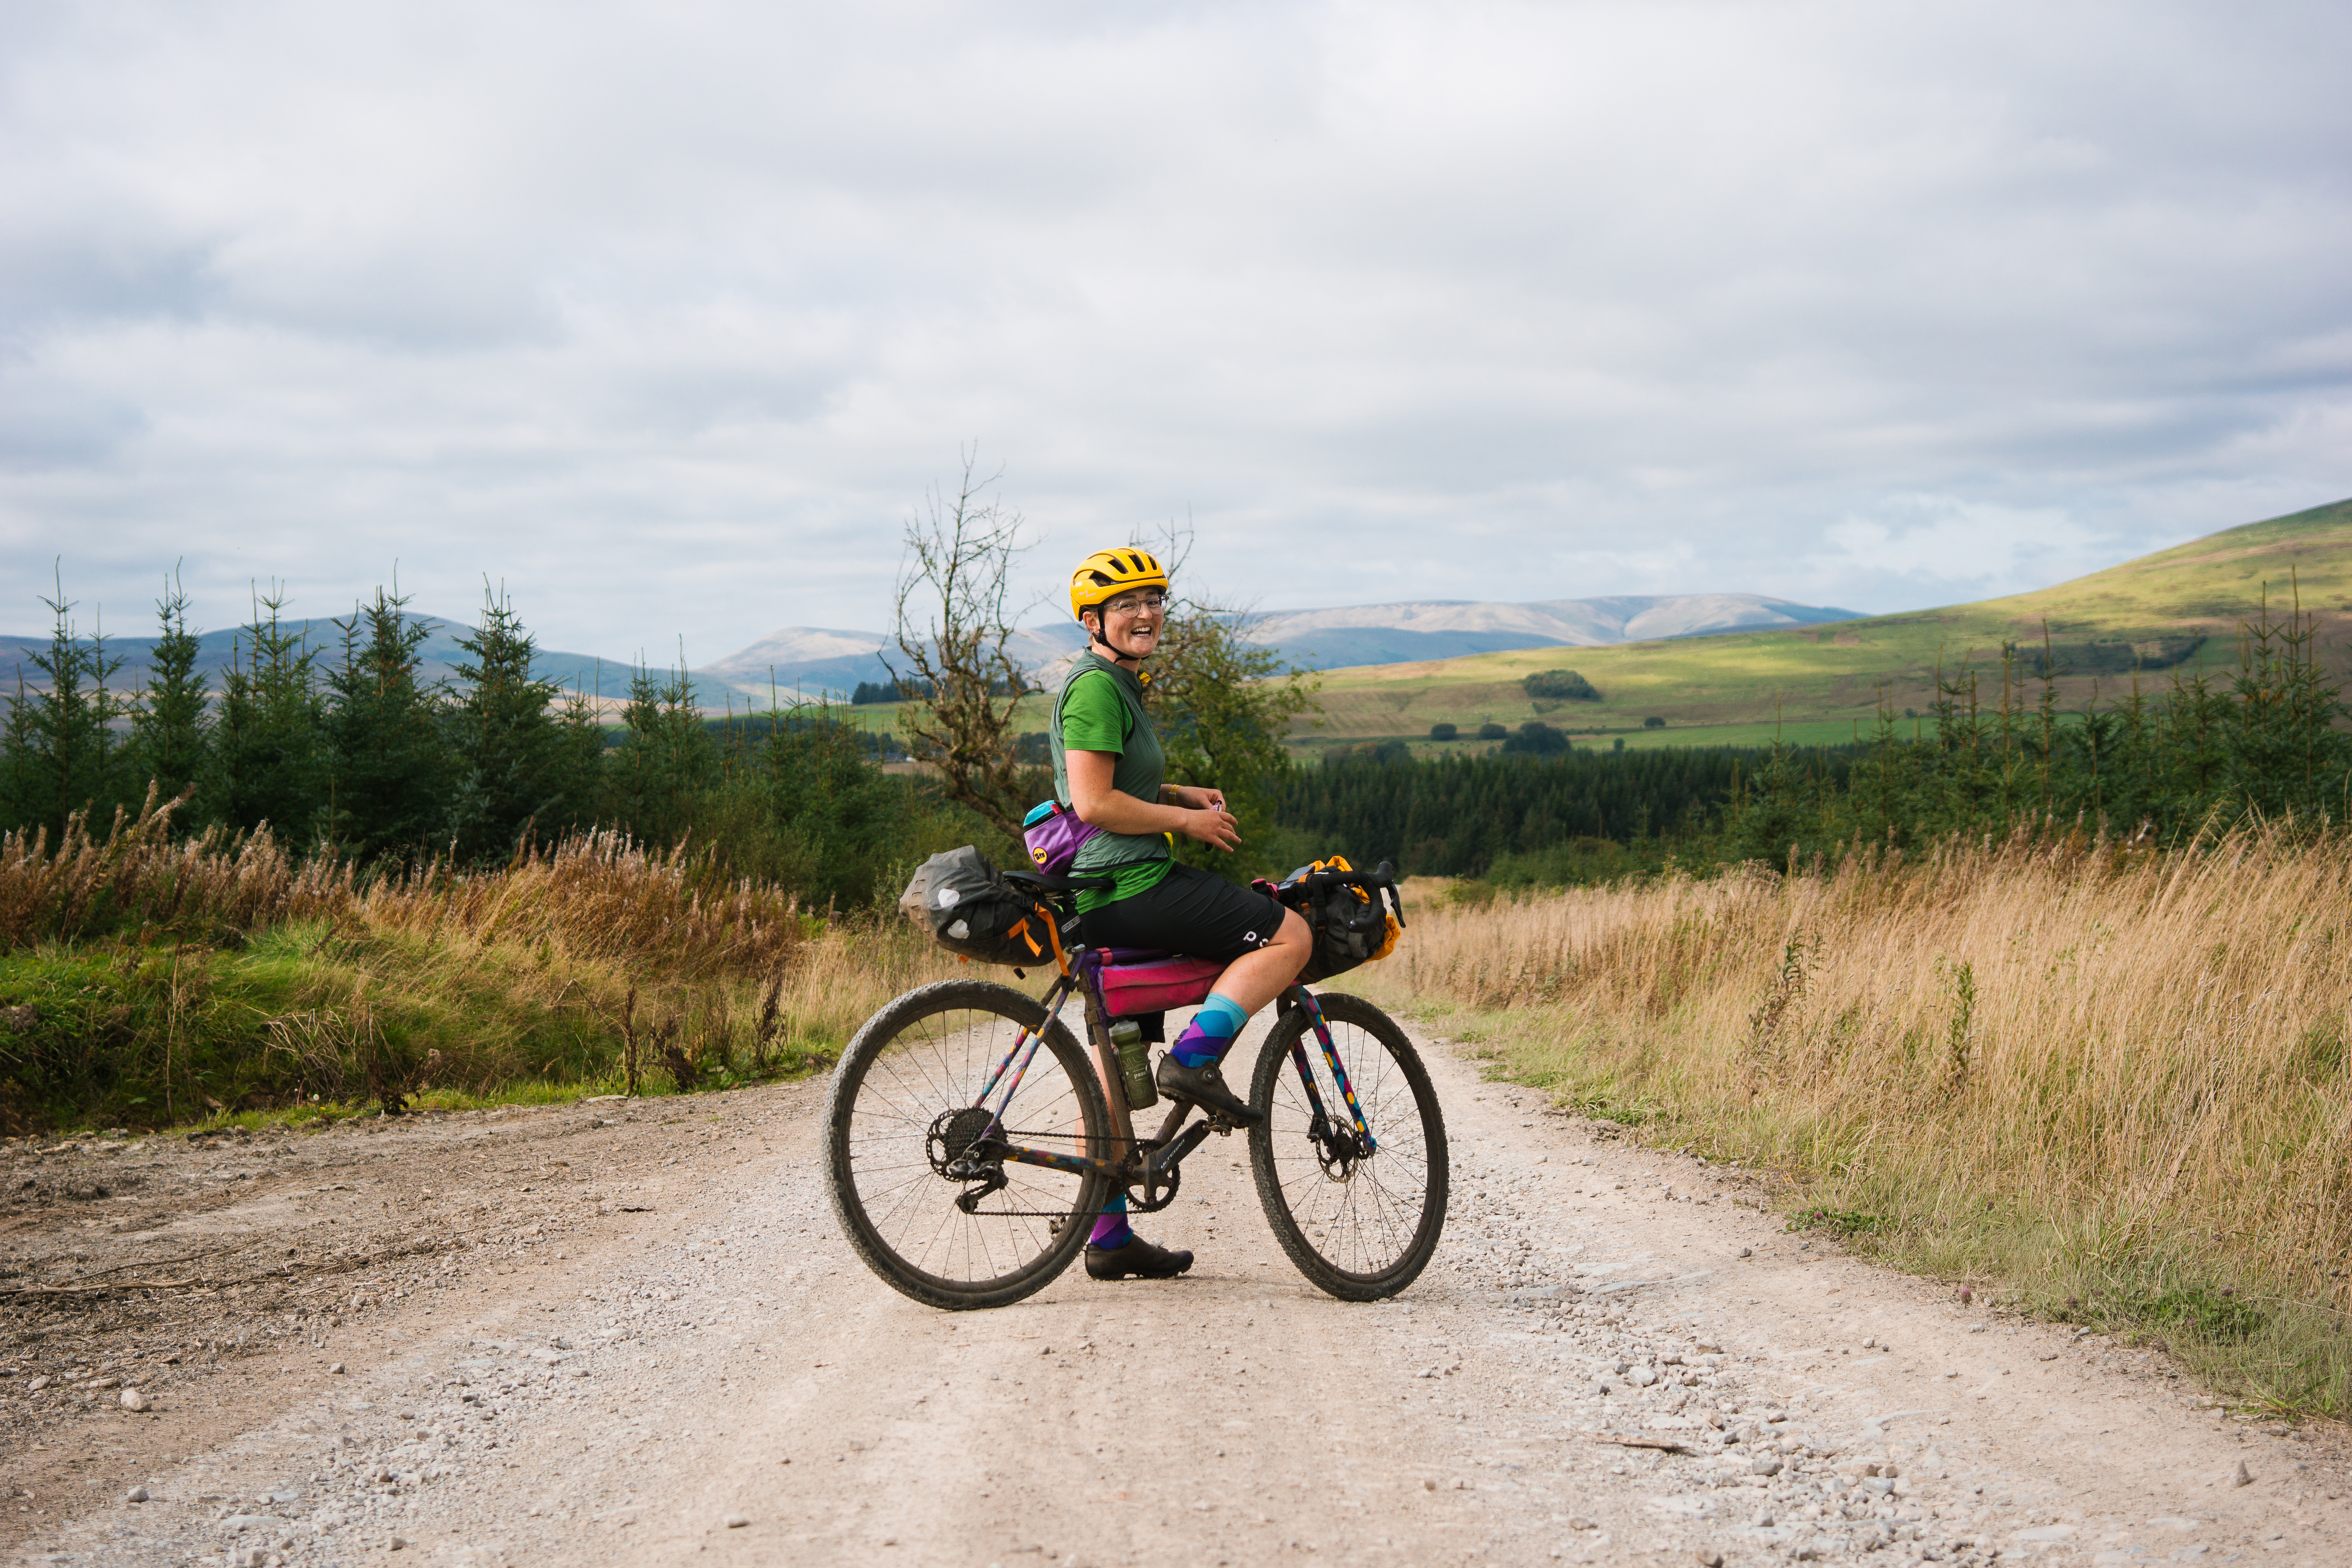
About 5 minutes after this pic, I tumbled sideways into a deep doubletrack puddle and got truly soaked through. Thankfully we soon descended to Mach, where my stowed kit was bone dry to change into.
The great news is that over the last three, nearly four years of heavy use, the Ortlieb bikepacking bags have been 100% waterproof, and that’s not something that you can often say about kit. Even through day-long downpours, deep river crossings and persistent drizzle, these have really impressed.
Ortlieb have been in the waterproofing game for a long time, so I’m hardly surprised that they’ve been able to produce bags that are totally waterproof, not just initially, but even after years of use. I think the key is in the welded rather than sewn seams and specialist materials, which I can only imagine are both expensive to develop and process.
The robustness has been a real asset; not wearing against contact points like the saddle or bars, where the Ortlieb bikepacking bags are reinforced with stronger, thicker material. These have really taken a beating through all conditions, and after an easy hose off and hang dry they’re good to go again.
The only wear I’ve experienced was solely due to user error: a small hole in the bottom of the handlebar pack where I didn’t secure it high enough above the front wheel to prevent rubbing. The buckles are all still functioning just as well as day one, and webbing straps showing only dirt, not wear.
If your Ortlieb bikepacking bags do develop a manufacturing fault, you can be assured that they’re covered by a generous 5 year Warranty, plus Ortlieb also offer a repair service for a fee, and you can find home repair advice on their site too (perhaps I should heed this).
The Ortlieb bikepacking bags verdict

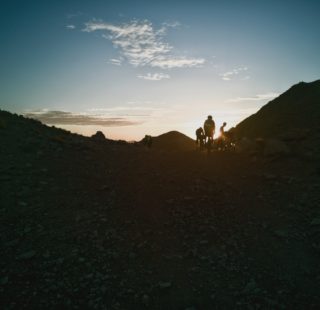
The Ortlieb bikepacking bags have been solid on many trips so far, and no doubt many trips to come. Photo: For The Hell Of It.cc
Versatile, robust, truly waterproof and expensive: though I’d strongly argue the latter is well worth the investment for kit that is proven to last for many trips and years. The combined price for the larger front and rear packs comes in at £250, although for such long-lasting bags I think that this is reasonable. I often supplement the bags with smaller packs, such as a stem bag or half frame bag for smaller items, although these aren’t as waterproof as the Ortlieb bags. In fact, it was partly this frustration that put me off making bags myself: nothing came close to the toughness of the Ortlieb packs, even if they were prettier!
I’ve recommended these packs to so many people, because I just don’t think they can get much better. More recent updates like the air valve on the front pack and the bungee cord on the smaller seat post pack are great improvements on my models, but for me the beauty is in how long they’ve lasted already and I’m in no rush to update them for small changes.
There’s little other option than to rate these a top mark of 10/10, as I really would recommend them to anyone.
Ortlieb bikepacking bags
various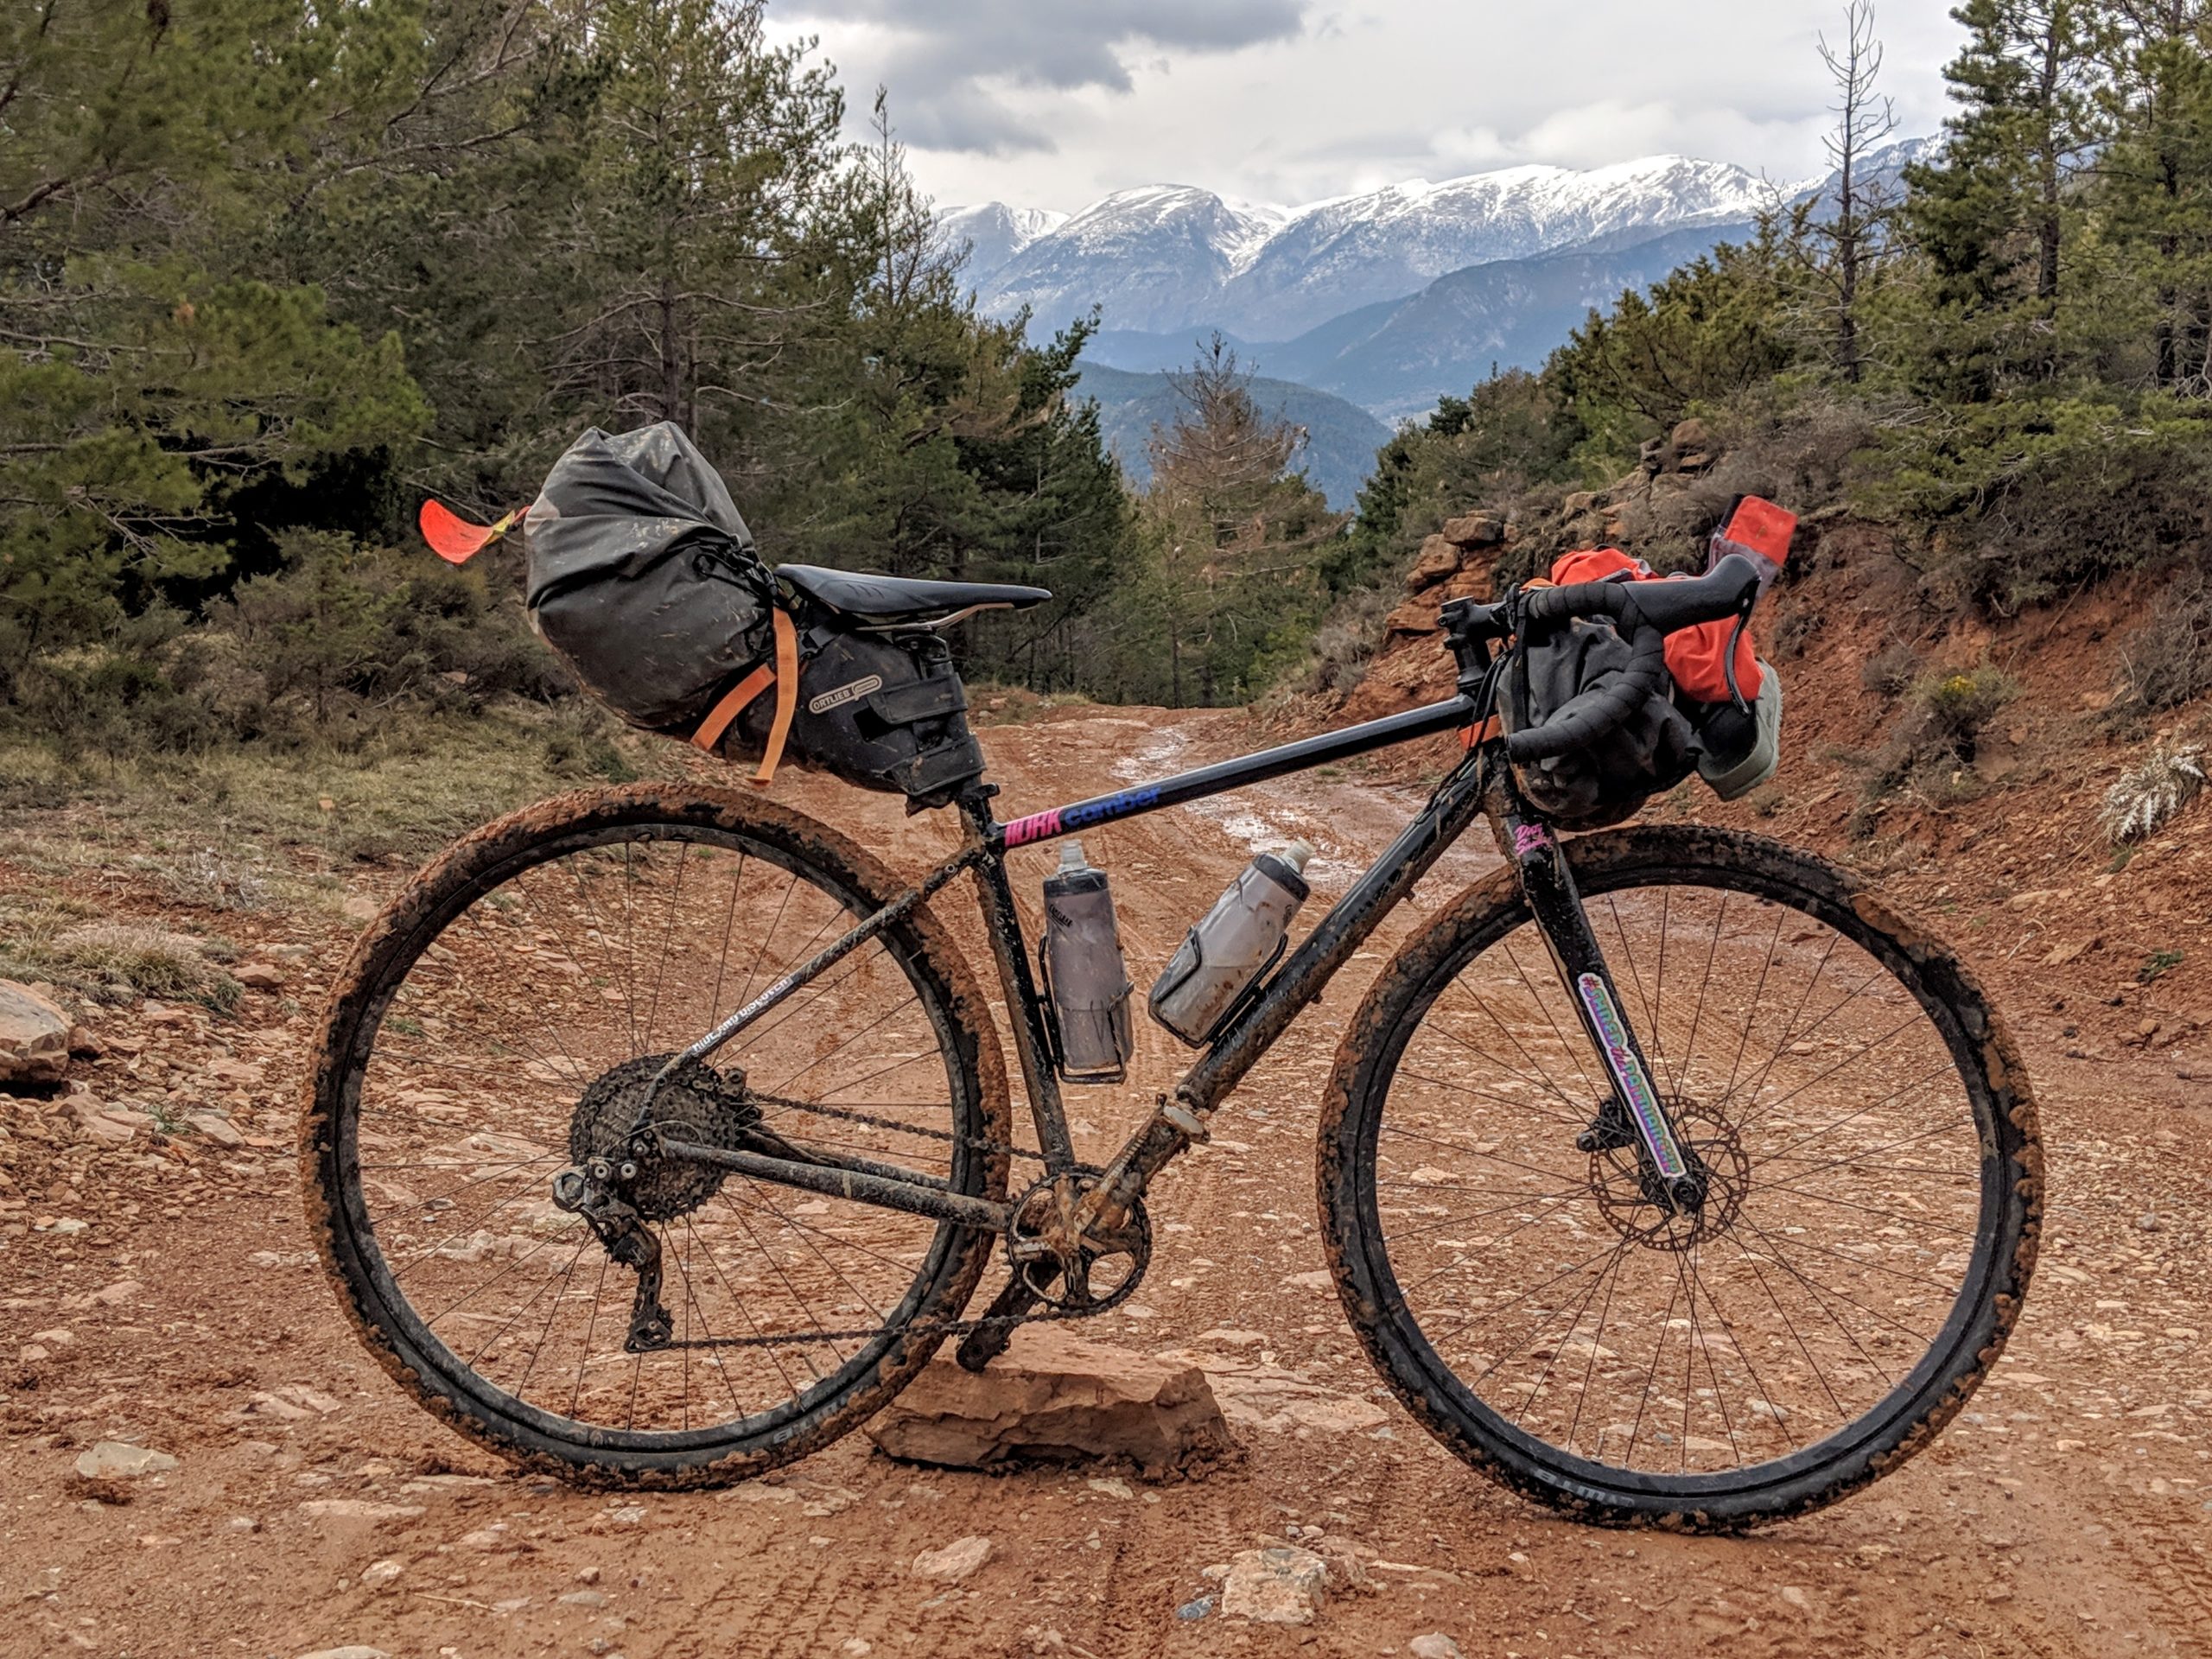
Pros
- Impressive total waterproofing
- Rugged, tough, built to last
- Multiple size options for different bikes/set ups
Cons
- Pricey - but worth shelling out for
Last modified: 24th February 2021


Great practical review Katherine, I have recently shelled out for these bags so was a good read to get some hints and tips as to how to use the bags and so glad that they have performed. Can’t wait to get out and about using them!
Great stuff, hope they serve you well and hopefully it won’t be too long!
Thank you for a great long-term write up. Do you by any chance have the dimensions of the handlebar bag when loaded? I am interested in getting one, but fear I may not have enough clearance from bar to tire.
Great question. I don’t have access to mine right now but you can find the dimensions on the data sheet here: https://www.ortlieb.com/media/downloads/datasheet/en/handlebarpack_15L_092020.pdf
Thanks for the insight Katherine, I’m looking at taking the plunge on a set and it’s good to know they hold up well. The only thing I’m in 2 minds about is whether the bags with a separate cradle and drybag would be more convenient when it comes to setting up camp etc. Is this something you have any advice on?
Heya Martin – personally I prefer this simpler design as I tend to keep bigger items in the front like a sleeping bag which is easy to whip out but also put back in while on the bike so I don’t detach it. The only time where I think a harness system would be more effective would be if you’re e.g. credit card touring and need to take your stuff away from your bike overnight (into a hotel room etc) where it would be a bit quicker to detach. Personal preference mostly I think. Check out Revelate Designs if you’re looking for a robust holster option – my other half has had one of those for years and really rates it.
Thanks for the advice Katherine! It doesn’t sound like the removable bags are much of a deal breaker so I think I’ll be taking the plunge with Ortlieb – thanks!
Have you tried these bags on carbon frame road bikes? concerned that the seat post pack might have a detrimental impact on seat post or frame. Doing LEJOG in 2 months time and need to sort my bags, Ortlieb is top but have not yet come across a review that mentions it has no issues with road carbon bikes. Thank you
Heya Pablo, yes I have used a few times on my road bike. The key here is frame protection (as it would be with any frame material) – so you’ll need to use something like Helitape on your seat post, head tube, etc where you’re running these to make sure you don’t get any rubbing of the paint – or even worse – the frame.
Thank you very much Katherine for your prompt replied!! Great to read that you have also ridden on carbon road bikes with these bags. Thanks for the tape tip!! Great review